EuroVan Camper Modifications, Tips, Ideas, and Resources
Use the Search page to find articles of interest….
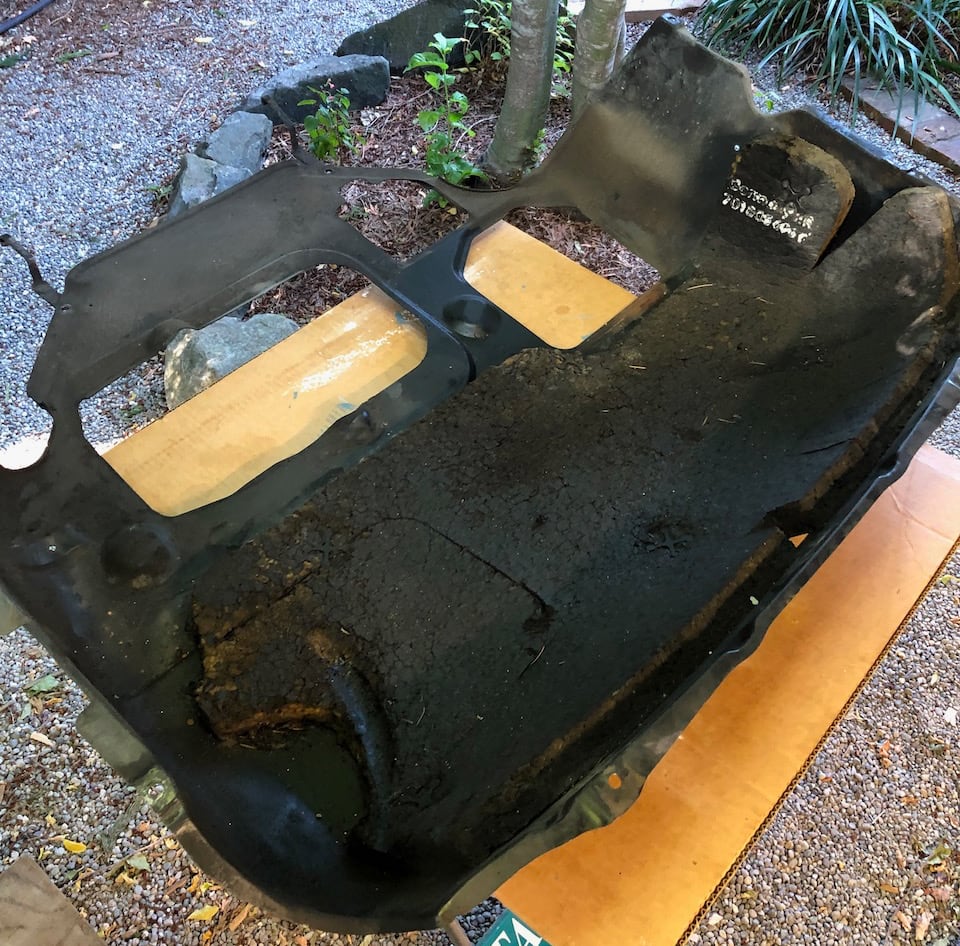
IMPORTANT UPDATE - 7/22 I would NOT suggest adding the Hoodliner product (link below) to the belly pan. If you have the slightest gap in sealing the edge of it, any liquid (from cleaning, leak, etc) will be trapped in the foam - not cool. The belly pan (the Bentley manual calls this a “sound dampening pan”) on the EuroVan protects the engine from road debris, and provides an element of quieting for the cab....
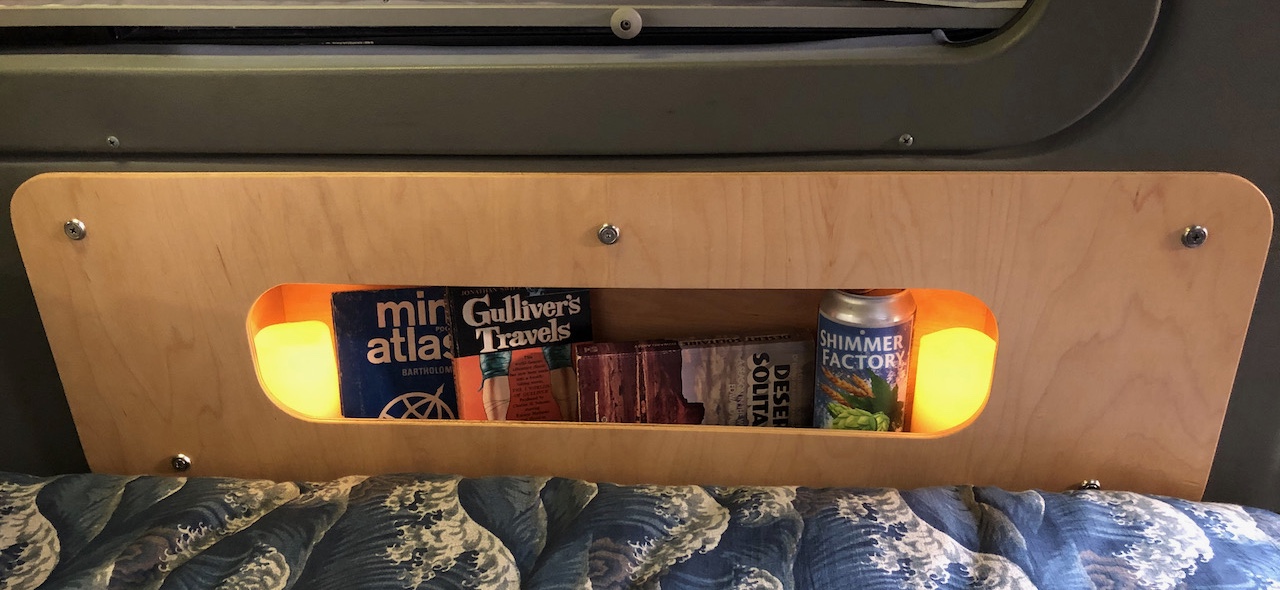
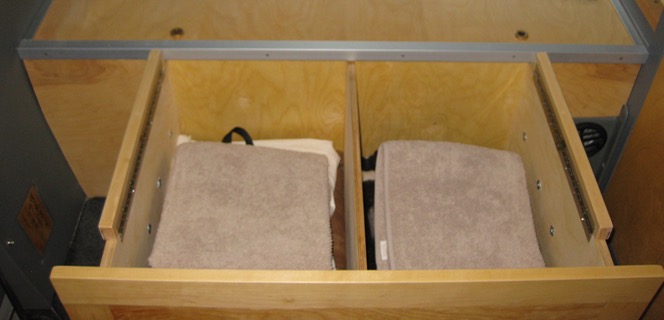
On the passengers side of the EVC, underneath the window, part of the wall is inset, with a small bungee net that is only big enough to hold a slim paperback and maybe a few pairs of undies (we even called it the “undies area”). We got sick of not having any real storage on that side of the bed, so some serious surgery was in order. Got out my handy cutting tool:...
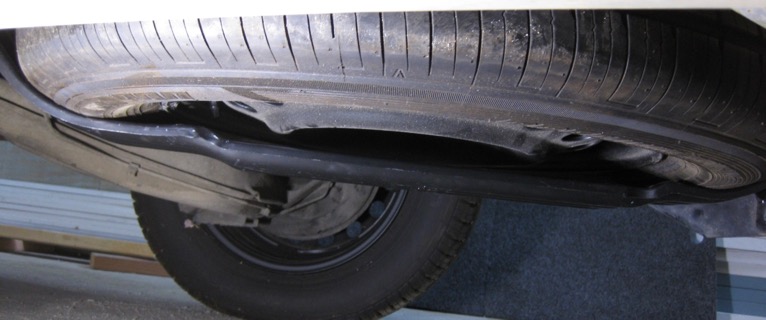
I finally moved up to 16 inch wheels a couple of years ago and wanted to have a spare tire mounted on a 16 wheel, as well. I had heard some conflicting stories about how to go about mounting this in the same place as the 15 inch spare: some said to just adjust the stock spare tire holder, others said you needed a new holder and some longer bolts - neither version mentioned cutting metal off of the van - which is what I needed to do!...
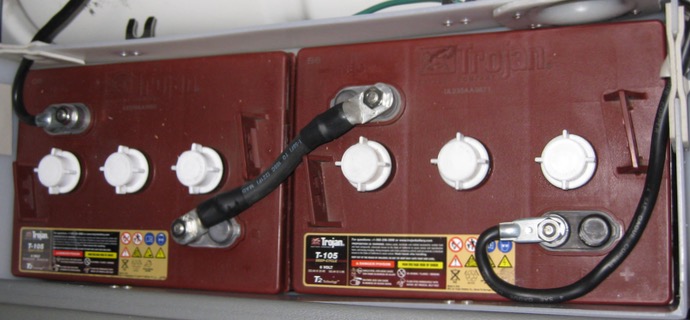
Our reliable Trojan “house” battery was nearing the end of it’s usable camping life (no longer as many days between charges), so I made the switch to a dual 6 volt system. The 12 volt battery we had (Trojan 30 XHS) provided 130 amp/hours - the 6 volt (Trojan T-105) provides 225 amp/hours. More power in almost the same space - how cool is that? This required removing the existing battery box, installing a new box (after modifying the box with parts from the old box, as well as latches and seals), installing a smaller box for the battery disconnect switch, and while I was at it, installing a new battery meter....
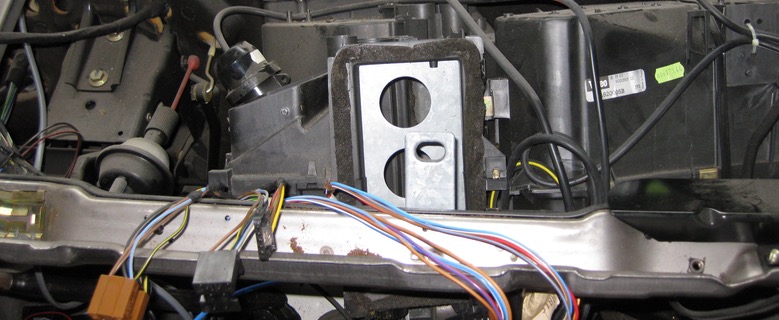
A couple of years ago, while traveling on Route 66 in humid Missouri, chunks of foam started blowing out of our dash vents, filling the cab with sticky bits of disintegrating material - quite a mess. I had remembered reading on the eurovanupdate list that this was from the “blender box” in the air conditioning system - the box that regulates the air flow from the heater, directs air to the defrost, floor, etc....
Here are some photos of how our platform bed is put together. The wood is 3/4 inch birch plywood, the hinges are brass piano hinges, and aluminum angle is used to create the “box” portion and other supports. View from the back: My method for holding the platform in place: The platform is hinged in such a way as to form a seat (from before we had a drawer): View with platform removed (looking towards the back of the van): We have a drawer under the bed that is also used to support the front edge of the platform: Small pieces of wood “flip up” to prevent the drawer from sliding back: Pins, set in brass bushings, are used to hold the seat closed, as well as hold the platform in the “upright” position: Countersunk bolts are used to connect the “box” to the floor: I removed the metal plate that was used to support the bench seat and replaced it with a piece of plywood with brass inserts - I have heard of others keeping the metal plate in place, and sliding the box into the angle pieces on this plate - that is a pretty slick idea!...
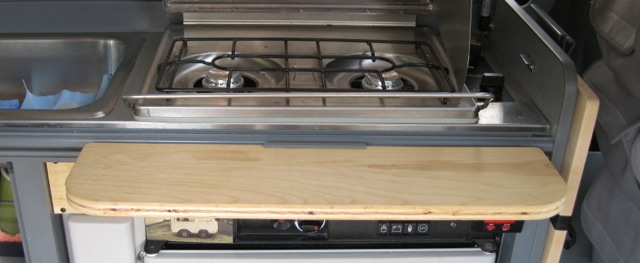
We only travel with one table, but once you have dishes on that, you don’t have much room to prepare anything - like coffee after lunch! We mocked up a “mini” table out of plywood before our desert trip to see if this idea would work - it was such a success, I now need to make one out of maple. Our “big” table is also out of maple (much nicer than laminate!...
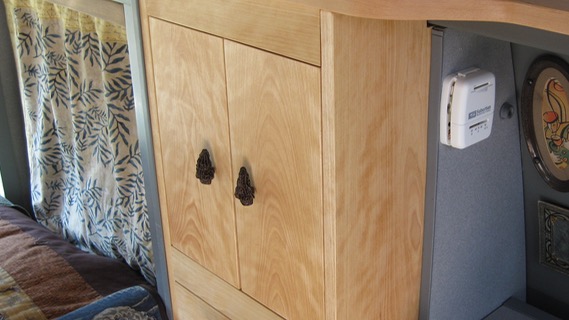
The EuroVan has a small cabinet to the left of the sink/stove - we call it the “Food Cabinet”. Below this cabinet is a small drawer, which is poorly designed - it cannot open to it’s full depth, and is a pain to get back in place if you pull it out. Others have added “normal” drawer slides to the drawer to improve its usability - we started to do this, and then decided to redo the entire cabinet - like so:...
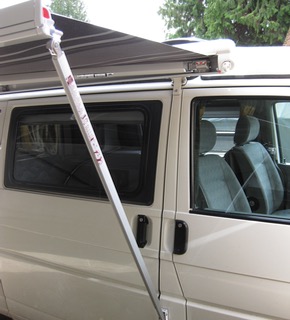
Our van had a Carefree awning installed on it - the “standard” awning installed on the EVC by Winnebago - and frankly, it sucked. It was a terrible thing to try and use - difficult to get the awning out of the case, heavy, even harder to get back IN the case. We dreaded using it. We finally splurged on a Fiamma awning, as well as a ShadyBoy awning for the fridge side of the van (driver’s side) - see my earlier posts here, here, and here on the installation of these awnings....
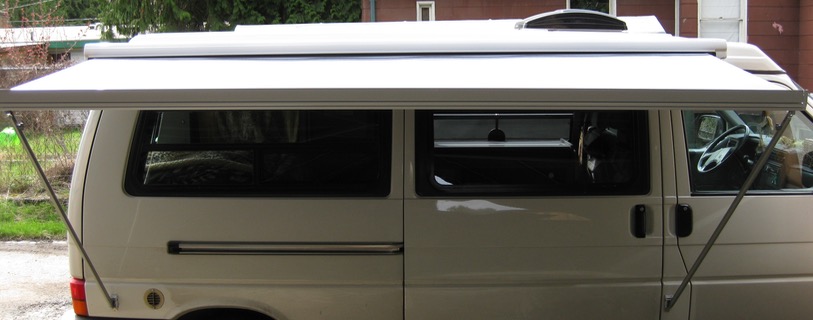
The Fiamma comes with 2 brackets that mount to the side of the van, so you do not need to place the legs on the ground - great for a quick setup at a lunch stop. The placement of these brackets is not “spelled out” anywhere - here is what I found worked best for me. I placed the brackets the same distance below the “crease” in the side of the van....