Our reliable Trojan “house” battery was nearing the end of it’s usable camping life (no longer as many days between charges), so I made the switch to a dual 6 volt system.
The 12 volt battery we had (Trojan 30 XHS) provided 130 amp/hours - the 6 volt (Trojan T-105) provides 225 amp/hours. More power in almost the same space - how cool is that?
This required removing the existing battery box, installing a new box (after modifying the box with parts from the old box, as well as latches and seals), installing a smaller box for the battery disconnect switch, and while I was at it, installing a new battery meter.
Parts required (follow the links for more info):
- battery box for 2 batteries
- screws
- small latches
- seal - left over foam from my dash repair
- external box for disconnect and fuses
- panel for inside of external box
- battery cable for joining batteries
- battery cables - 2 - for positive and negative
- battery mat (optional)
Steps:
- Remove the battery
- Remove the battery box
- Save the circuit breaker on the outside of the battery box
- Cut out the vent connection from the old box (unless you want to save the box, in that case you need to design a connection for the vent)
- Prep the new box - add seals for the top, the unused holes, and attach the latches for the top
- Locate the new box, leaving room to operate the latches
- Drill the drain hole
- Screw the box in place
- Mount the external box for the disconnect switch, screwing from the inside of the new battery box
- Drop in the batteries and wire it all up!
How I Did It
Be careful, the battery weigh a TON! Disconnect the leads to the battery, noting that Winnebago uses “house” wiring colors to indicate positive and negative. You may wish to label the wires in a manner that is clear to you. Note which wire is connected to the chassis - this is the negative wire.
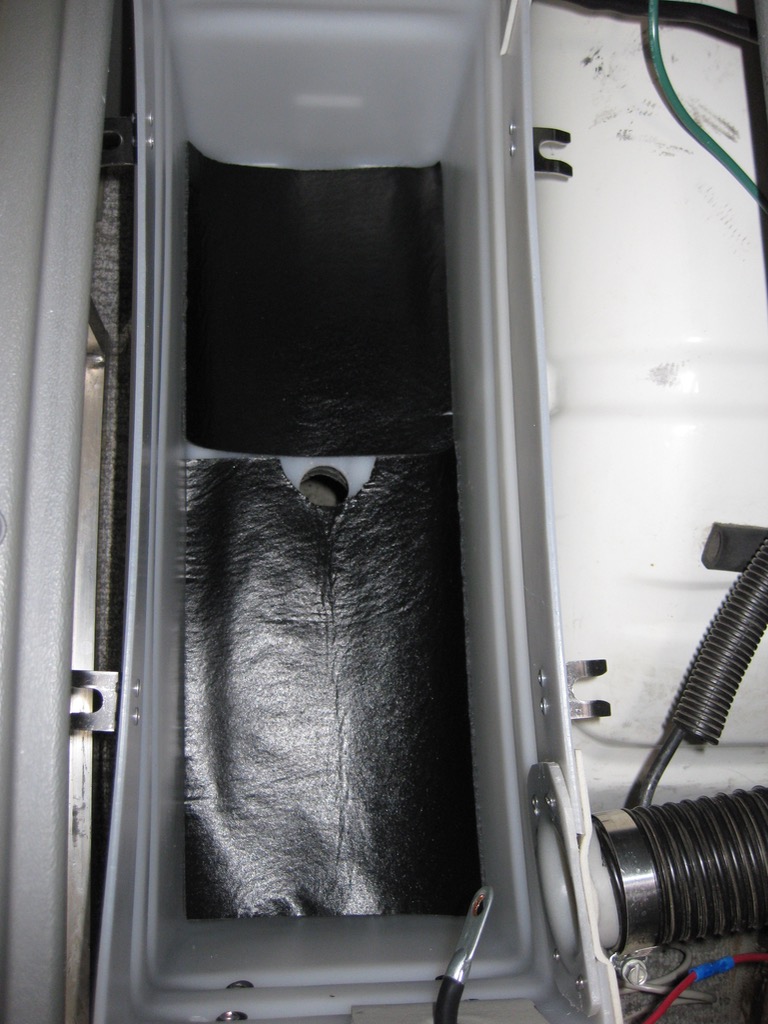
Here is the old box, without the battery:
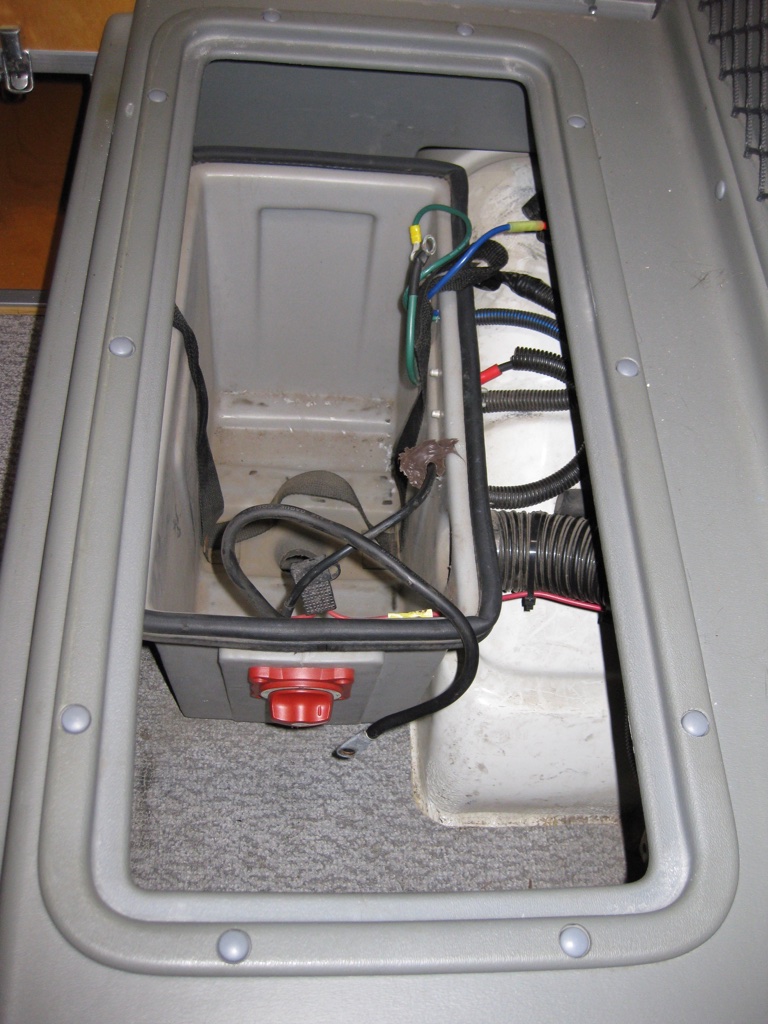
The existing battery is strapped in place with bolts that go through the battery box and floor of the van. My method does not secure the battery in this manner, but relies on multiple screws, and the battery box itself. I am comfortable with that - you may not be.
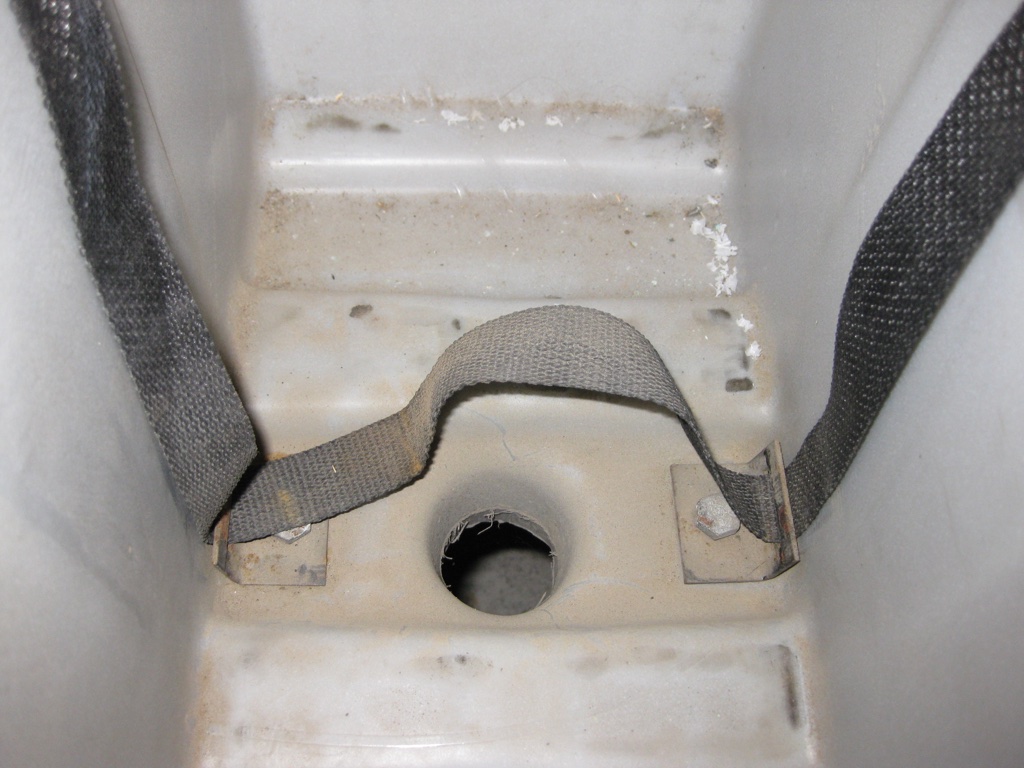
I cut the existing box up, reusing part of the box for the vent and the drain:
Save the fusible link, mounted on the side of the box - you will need it later:

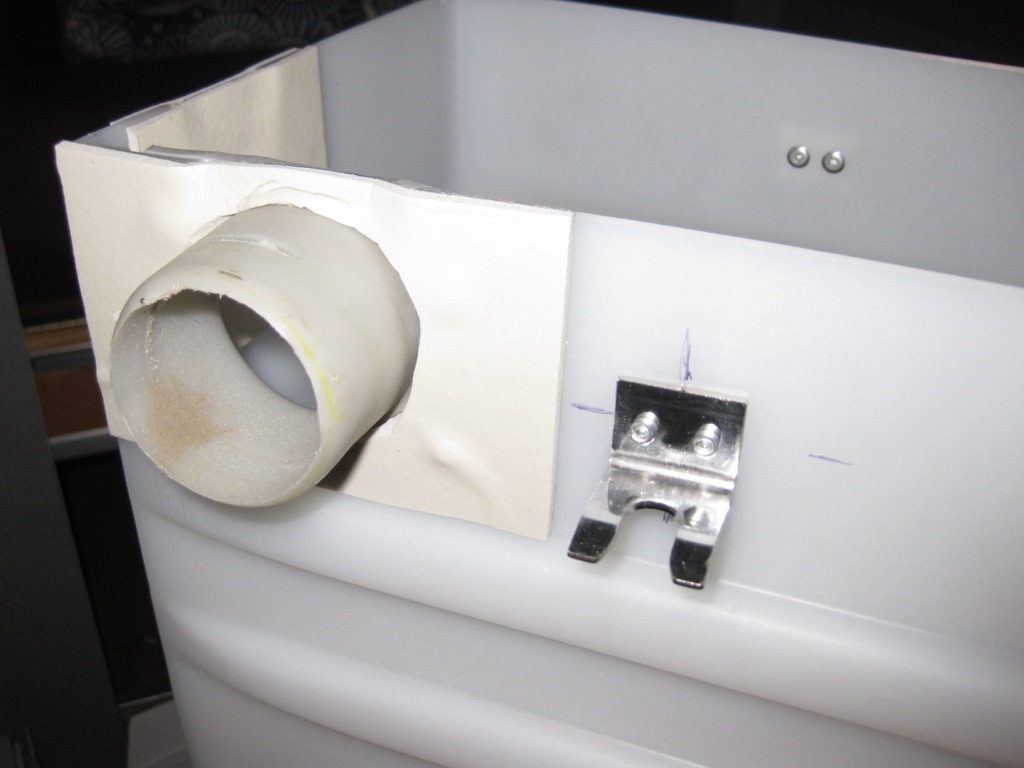
You will need to enlarge some holes in the box, seal the unused ones up, mount the vent connector from the old box, and mount the drain “pipe” in the floor of the van, as well. I used some leftover adhesive foam from my dash project to seal up the unused openings in the box - if you don’t have that, you could use gaffer tape or duct tape.
I used rivets to attach the vent connector and latches.
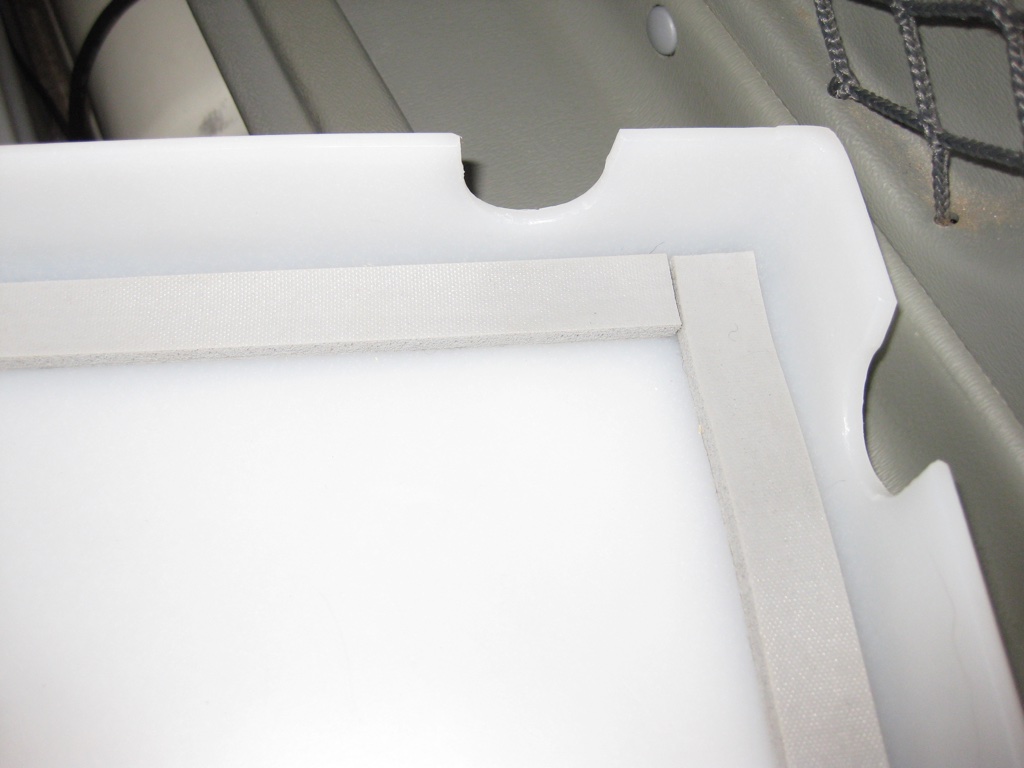
Add some latches and put some foam in place to seal the lid:
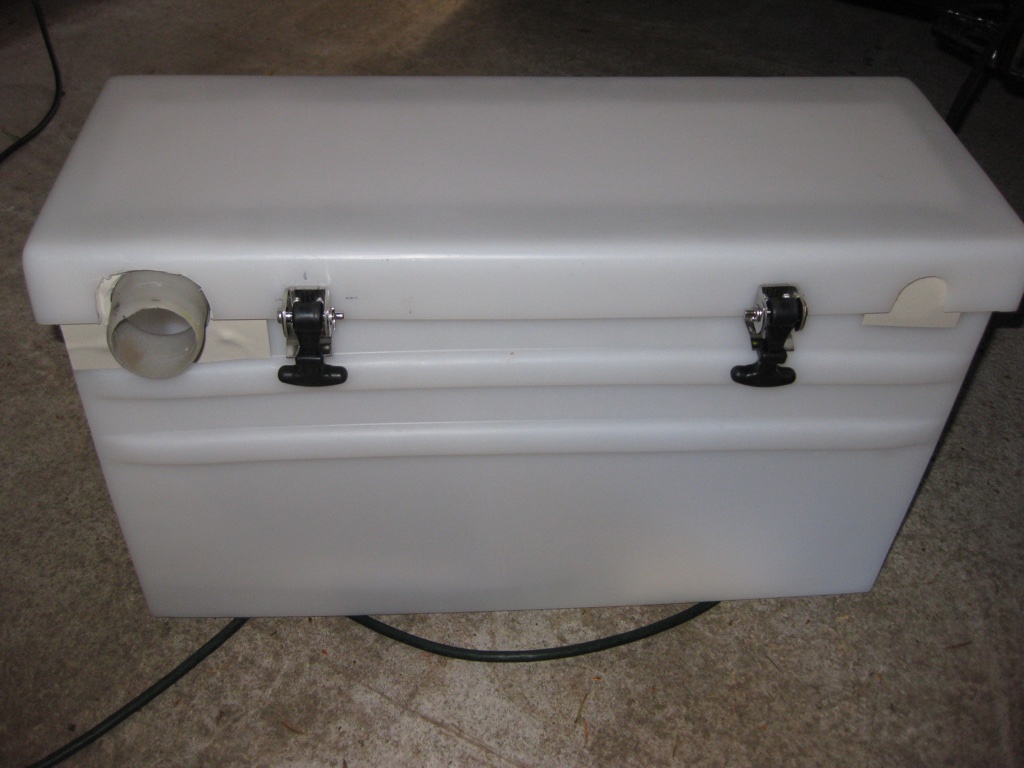
Screw the box into place (I used stainless steel self-drilling screws), making sure to test the clearance for operating the latches:
Cover the heads of the screws with silicone for some protection - I also cut a “battery mat” to fit in the bottom of the box, with an opening for the drain.
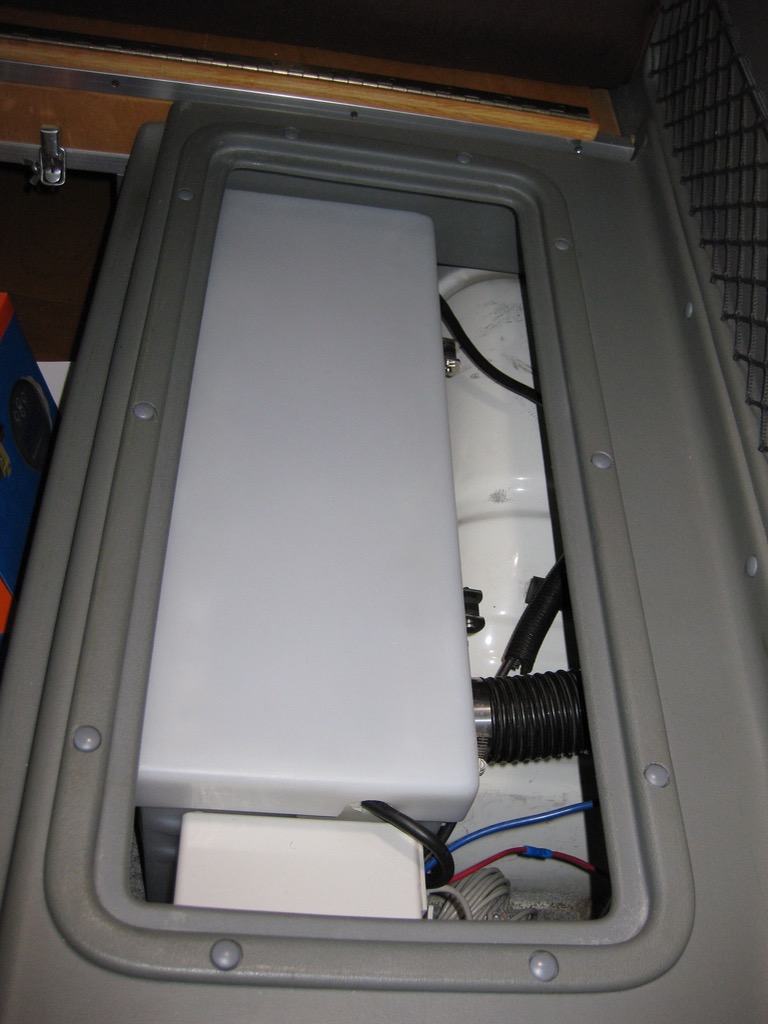
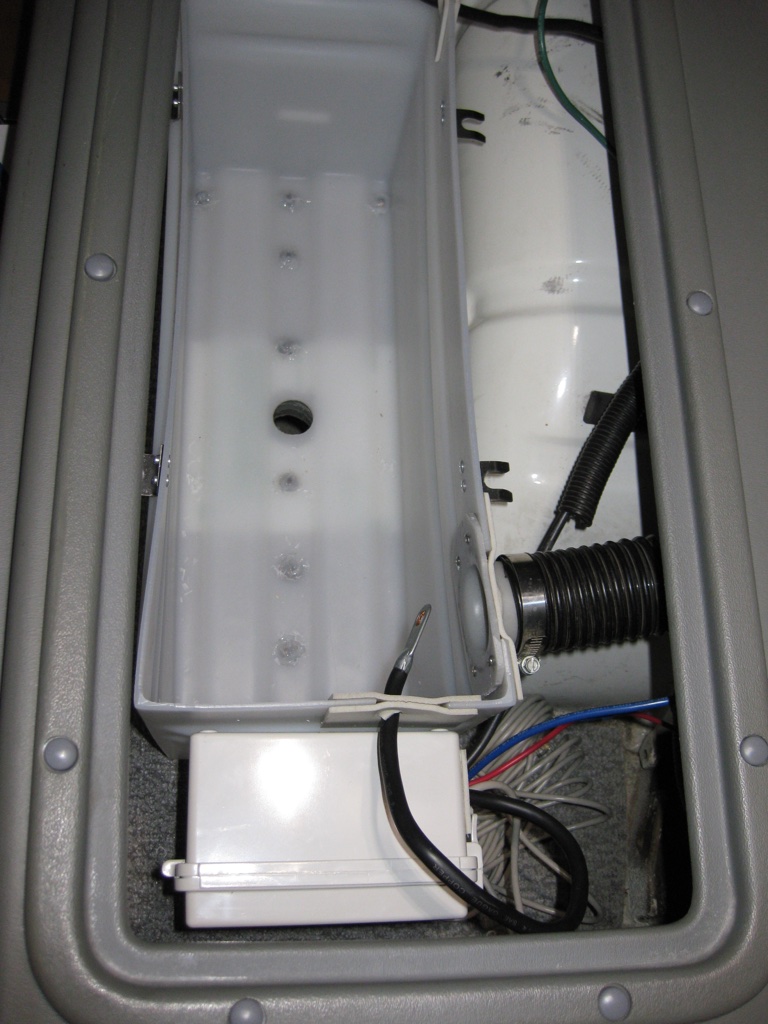
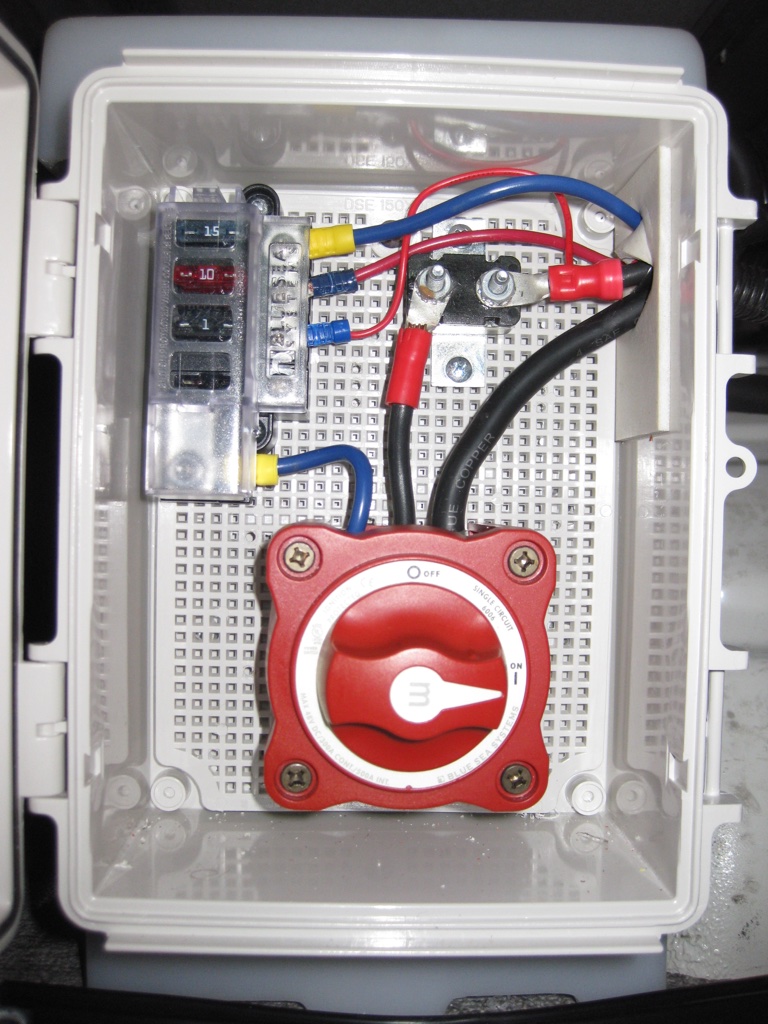
I added a small box to the front of the battery box to house the disconnect switch, fusible link, and other fuses:
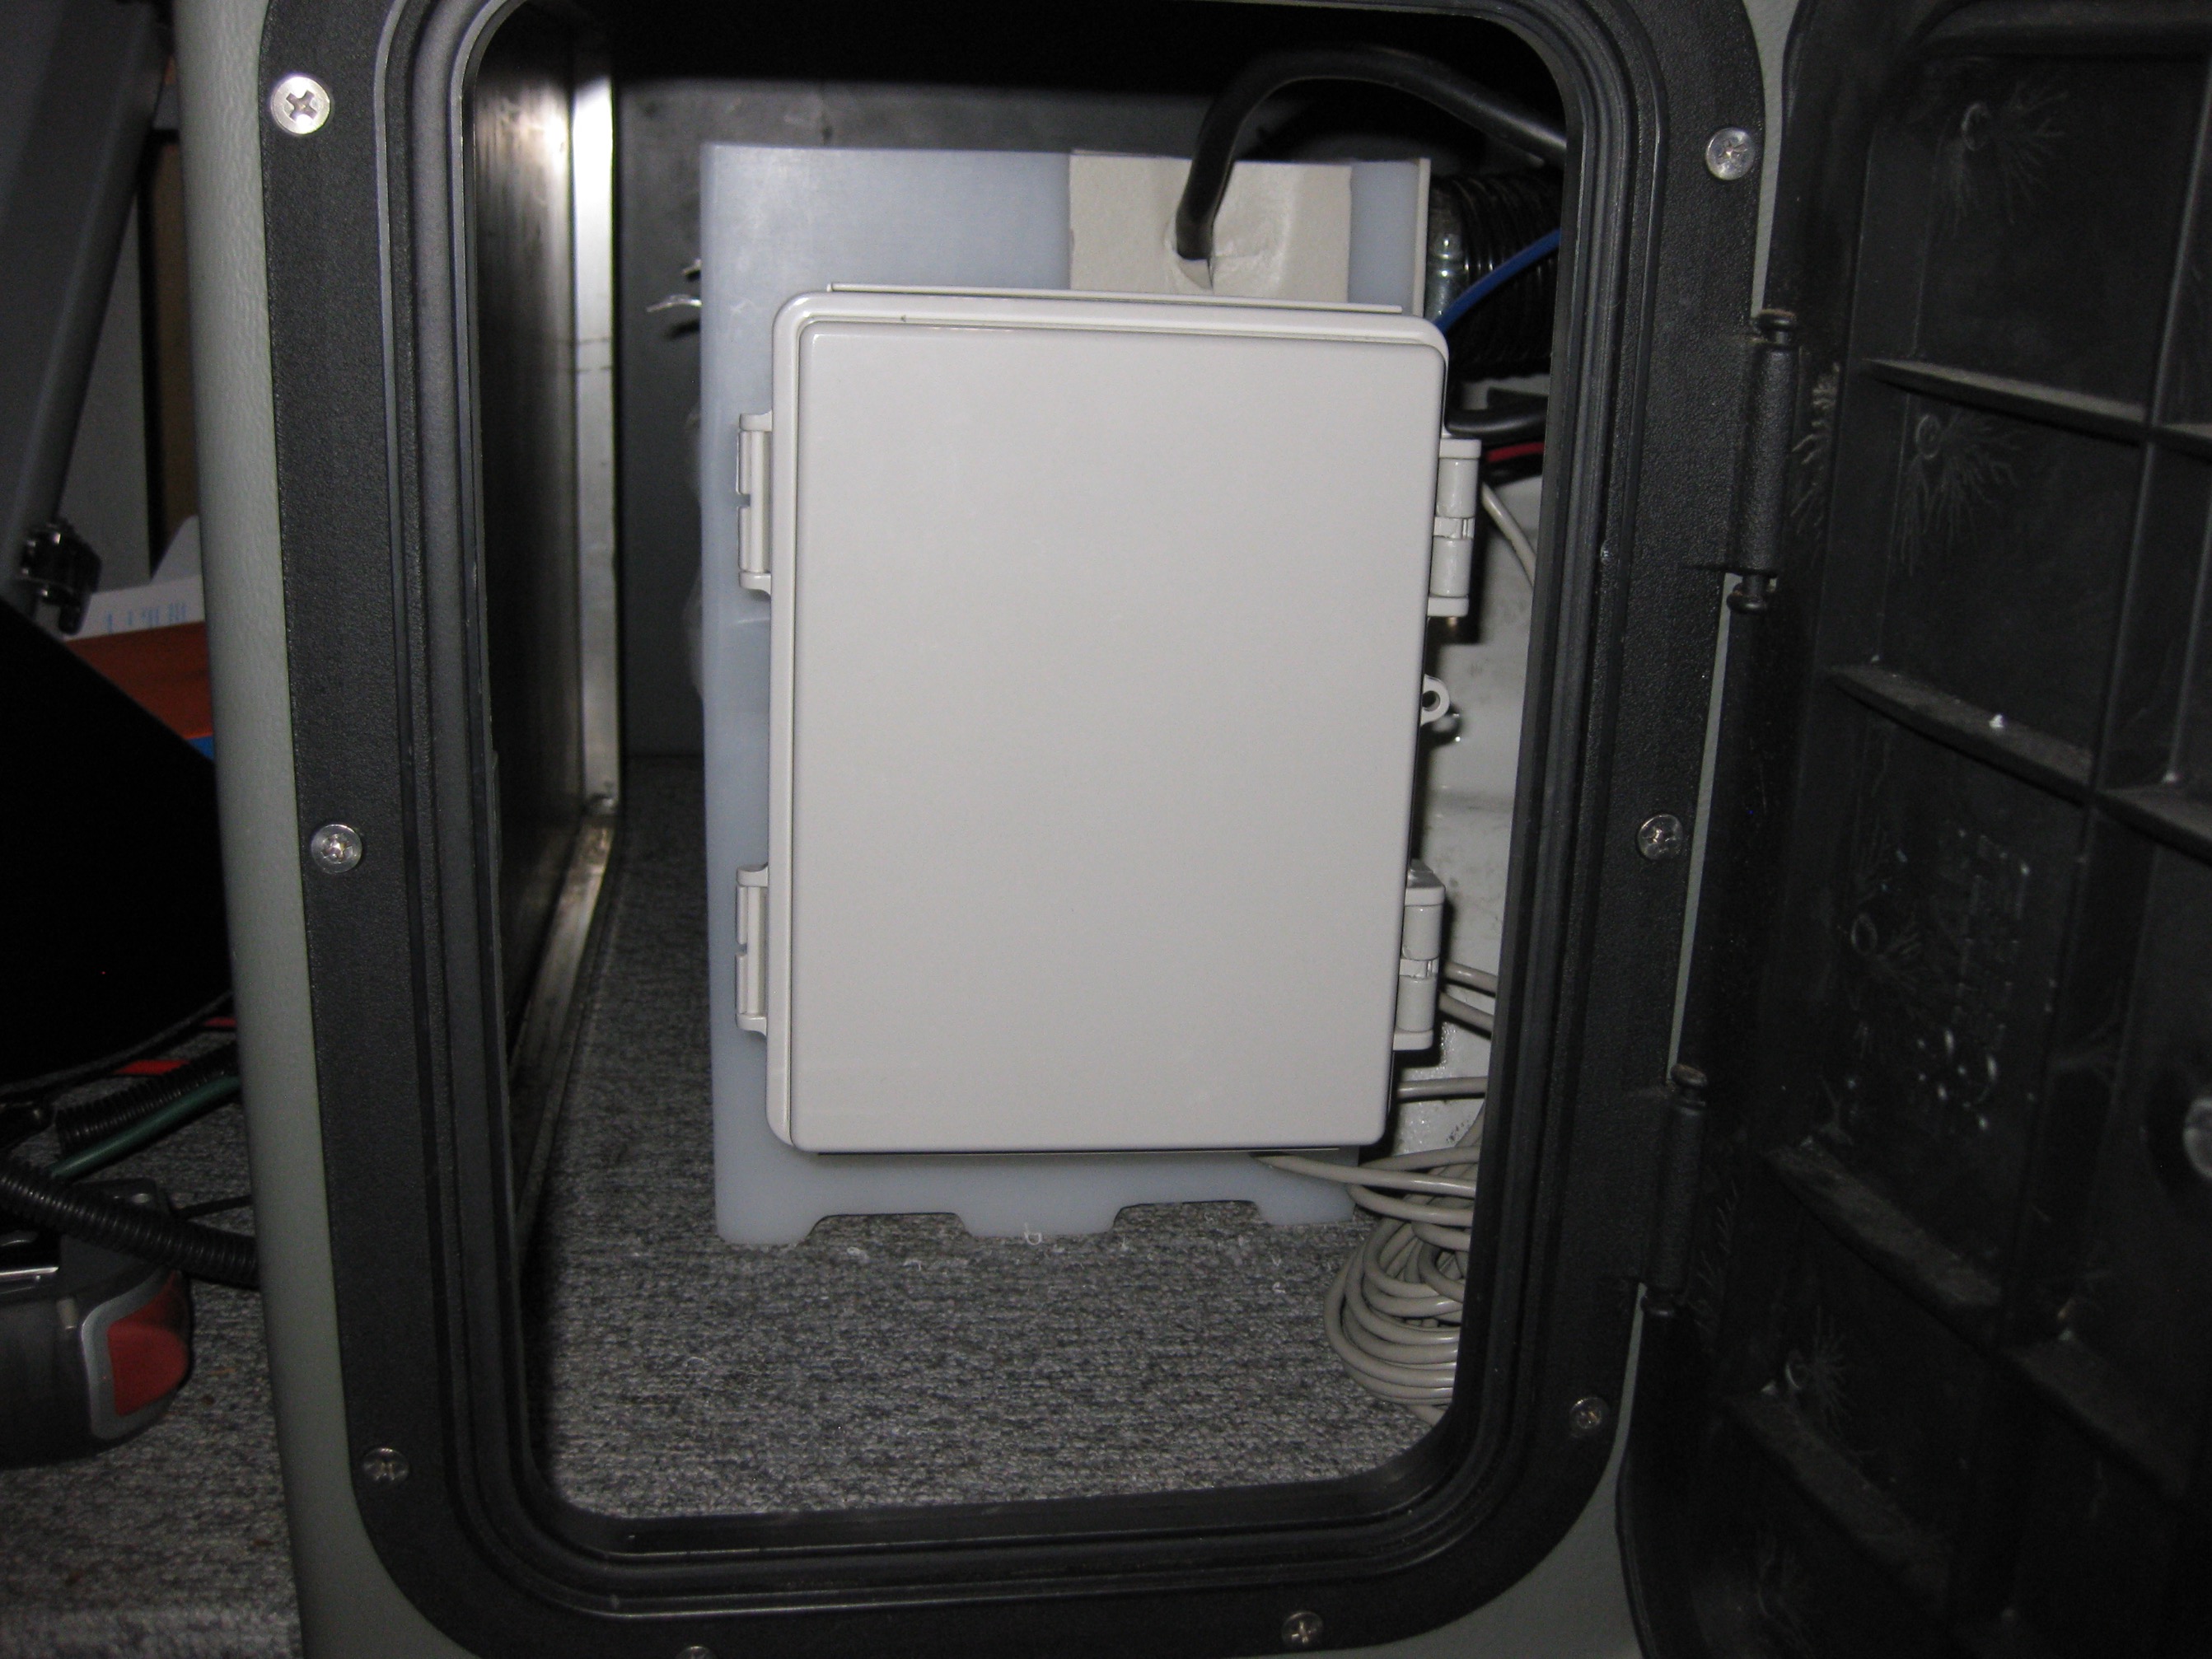
Here it is, when viewed through the back “hatch” (see this post on how to install one of these)
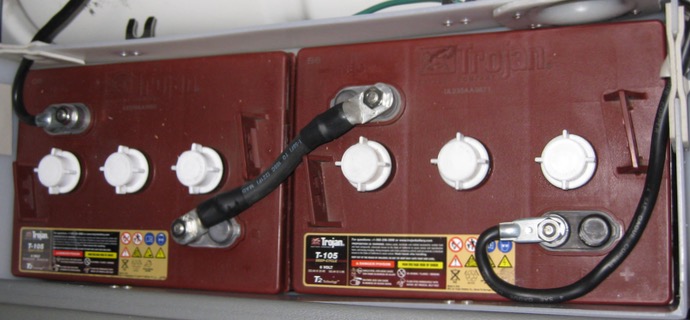
Now if you thought the 12 volt battery was heavy, wait until you drop the 6 volts ones in! But man, look at all that power!
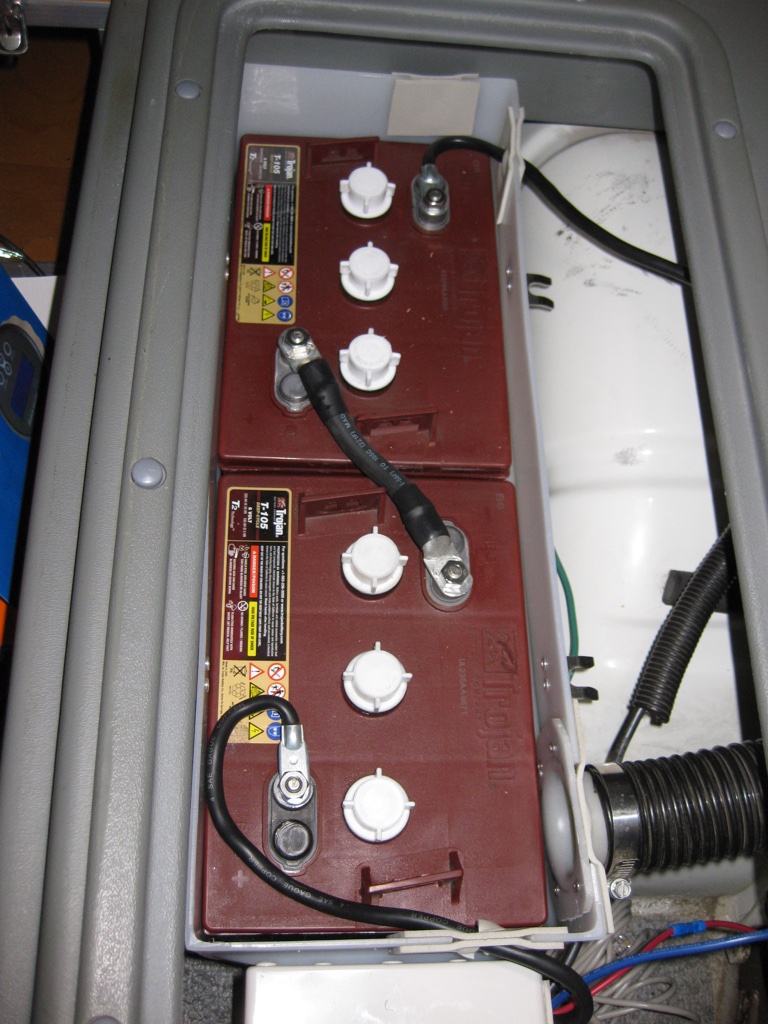
Here it is, all wrapped up!