This is going to be a long post - I have lots of photos! I finally installed the Maxxair MaxxFan Ventilation Fan
I bought a few months ago - this was different than any other installations I have done, as it is a “destructive” install - once you do this, there is no going back to the original roof vent. Let me sum this up by saying that in my case, it was REALLY worth the time and trouble to do this. Here is why I wanted to undertake this:
I wanted to improve the ventilation in the van when parked with the top down - I have some cool “armored” cab vents, but having those and a passive roof vent was just not cutting it - especially traveling with a cat. I had heard about the MaxxFan vents for years (integrated rain cover, multi-speed fan, reversible direction fan, etc) and saw that someone had made the install on a , so I decided to try it myself.
Summary:
- You can drive at freeway speeds with the vent open
- You can really cool off the van when parked by using the fan
- You can open and close the vent while driving (the driver can reach the control - just as on the stock vent)
- You can keep the vent open during rain storms
I got the MaxxFan model that does not have a remote control, with the “smoked” cover (to go with the other black bits on the van). You can see the product page here.
Installation consists of:
- Removing the old vent
- Cleaning the old mastic from the pop-top (this takes some time)
- Cutting into your VERY expensive pop-top
- Running 12 volts from the light on the pop-top
- Installing the fan
- Installing a CUSTOM flange for trim ring to set on
How about some photos?
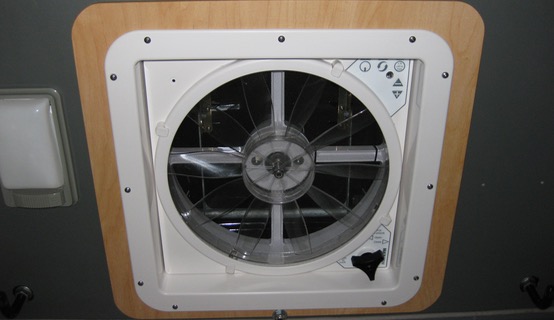
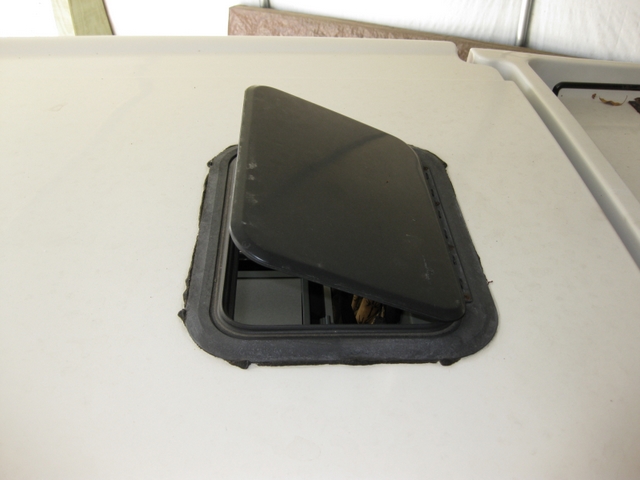
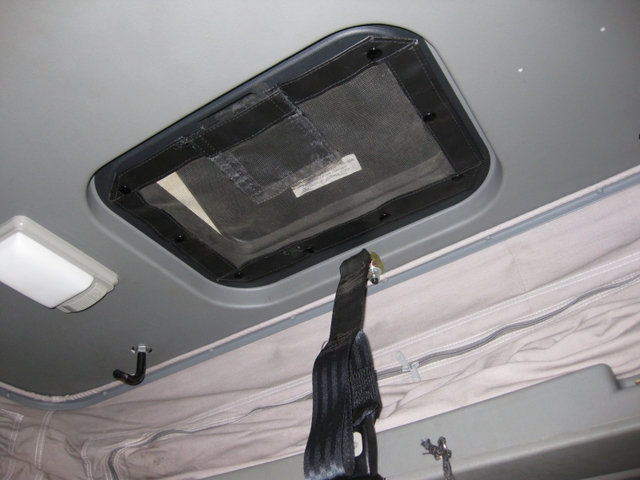
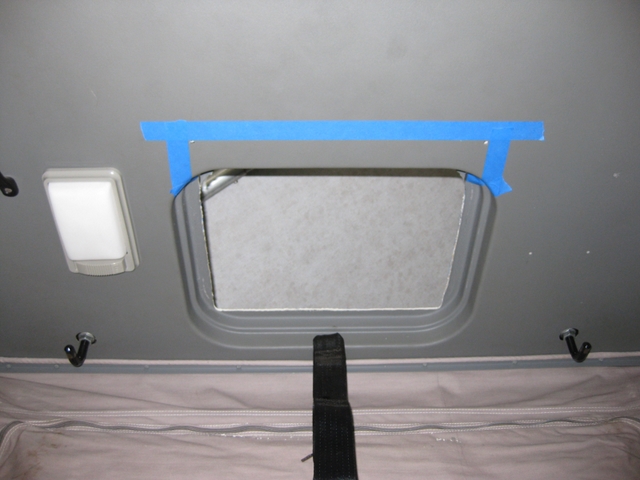
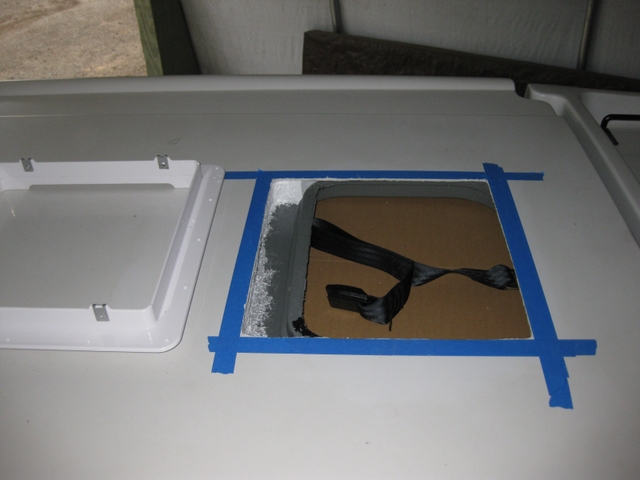
Here is the stock setup from the outside and inside:
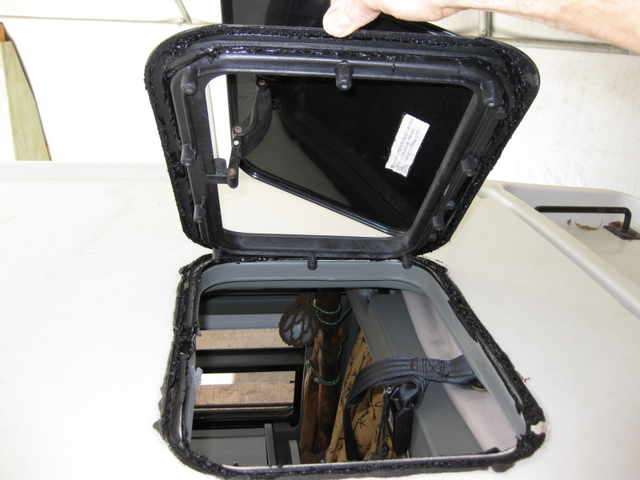
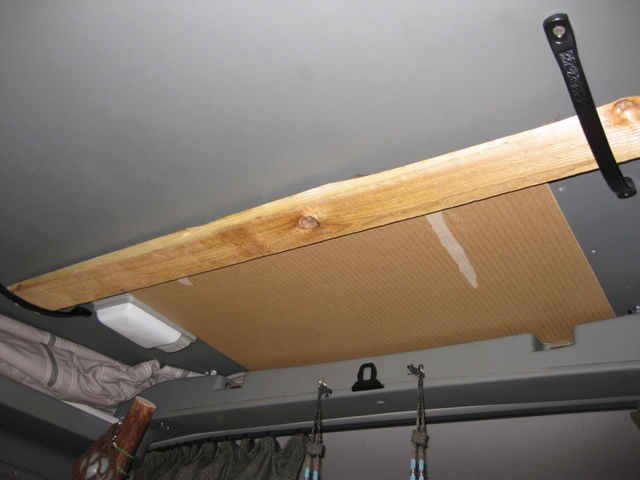
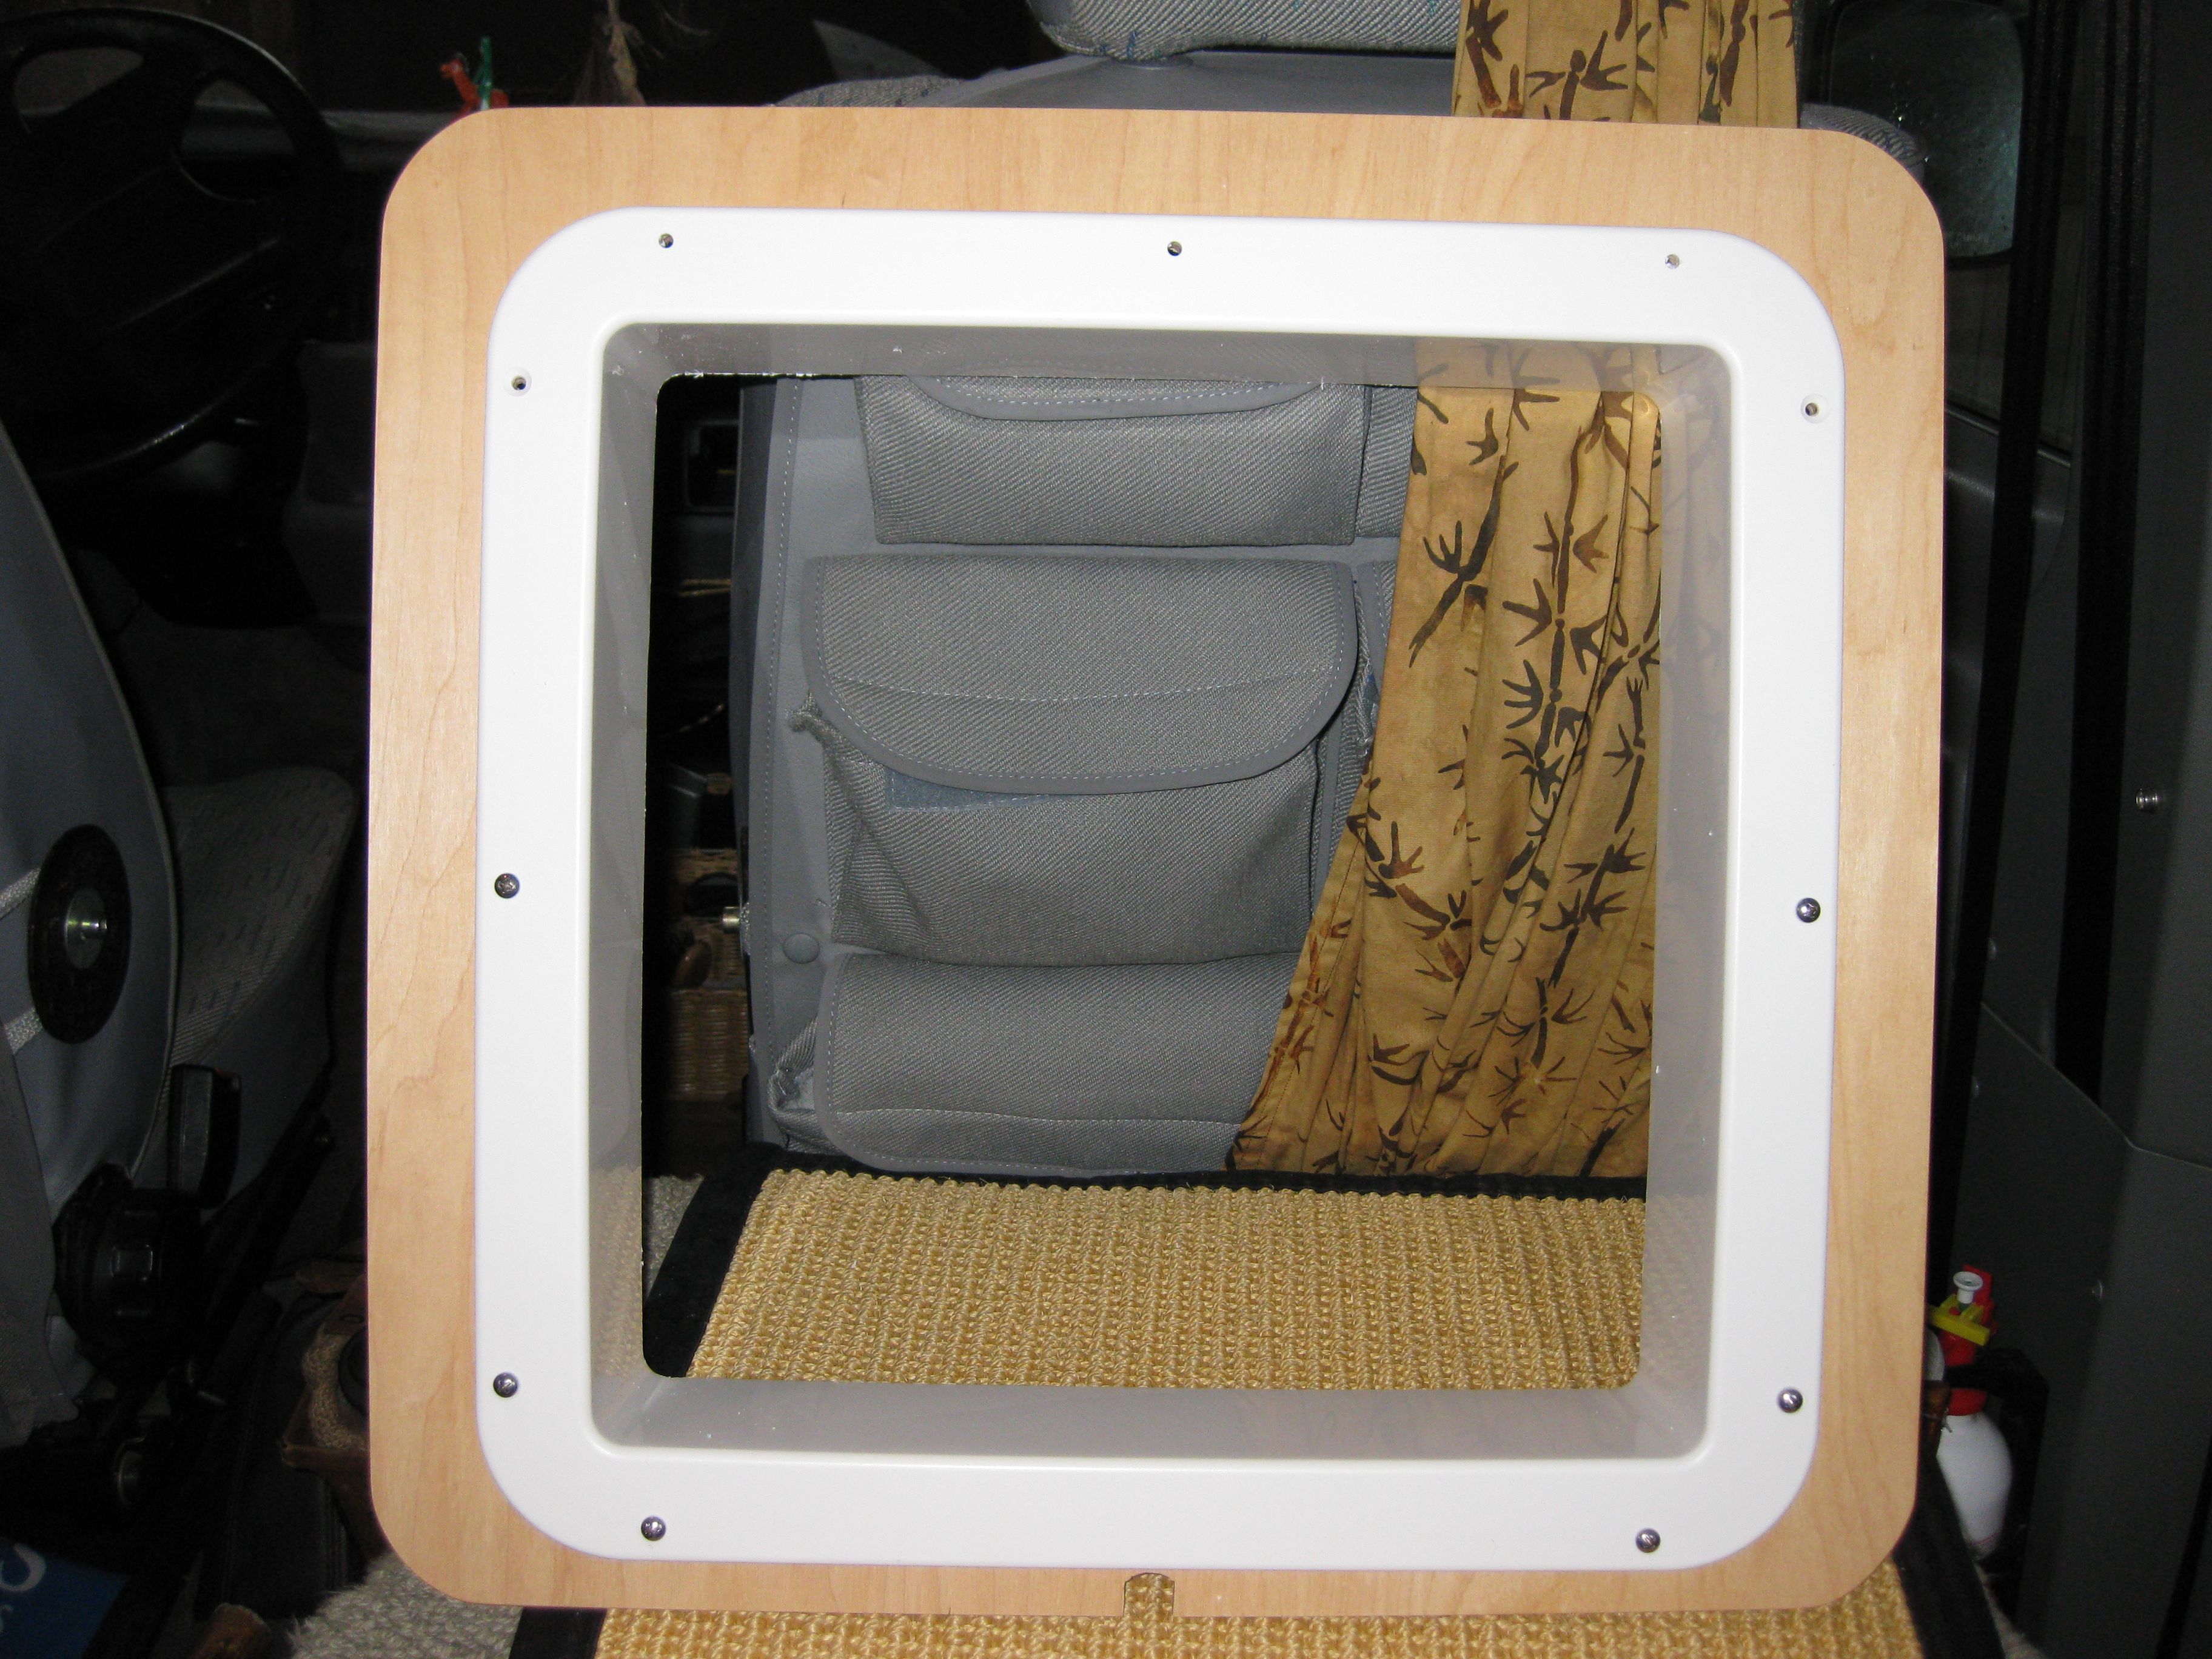
Here is what it looks like when you remove the inside trim that holds the vent in place (you just pull up on the fan to release the mastic)
Place a piece of cardboard (like the flat piece that came with the MaxxFan) on the inside of the pop-top, and hold it in place with a piece of wood that fits through the pop-top lift handles - this will keep the inside of the van safe from debris
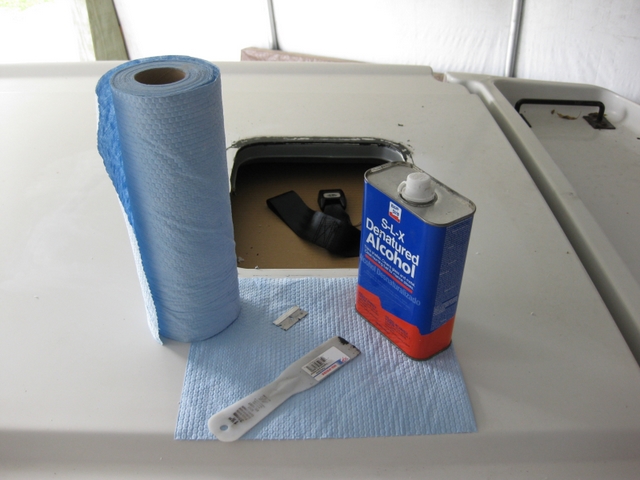
Now you need to clean off all the mastic- this takes quite some time. I used denatured alcohol, single edge razor blade, and a plastic putty knife - and lots of my favorite clean up towels - Scott blue towels.
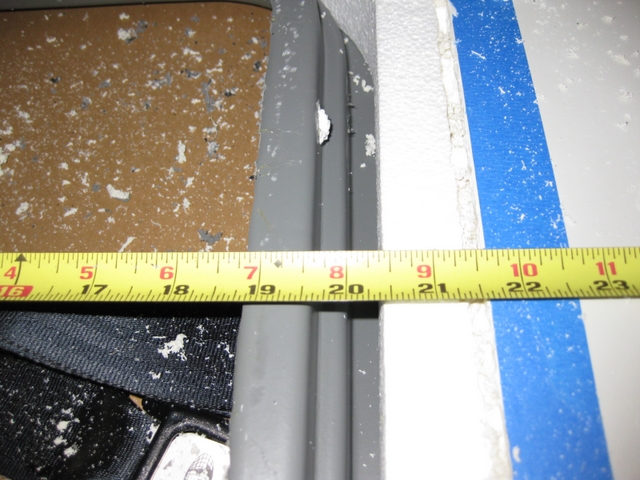
Next you want to measure out the area you need to cut, and outline it in blue masking tape
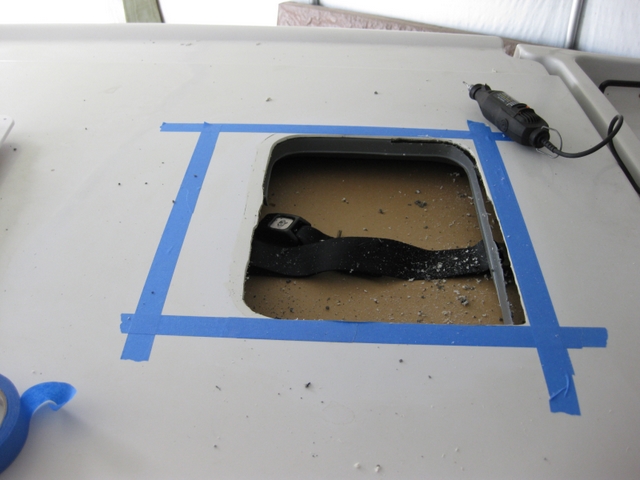
I used my handy Dremel tool to cut through the top layer off the roof, because I was very curious as to exactly how the 3 layers of roof (top, foam, inside) are bonded (or not) together, etc. You can use a Jigsaw with a long blade, or a hacksaw blade with one end wrapped in duct tape. I made the front radius of the corners go right up to the existing molded part on the inside
Then I cut towards the back of the van - I cannot stress enough how freaky it is to be cutting up your fancy van - just have courage, it is worth it! I drilled small holes where the back corners of the vent opening will be - then I used blue masking tape to mark out the cut line on the inside - this way, I can make sure that the hacksaw blade would not “drift”.
Here is a shot of the top, with the Styrofoam core exposed, ready to cut out the interior layer of plastic
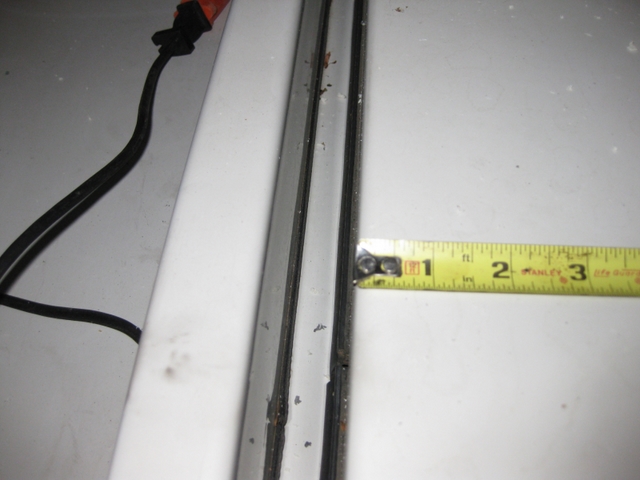
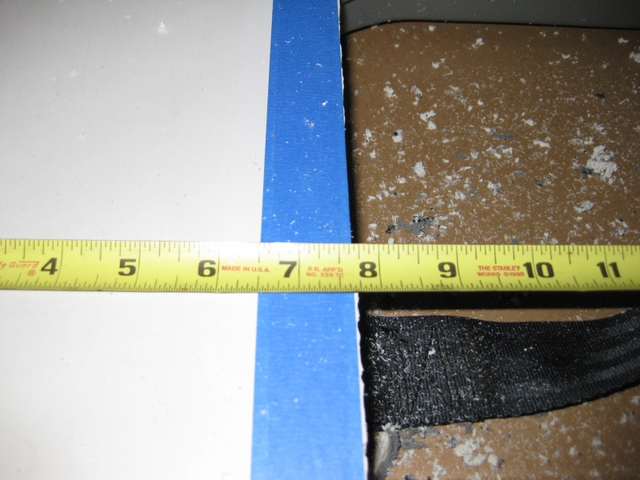
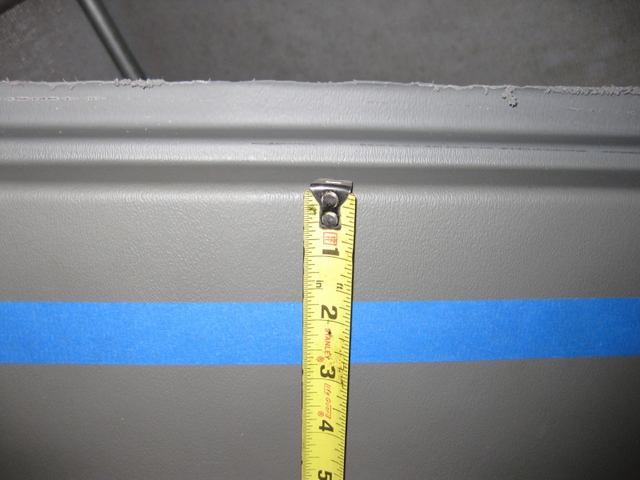
Here are shots of the measurements I used
Once you have the hole cut, it is time to mount the exterior mounting flange - per the most current MaxxFan install instructions, I used 3M Silicone 2 as the sealant. Make sure the mounting clips are on the side of the van - NOT the front and back - the mounting clips are where the fan attaches.
Next, you need to lower the fan unit onto the flange - and route the wires to the interior light, where you can tap into the power. Remove your interior light, drill 2 small holes the same size as what was drilled by Winnebago to provide power for that light, then take a stiff piece of wire (12 gauge solid house wire works), tape it to the fan wires with some electrical tape, and “fish” it through. Like so:
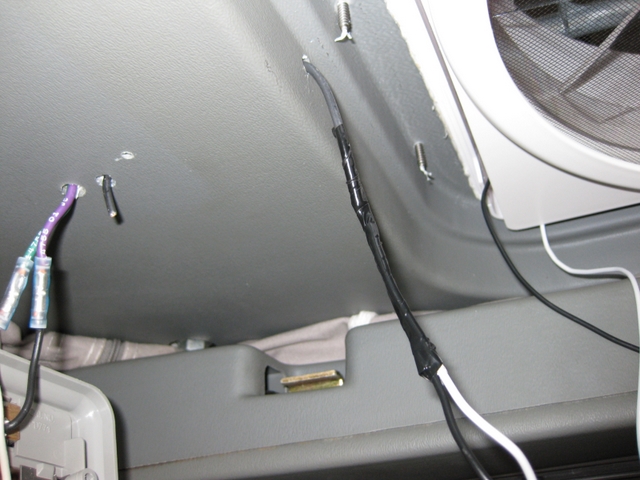
Just follow the instructions on wiring, operation, etc.
Now onto the inner trim piece …
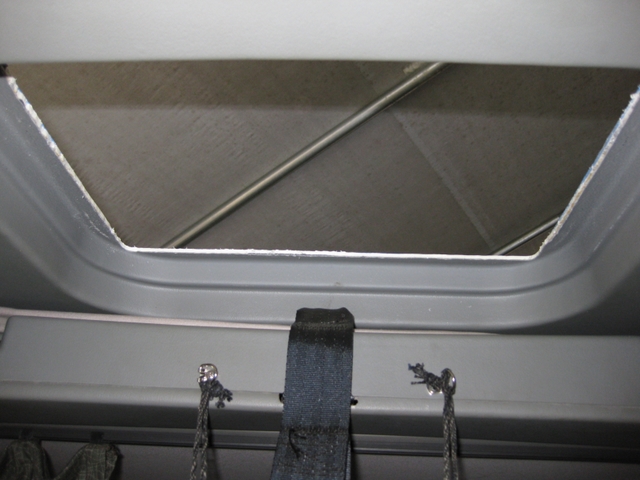
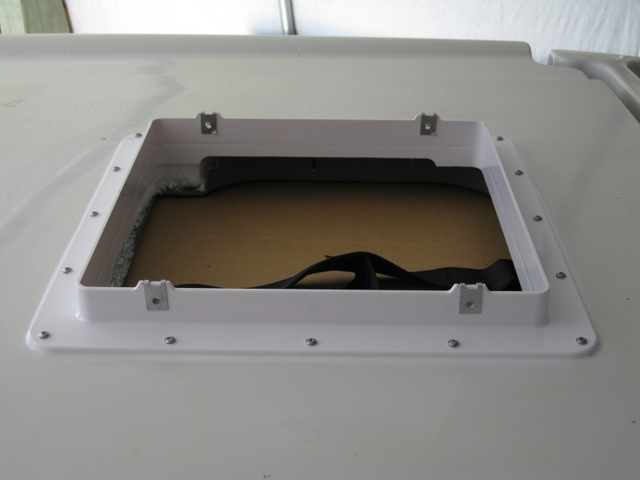
First, cut about 2 1/2 inches off the interior trim ring (bezel) with a hacksaw:
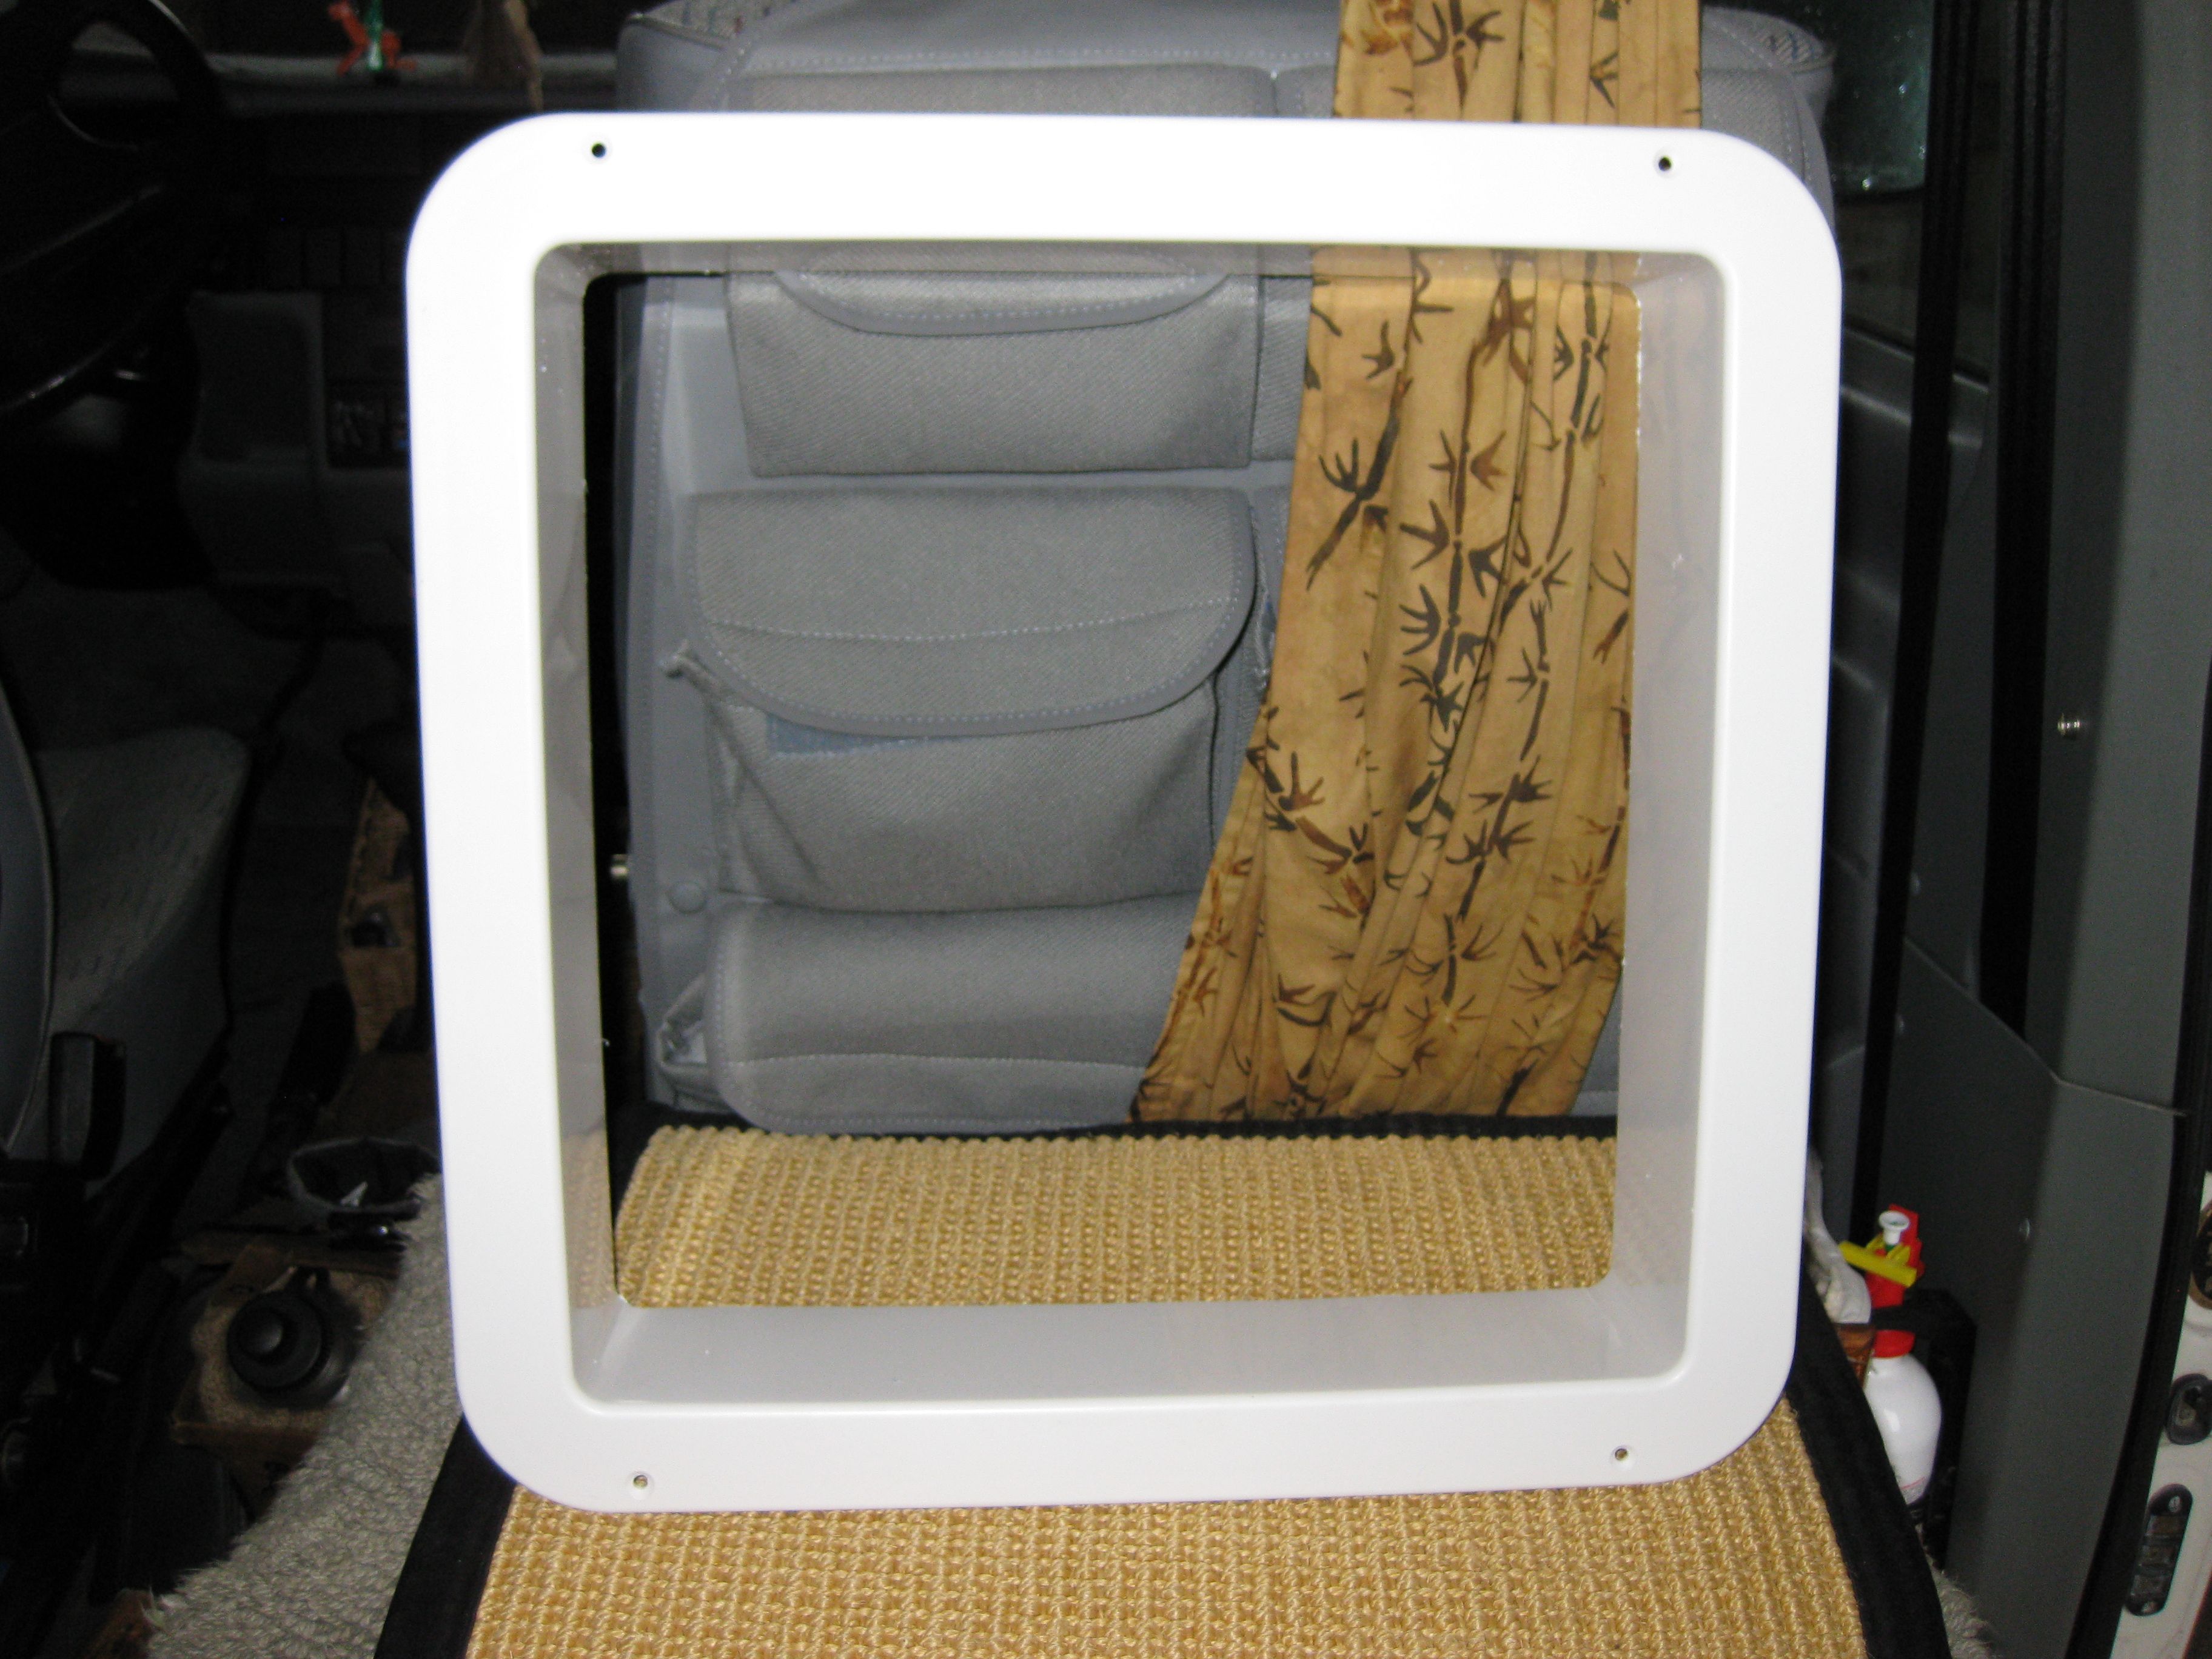
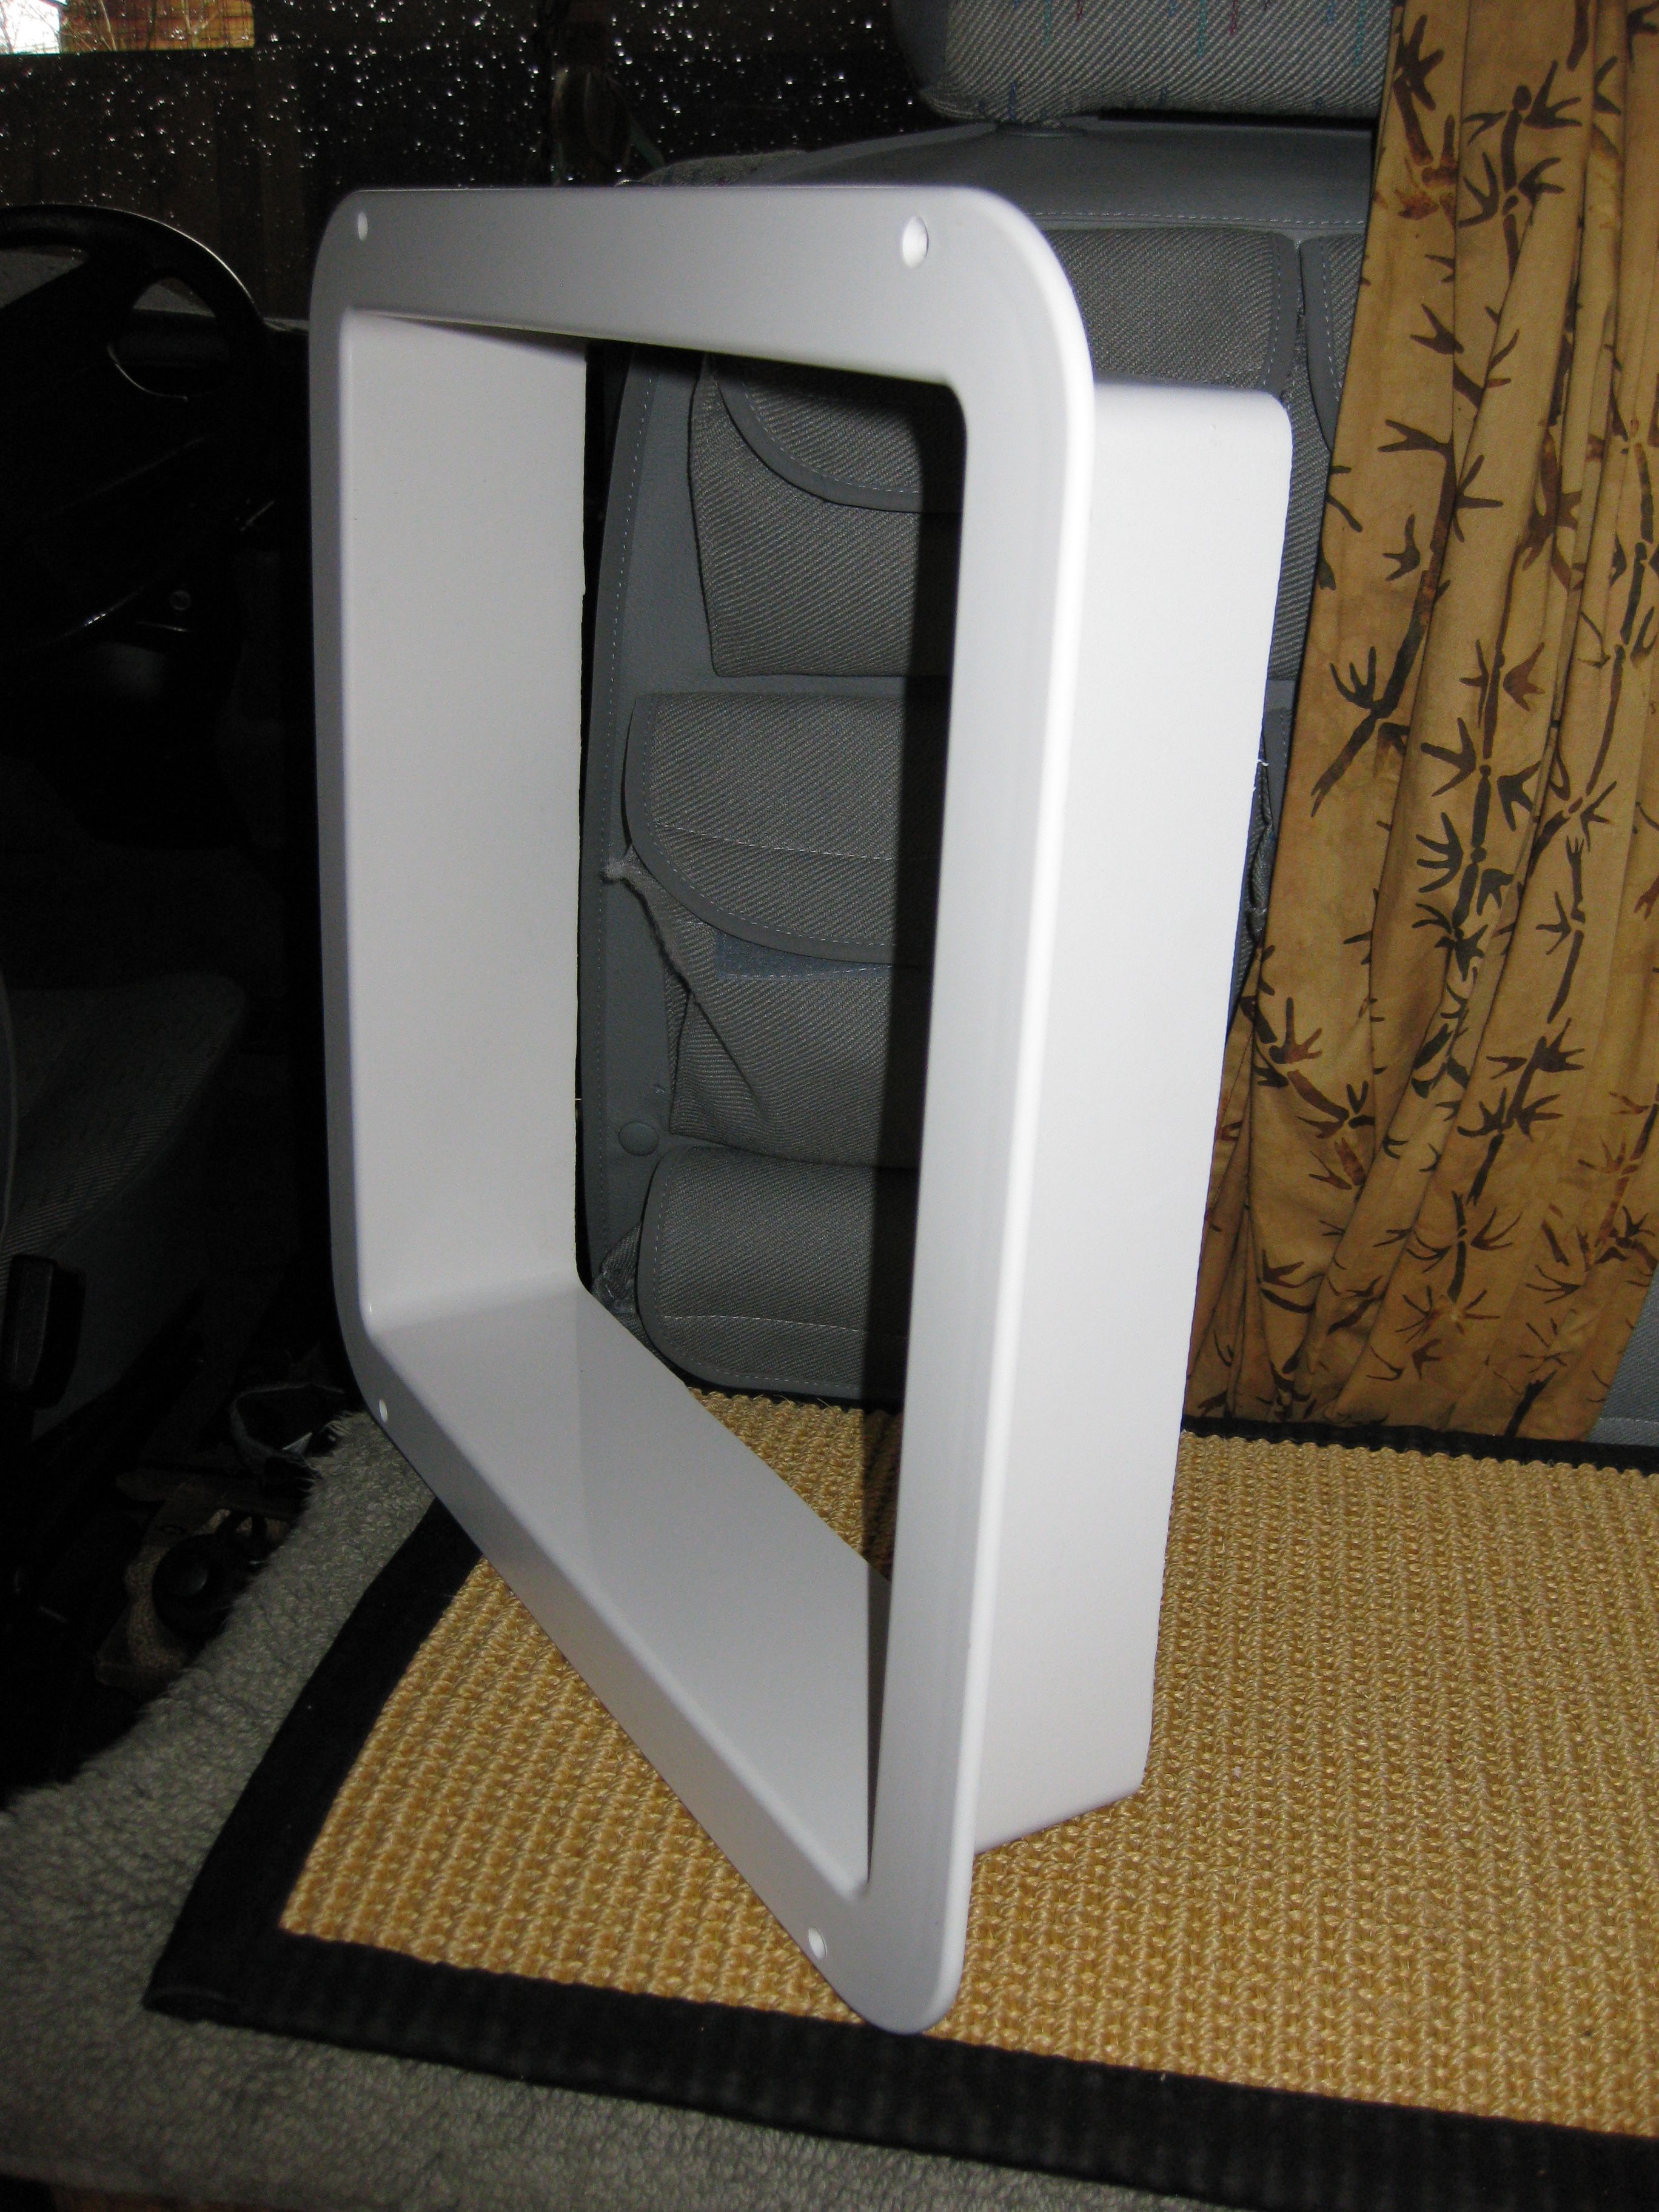
If you look closely, you can see that there is a gap on either side:

Here is a closer view:
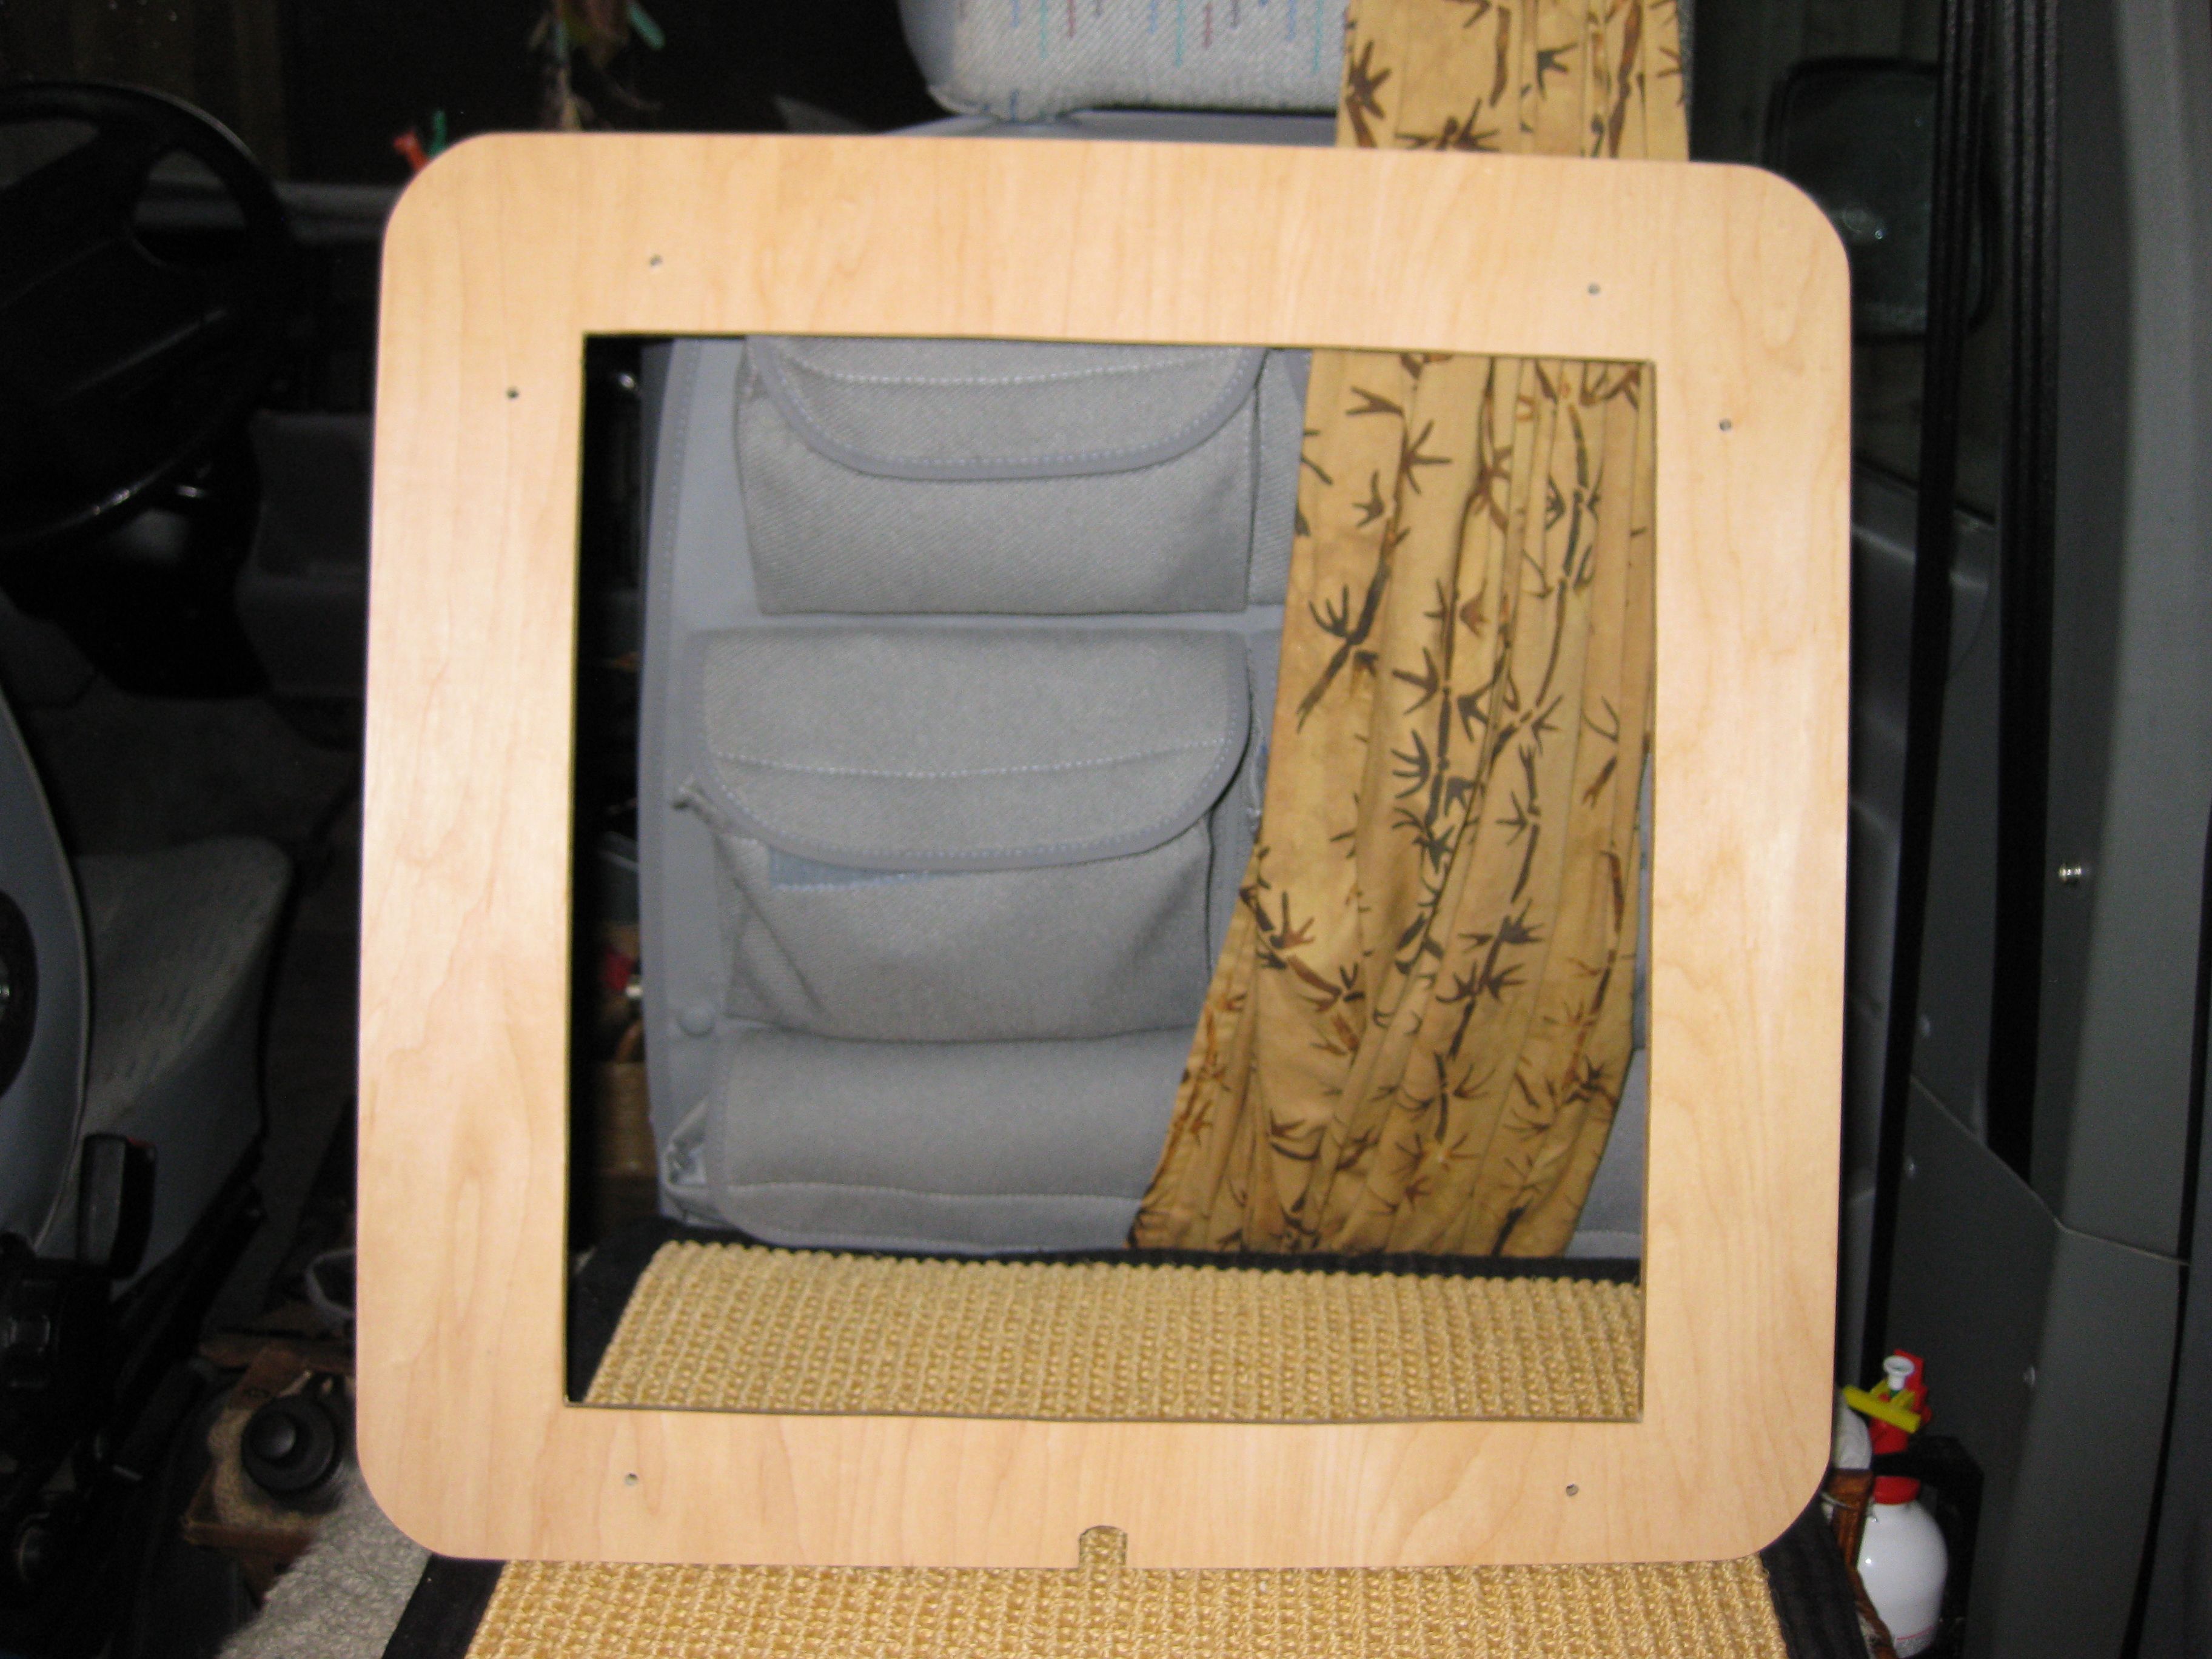
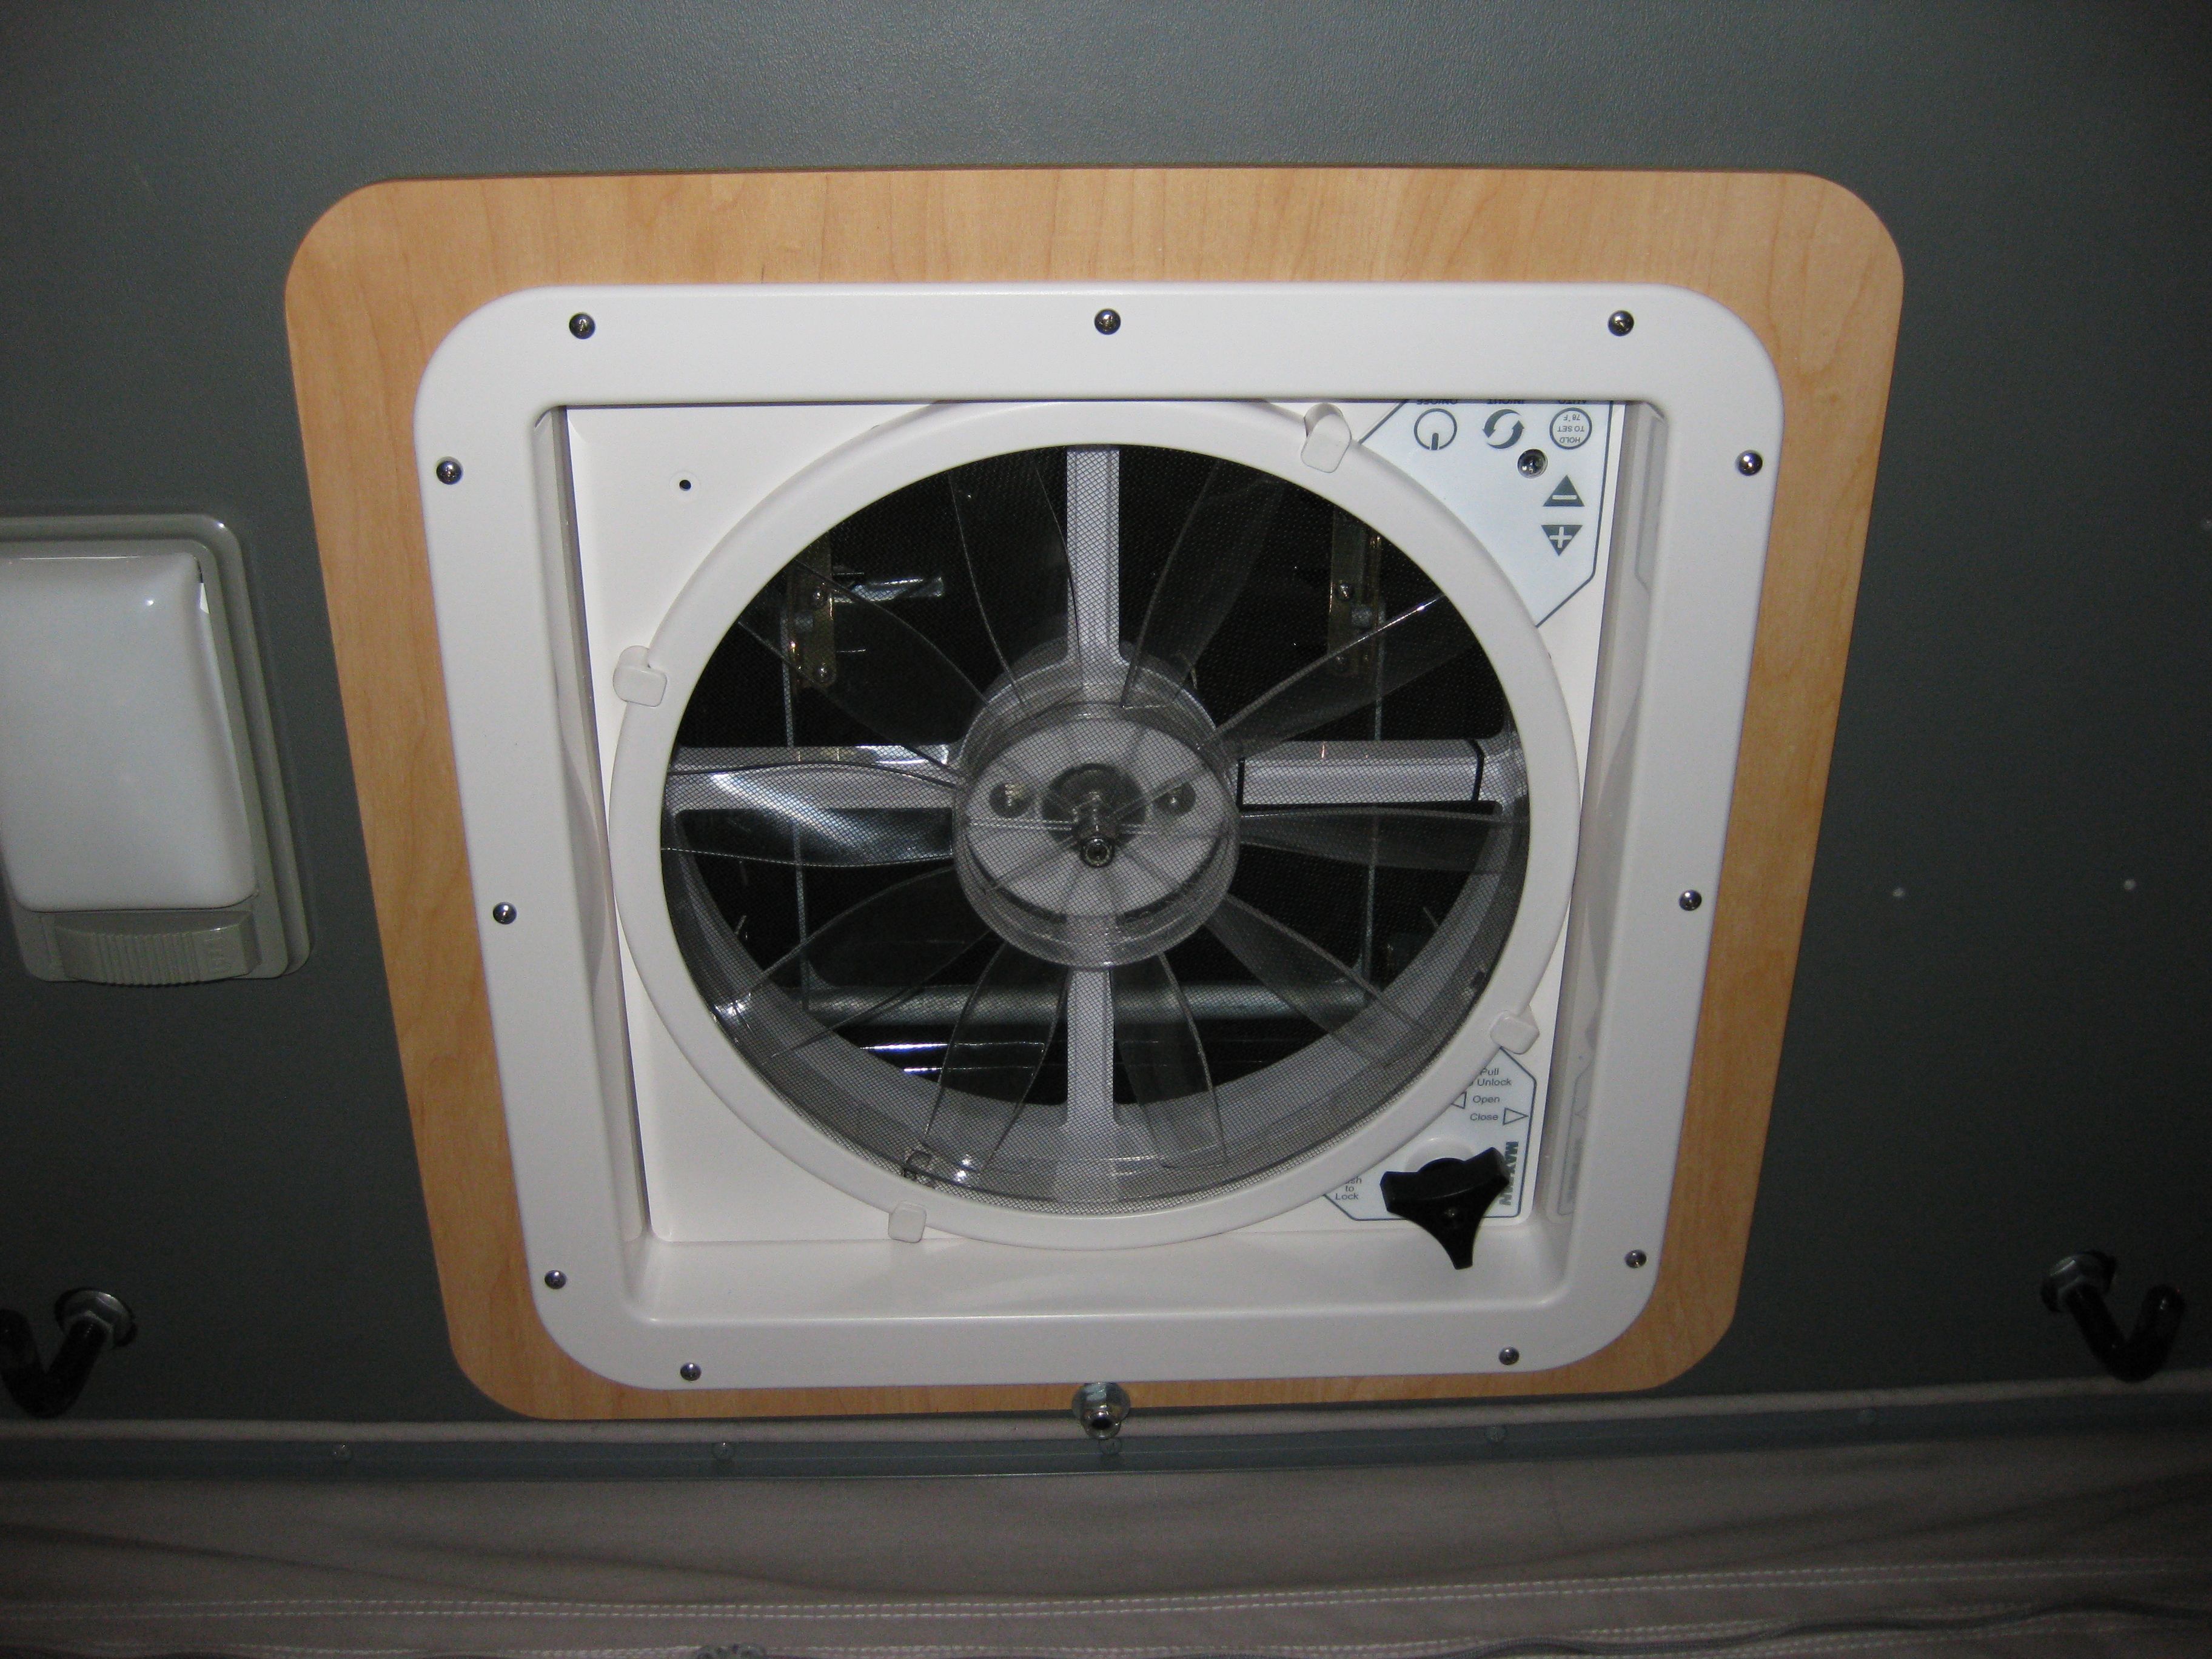
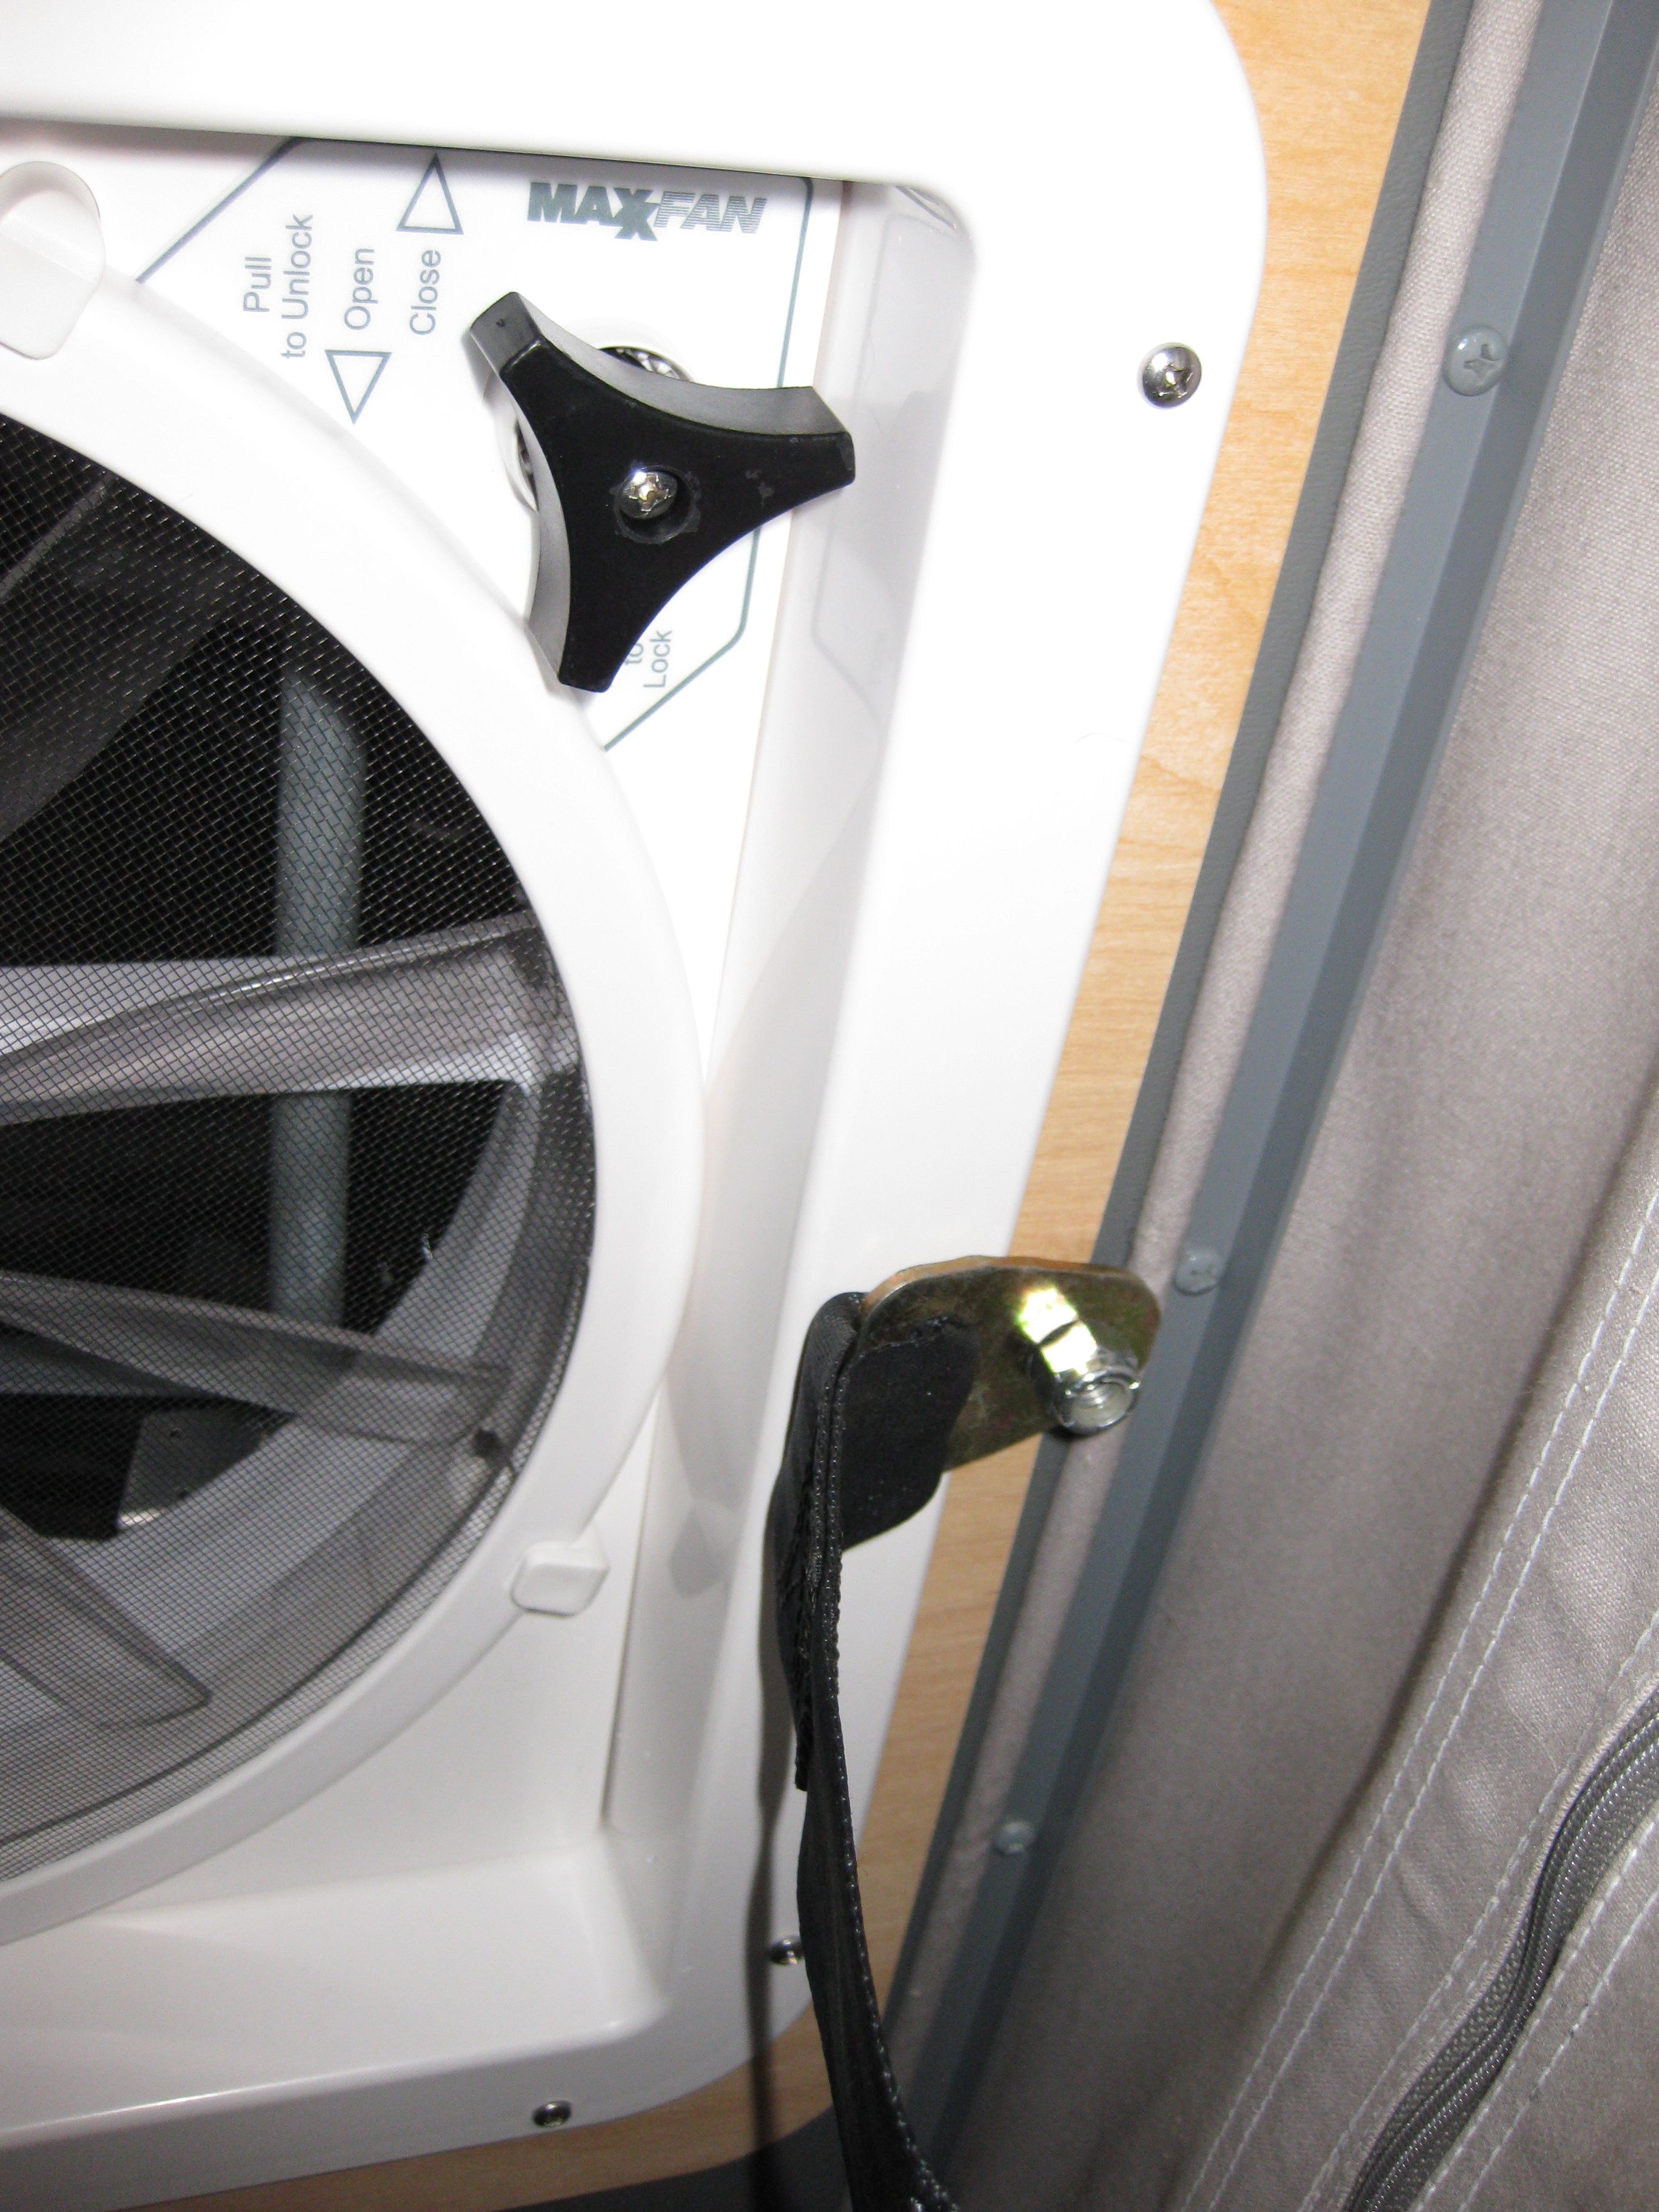
So another bezel is needed - I made mine out of wood (3/8 inch 5 ply birch that I had laying around), coated with Benite (protects the wood and does not stink). I also did not like the fact that there were only 4 screw holes on the plastic bezel, so I added more - you also need to do this because there is empty space behind the plastic part of the bezel - so some of the screws go into the pop top, and some screws just go into the wood bezel - like so:
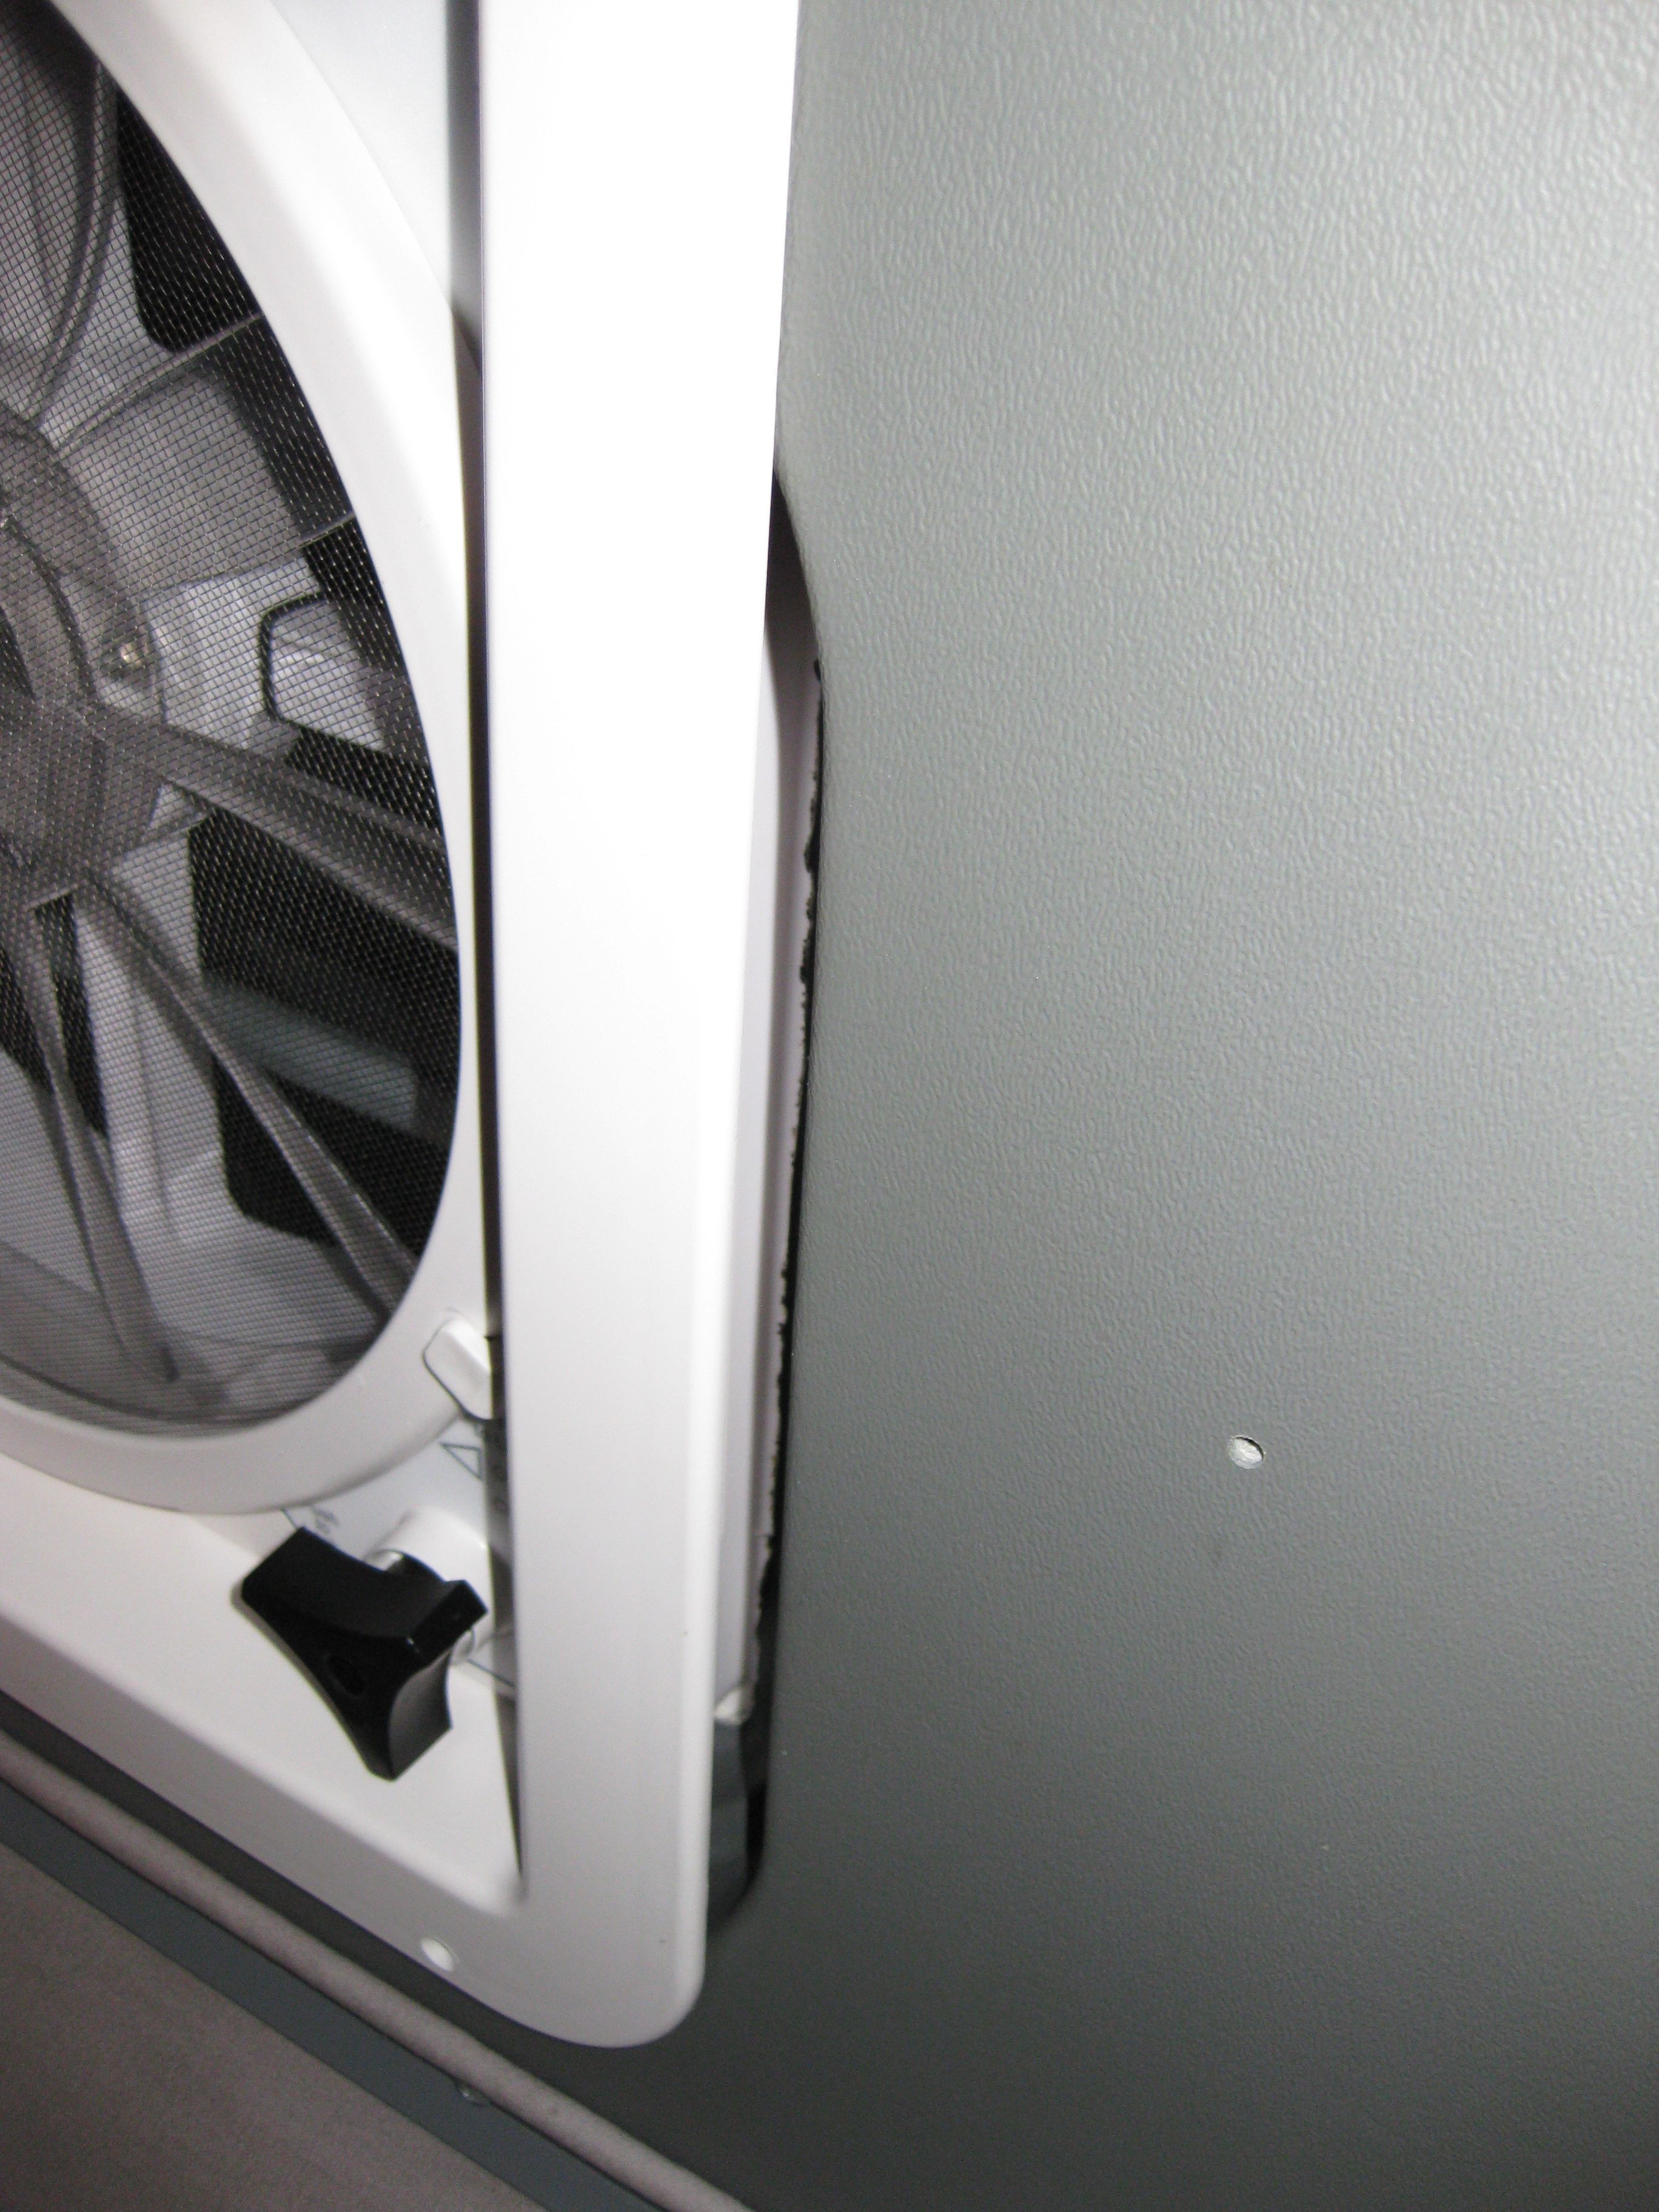
You need to add a few washers under the pop top “seat belt” like so:
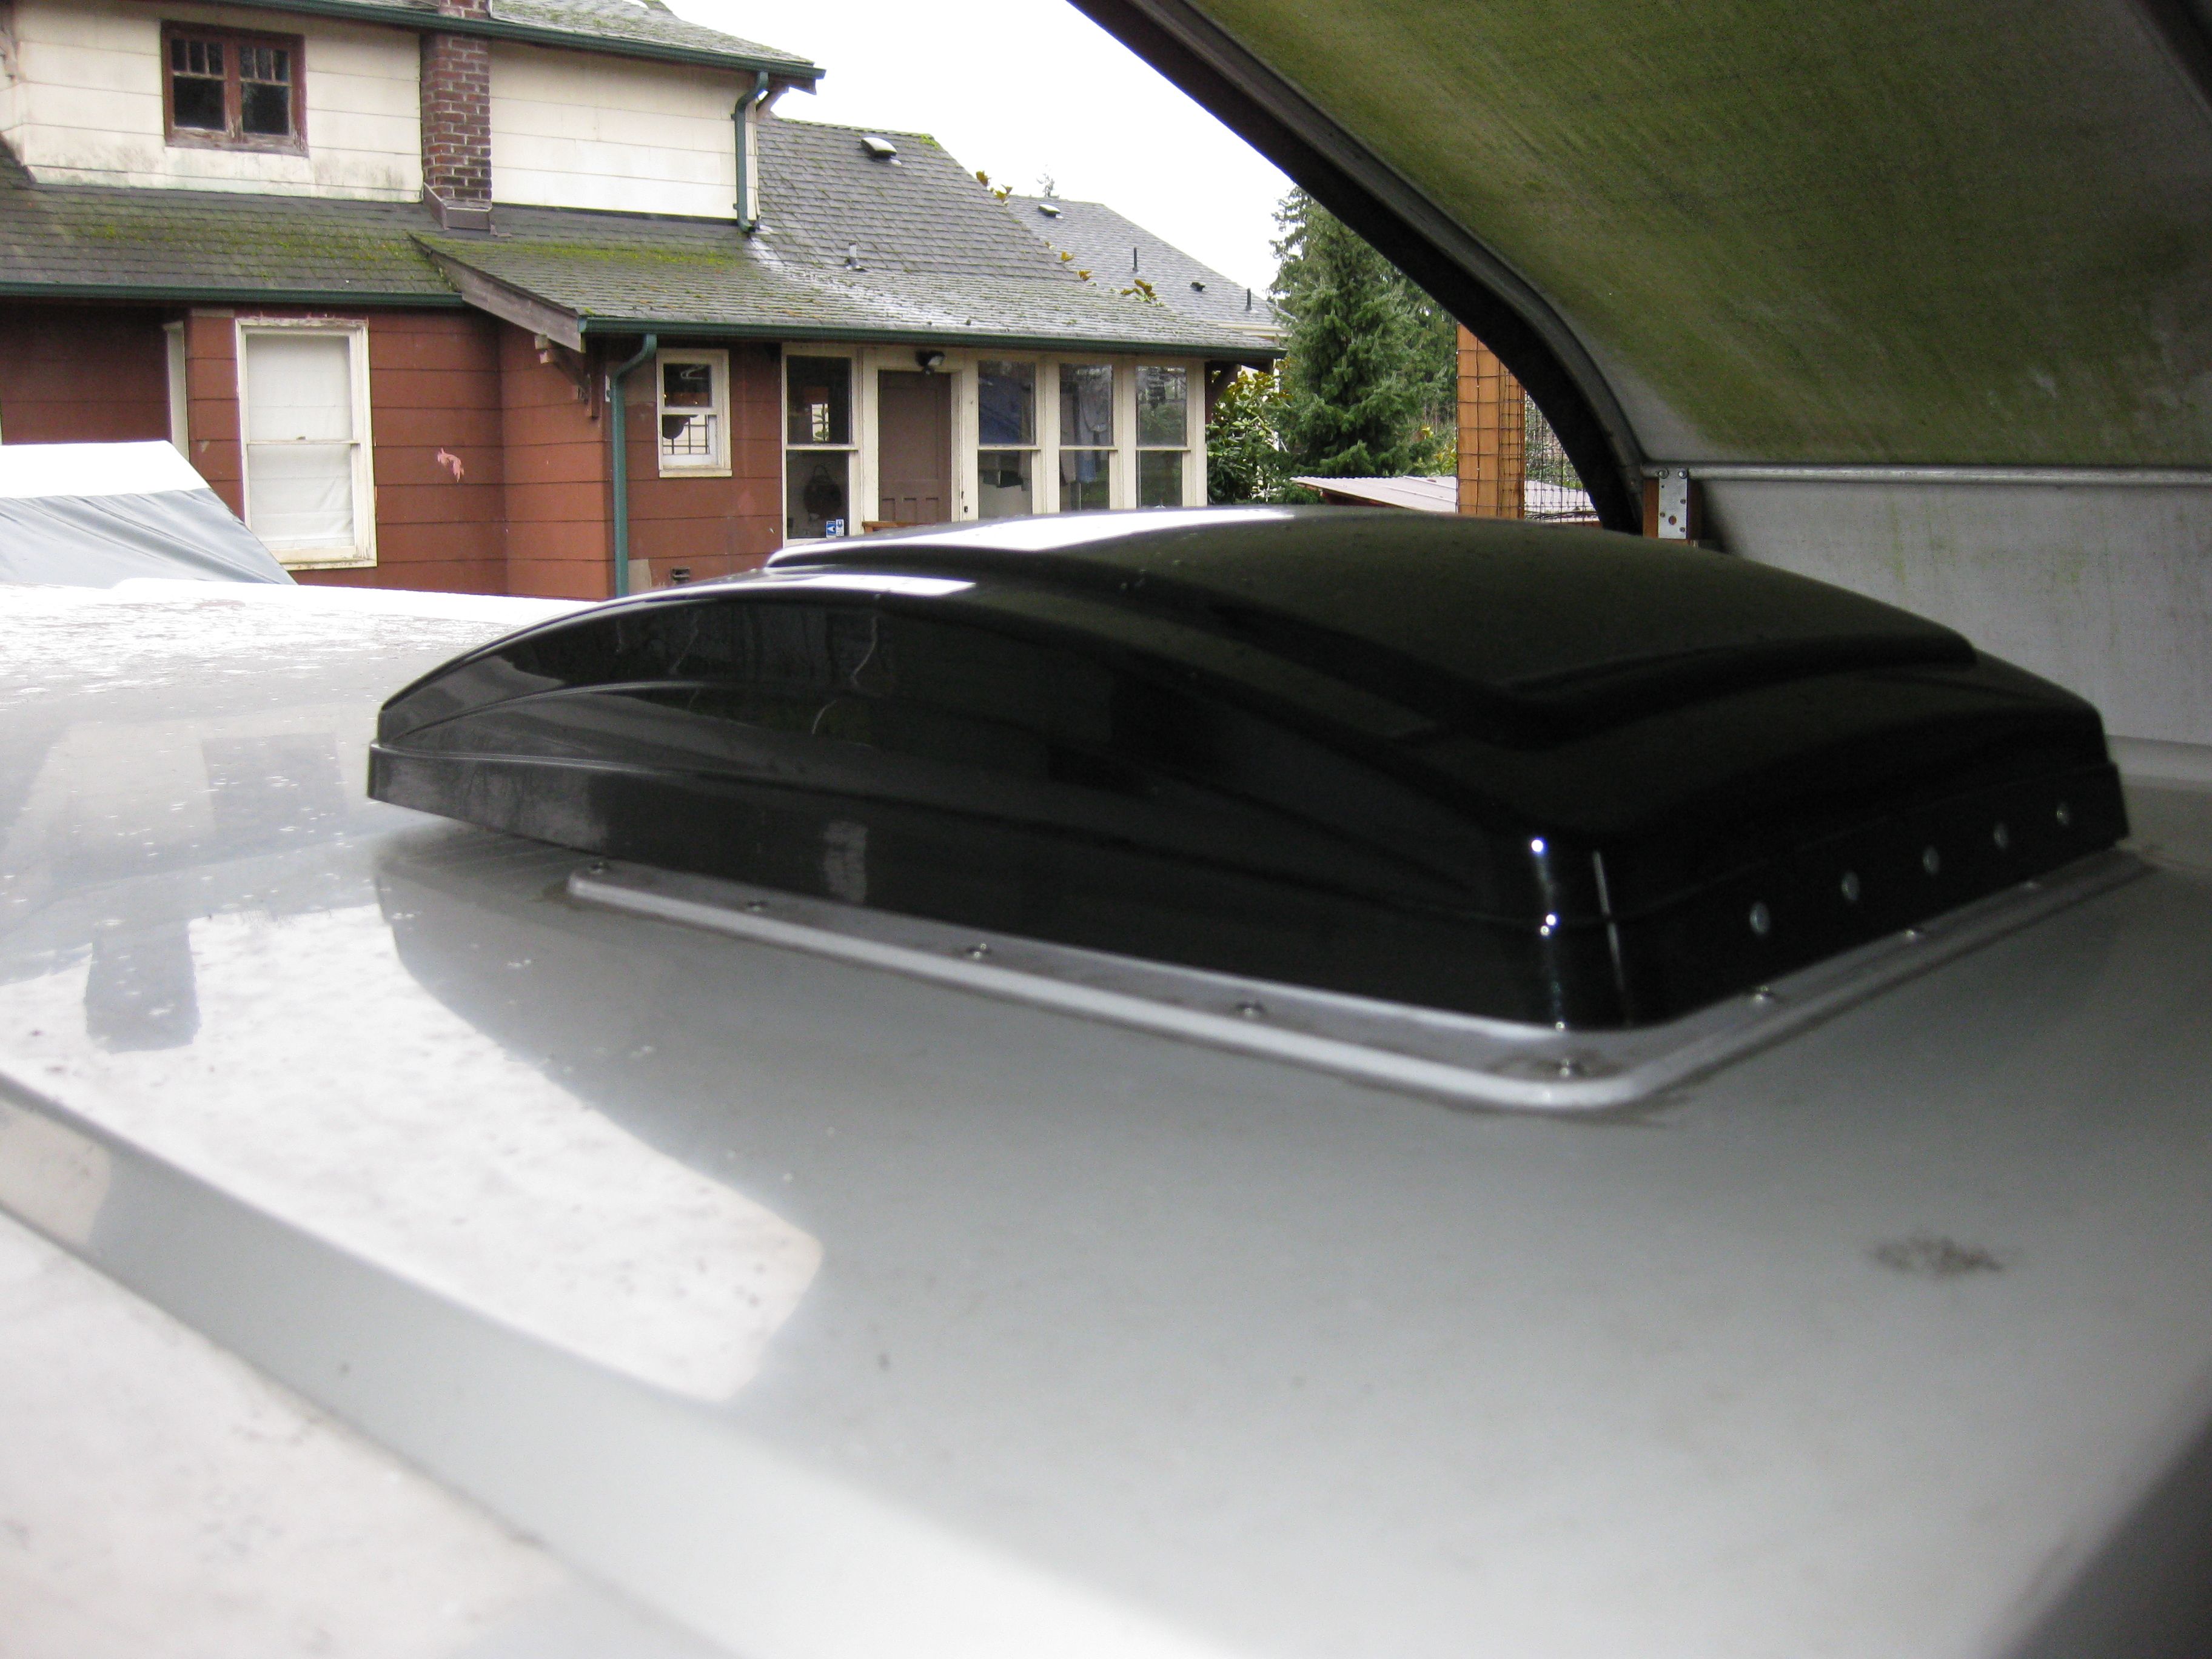
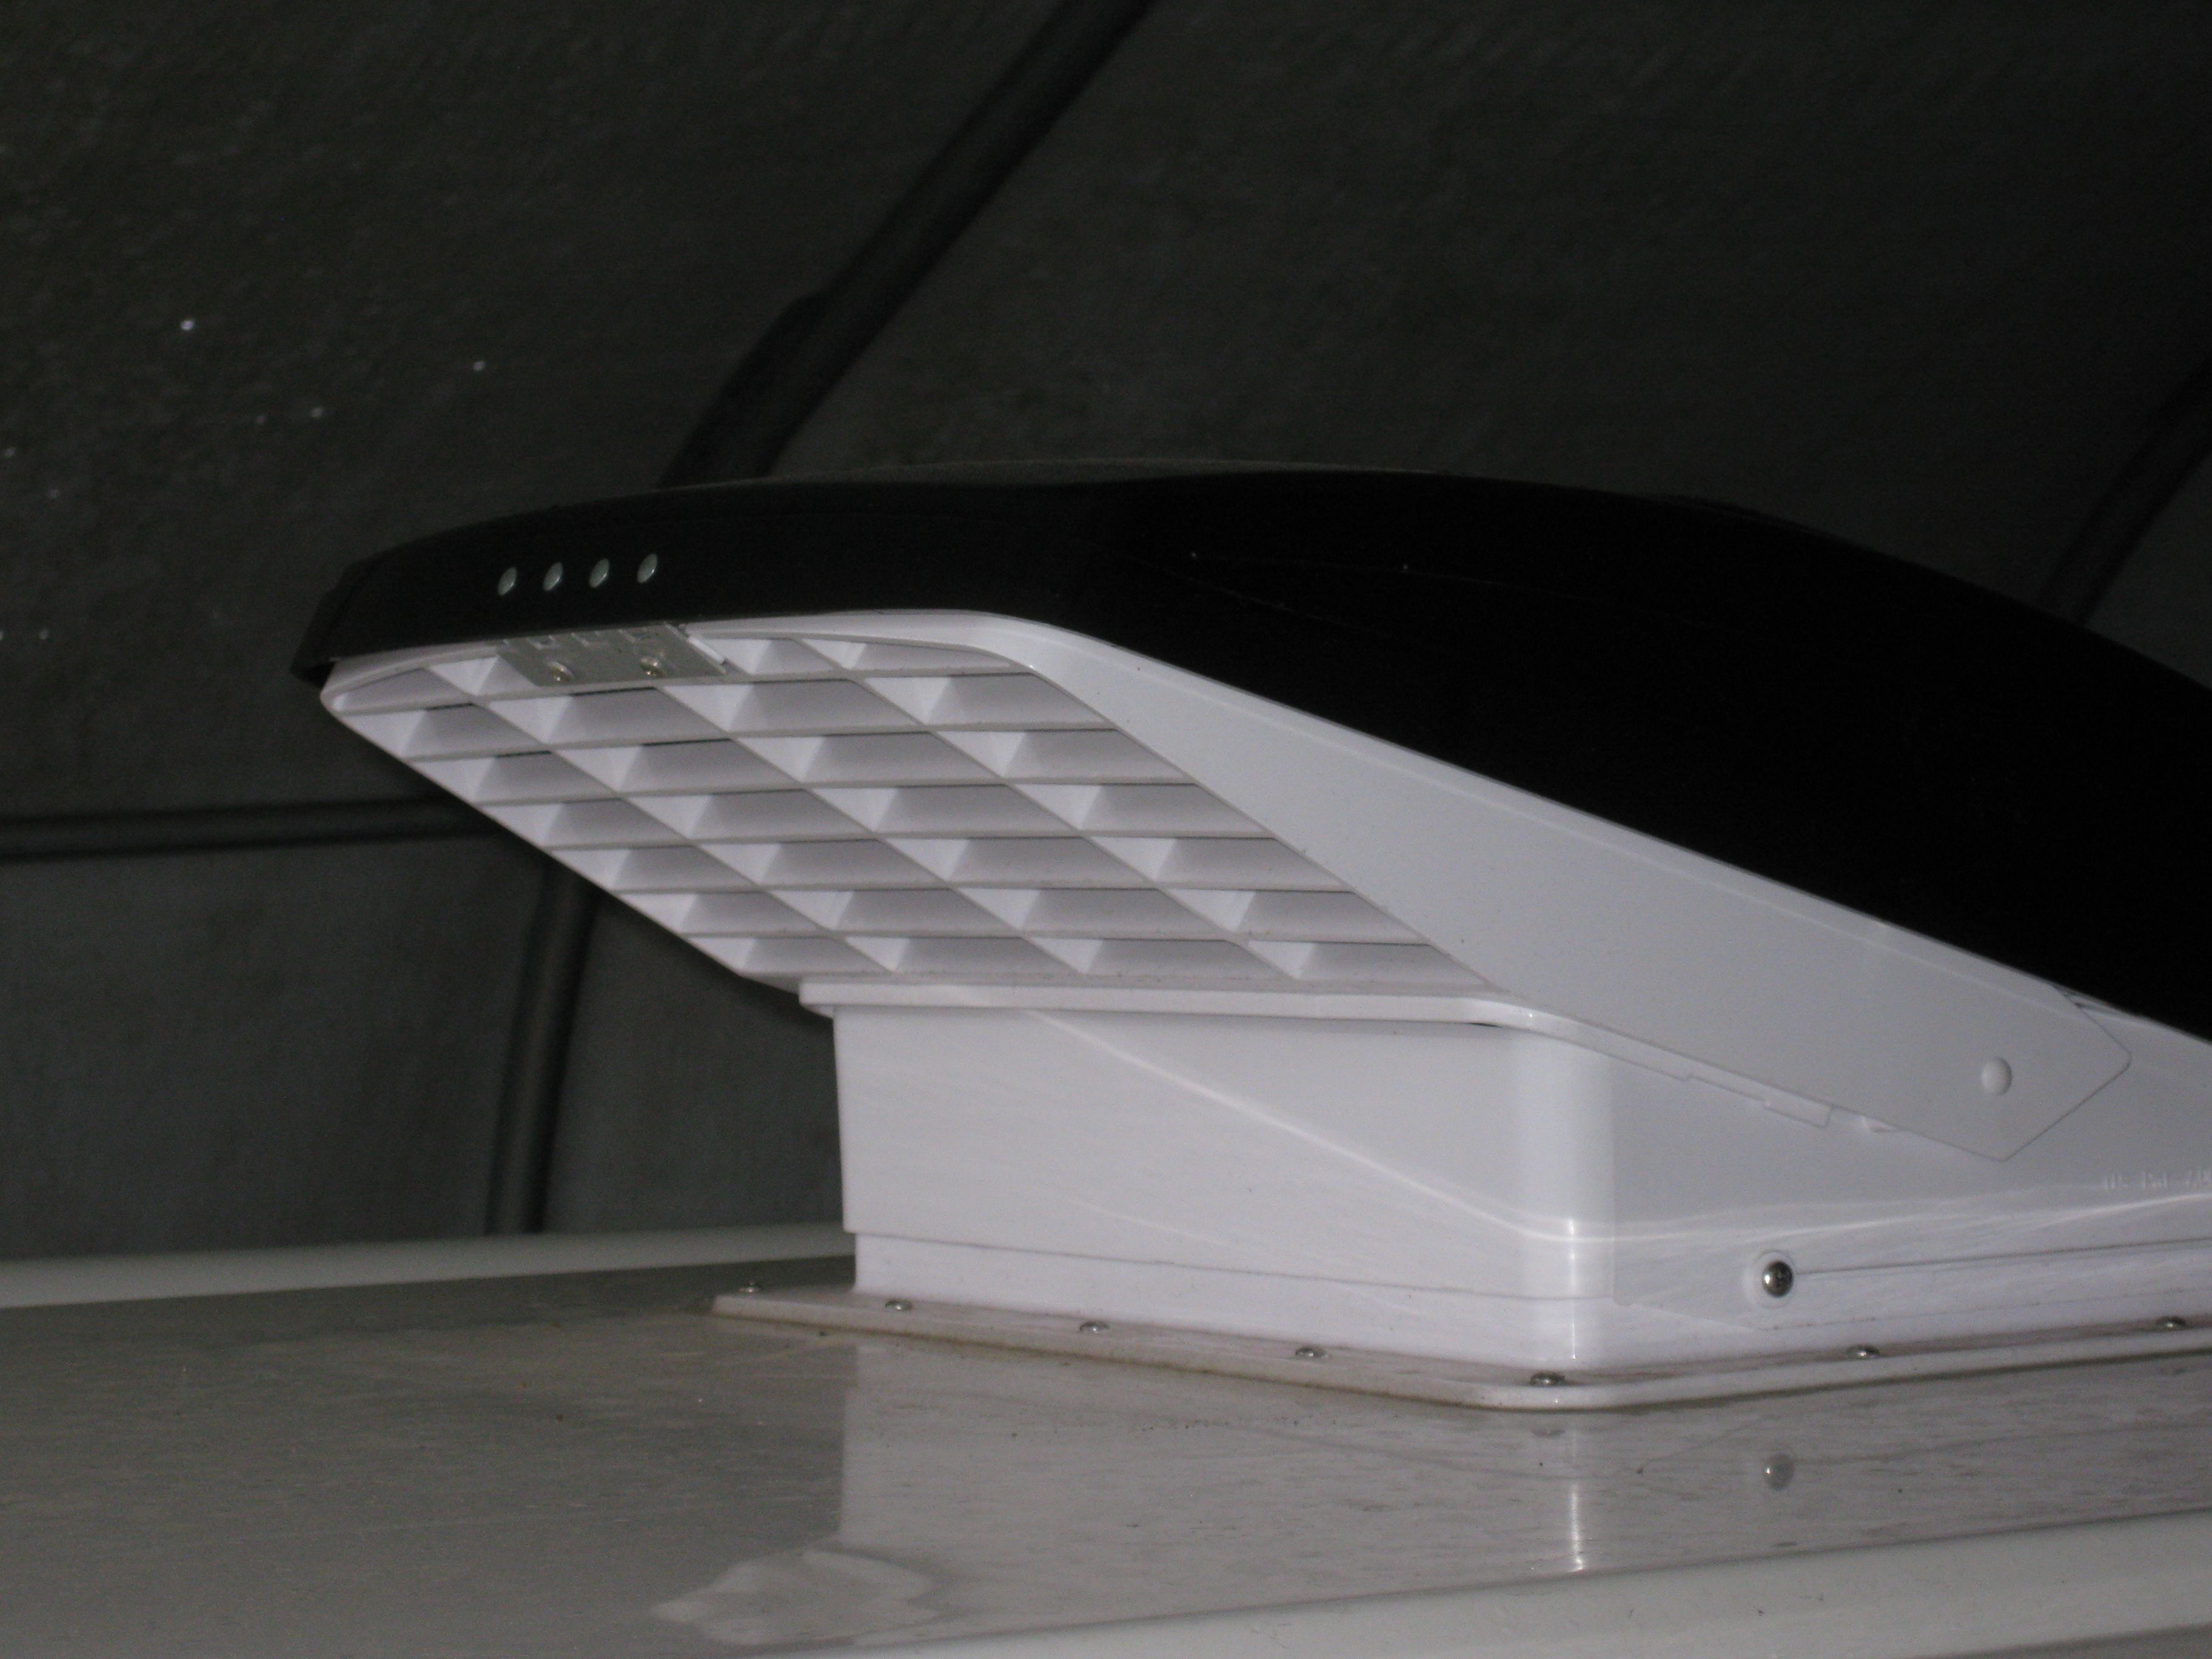
Here is how it looks on the van from the outside:

Here is some data about the current draw of the MaxxFan I installed:
There are 10 speeds - I had to quit when I got to the limit of my multimeter, which was 2 amps. These are measured with the air EXITING the van, with the vent open. The current draw will change, depending on the load of the motor, so consider these values as approximate.
- .25 amps
- .325 amps
- .45 amps
- .65 amps
- .85 amps
- 1.15 amps
- 1.45 amps
- 2 amps
- rips your toupee off!
- rips off the seat covers!