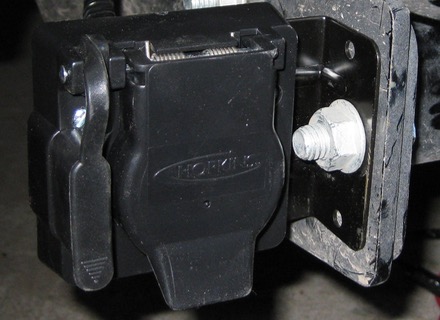
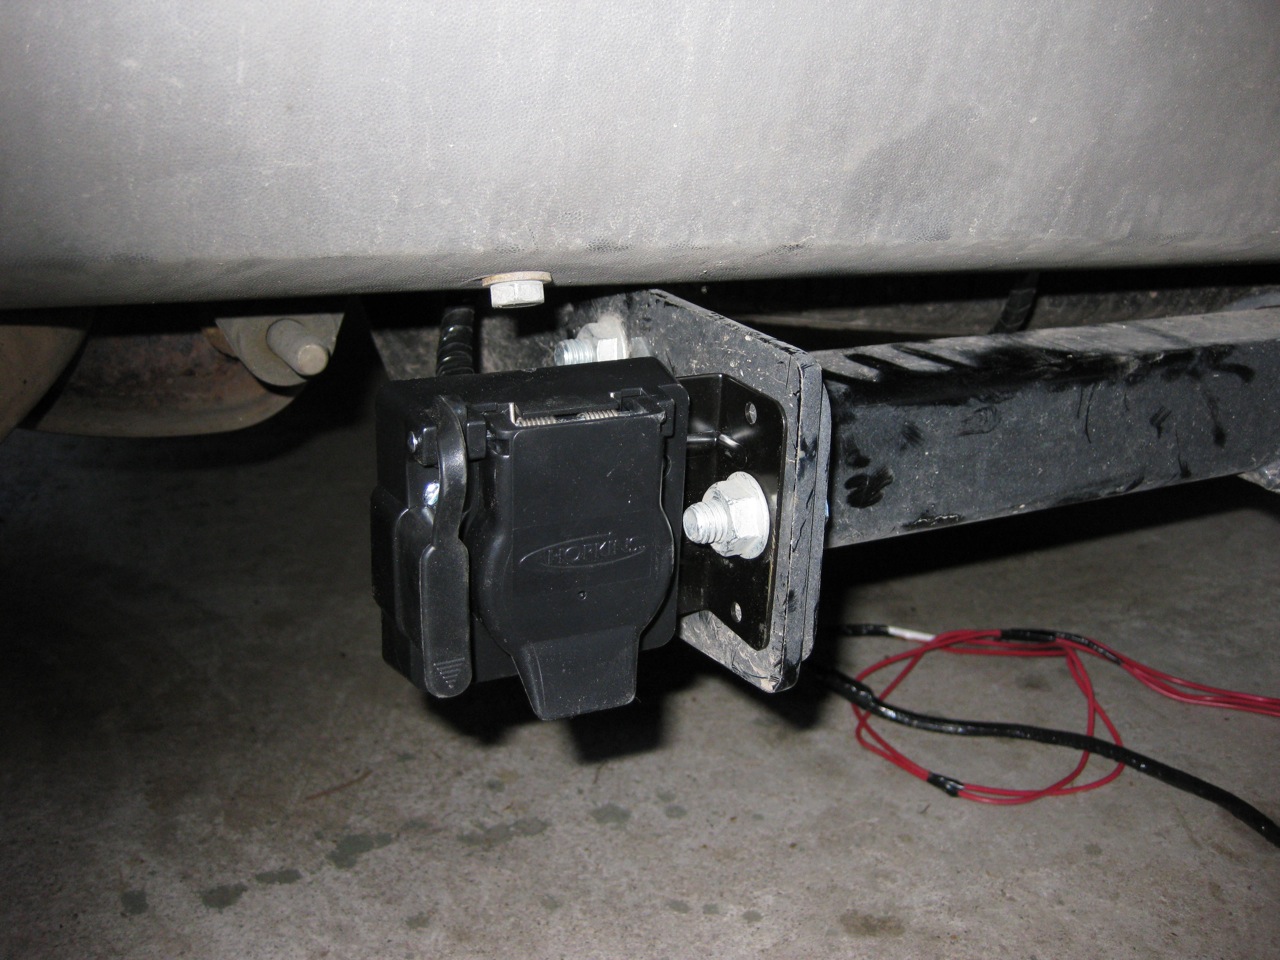
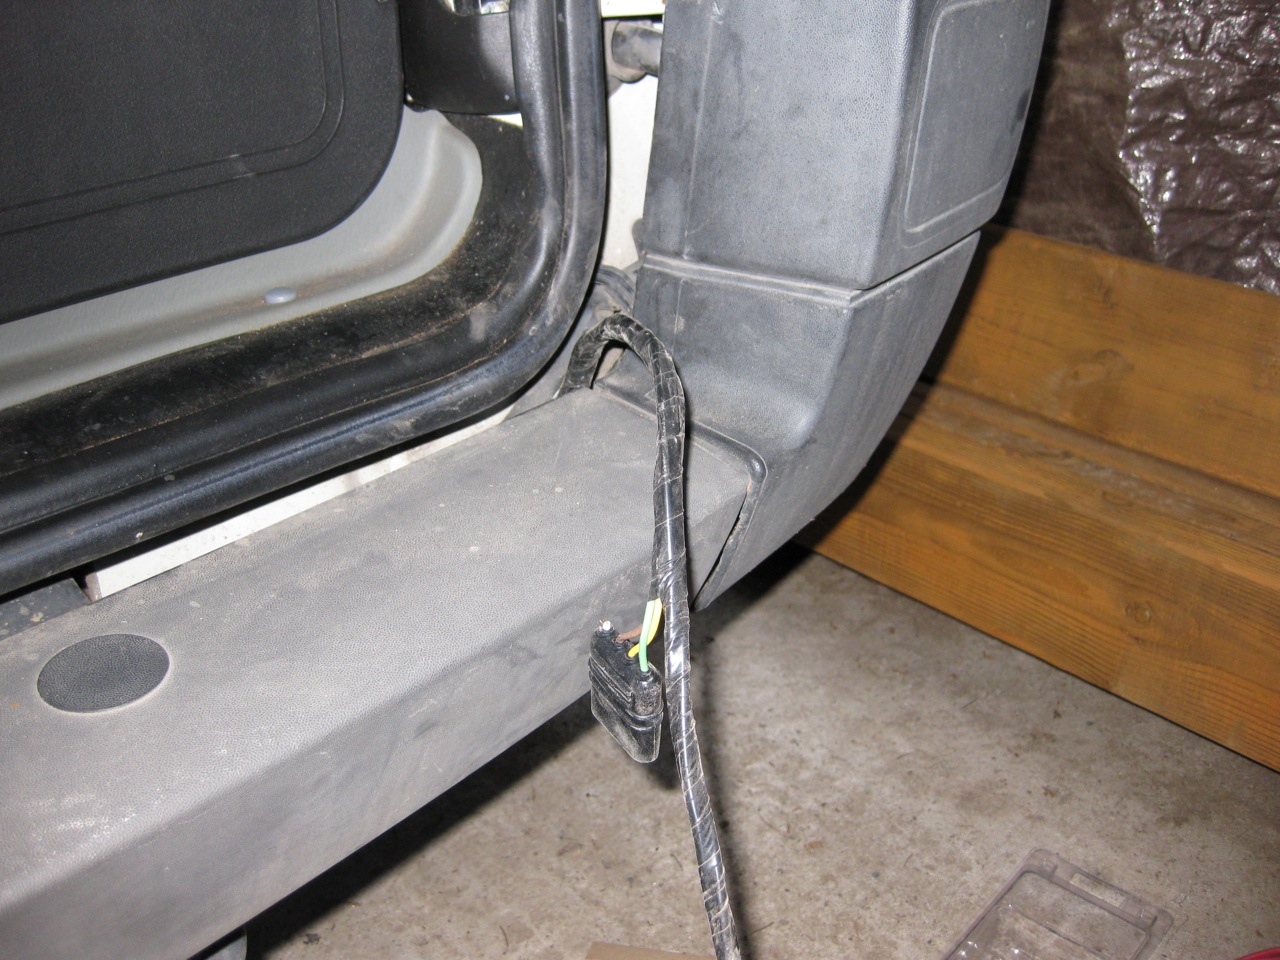
We have a trailer hitch on our van (from Eurocampers) but we have had no power connection for hauling a trailer - until now. I wanted something that would handle both 4 pin an 7 pin connectors, so I got such a beast from Hopkins - here is it installed:
The trick was just how do I wire this into the Van? As usual, the eurovanupdate list came through (thanks, Paul!). The way I did it was to connect everything on the passenger side - behind the taillight.
Here is what you need:
- “Cold shrink” tape - AKA non-adhesive wire harness tape - can’t remember where I got mine (Eastwood?) but here is a link: Tape
- Super 33 electrical tape - the only electrical tape to buy
- Tie wraps
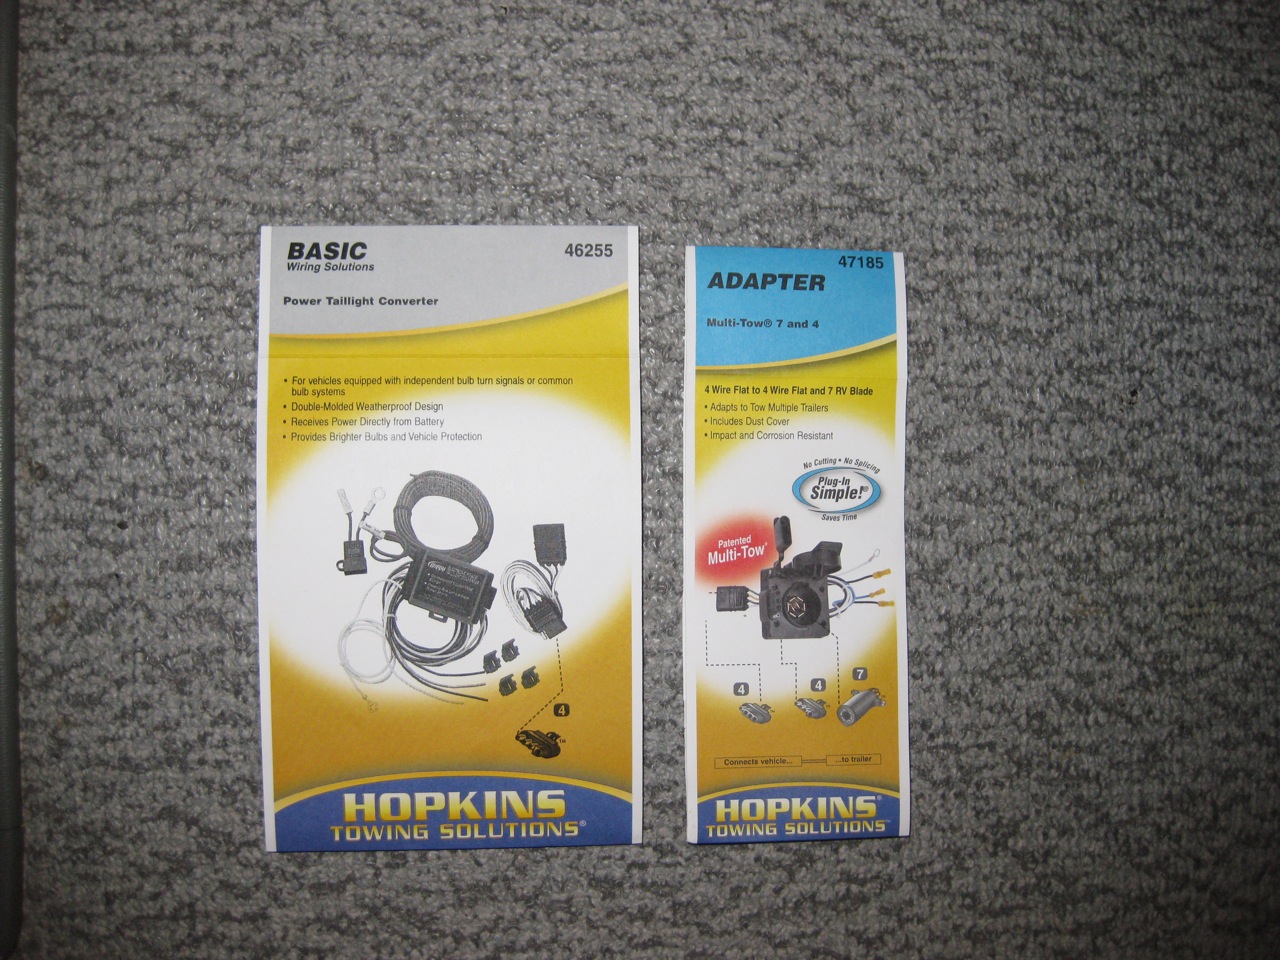
- Hopkins connector
- Hopkins trailer wiring isolator
- Patience
- Flexible (or small) hands
- Wiring diagram of the taillights
Remove the right taillight (held in with 3 8mm bolts).
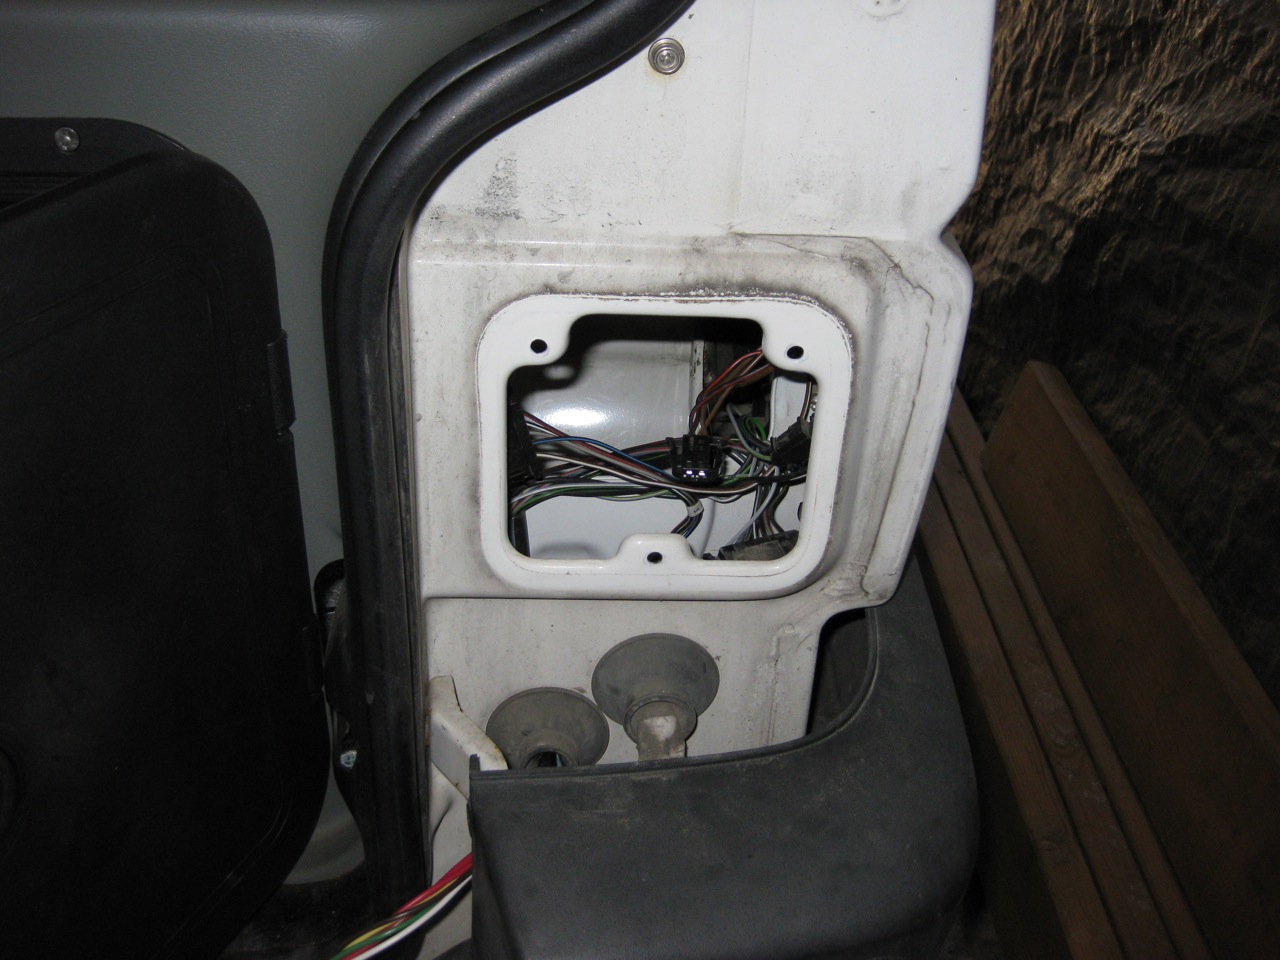
Use the cold shrink tape to bundle up all your wires neat and tidy. Run your wiring from the adapter to the taillight, following the route of the existing taillight wiring - attach to this wiring with tie wraps.
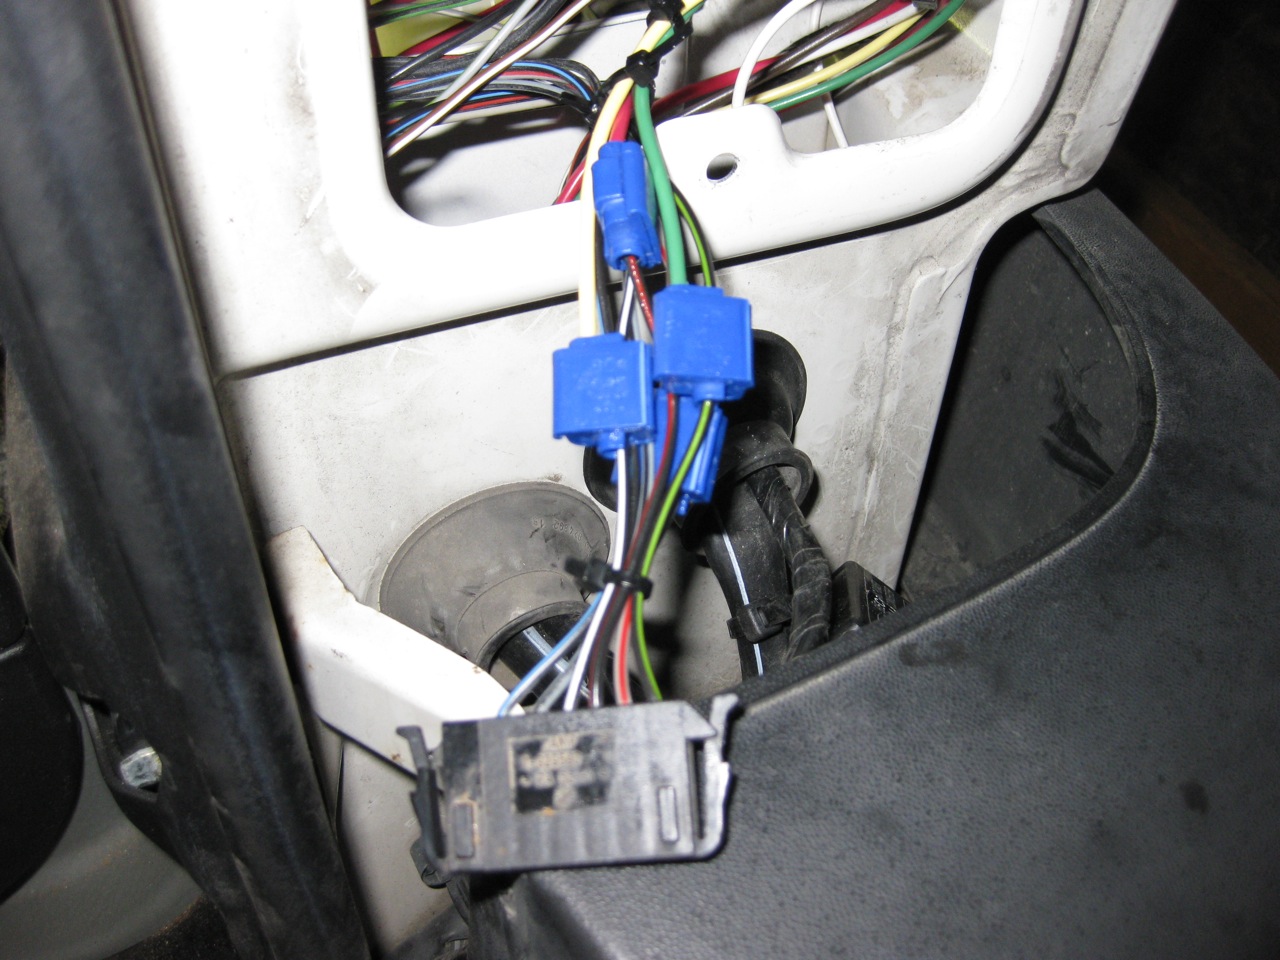
Using just the wiring from the 2 Hopkins kits I had, I mounted the power converter outside of the taillight. In later pictures you can see that I tie wrapped the converter out of the way.

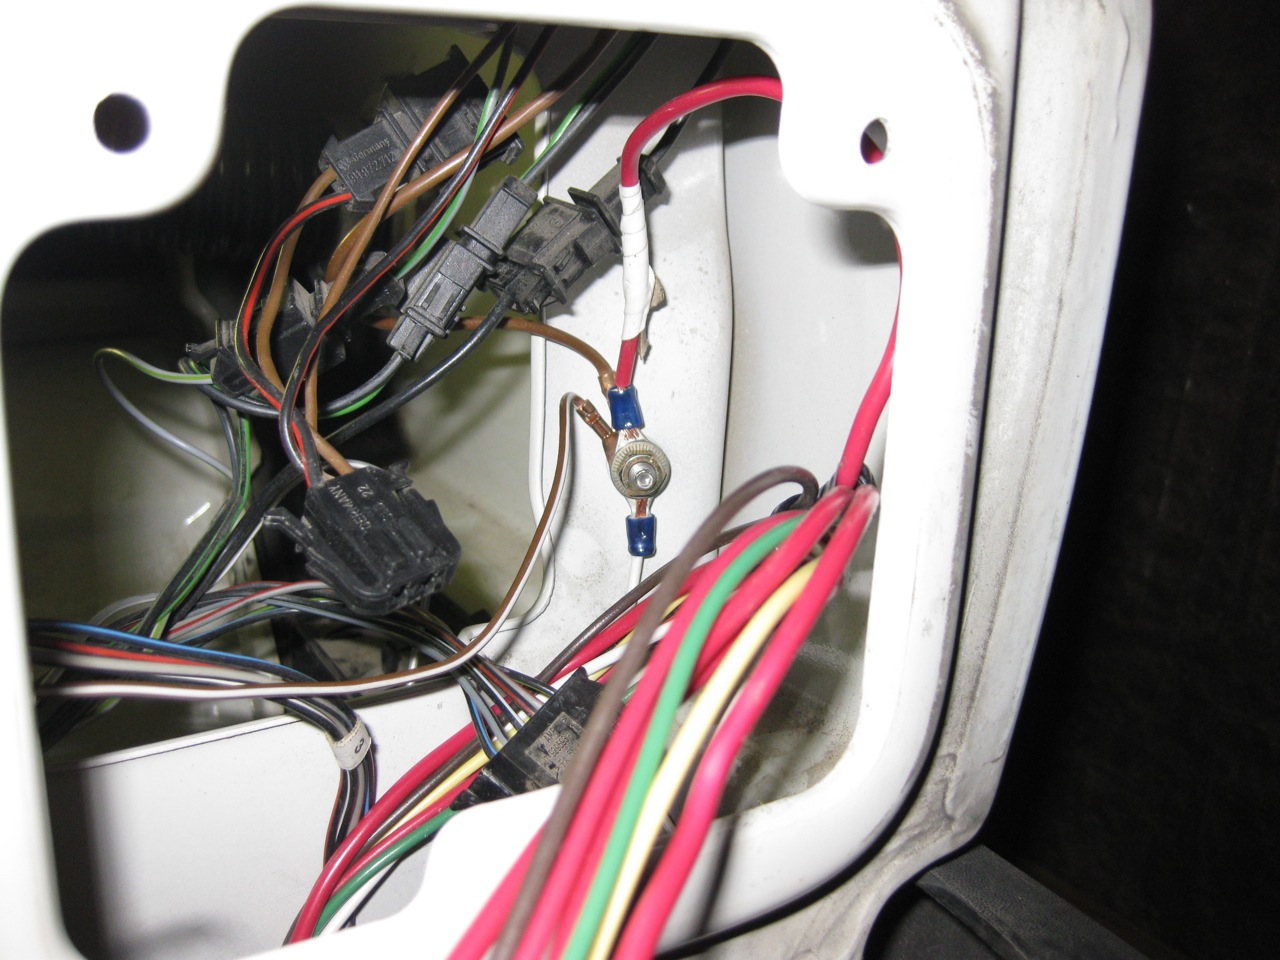
Route the wires through the existing taillight grommets and splice into the taillight wiring using the connectors provided in the kit (very nice ScotchLock connectors). Use the tie wraps to take stress off of the connectors, and to tidy your work.
Here is the wiring description - I used all the connections from the 7 pin connector on the van:
7 pin connector at right (passenger’s side) tail lamp:
- Pin 1: (empty - might be for optional right rear fog light)
- Pin 2: Black/Blue stripe - Backup
- Pin 3: Grey/Black stripe - L. Tail via 5-pin
- Pin 4: Black/White stripe - Left Turn via 5-pin
- Pin 5: Black/Red stripe - Stop
- Pin 6: Grey/Red stripe - R. Tail
- Pin 7: Black/Green stripes - Right Turn
5 pin at right tail lamp - feeder to left side:
- Pin 1: Brown/White stripe - Ground
- Pin 2: (? - might be for optional left rear fog light)
- Pin 3: Grey/Black stripe - L. Tail
- Pin 4: Black/White stripe - Left Turn
- Pin 5: Black/Red stripe - Stop
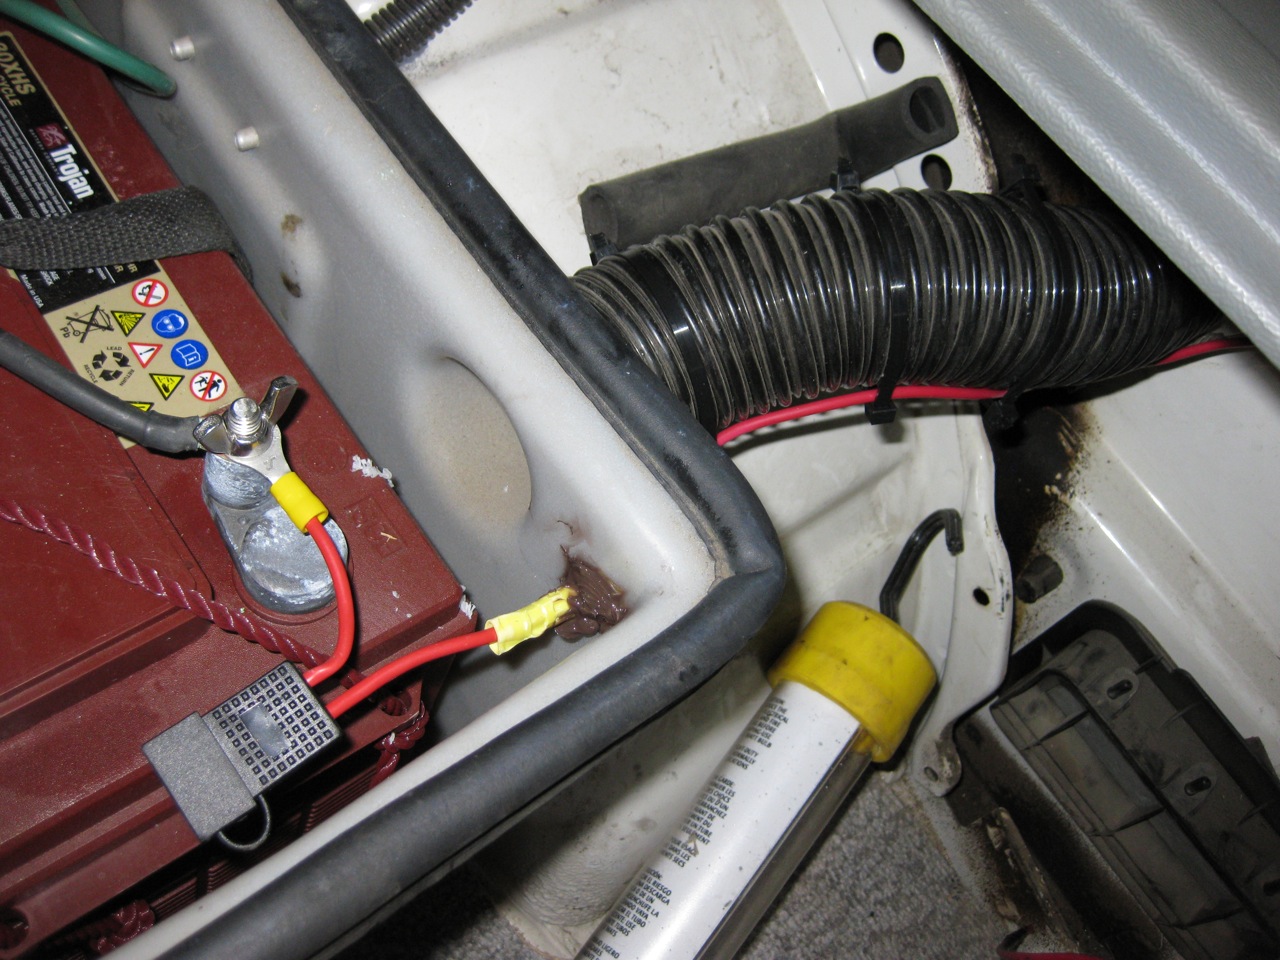
I used the ground stud inside the taillight and connected the power to the “house” battery.
Had Deborah help me test it out (it all worked!) and buttoned it back up. Not too hard, at all!