My propane tank had a bad “service valve” - the part you turn on and off. Every time I would turn it on or off, a great cloud of freezing propane vapor would escape - the valve needed some work! I learned that rebuild kits for the valves are no longer available, as new valves are not much more money. Replacing the valve would require the tank to be removed and all the propane emptied from it. While I was doing that, I decided to replace my regulator, as it was not doing it’s job, either - which is to supply a constant pressure of propane to all the appliances. Might as well do the rubber propane hoses, as well, since they are 18 years old.
There will not be a bunch of step by step photos - this job is messy, requires you to lie on a creeper (or similar), and I was doing this in the winter - so I was not going to hang around my unheated carport, taking photos. I have some photos - just no “step by step” shots.
Here is the overview of the steps:
- Disconnect the propane line
- Unbolt and lower the tank
- Remove the regulator and hoses
- Empty the tank
- Replace the valve
- Repaint the tank
- Replace the regulator and hoses
- Reinstall
I should have done this when I first got the van - lots of dirt and crud under there, and the tank has really needed to be repainted.
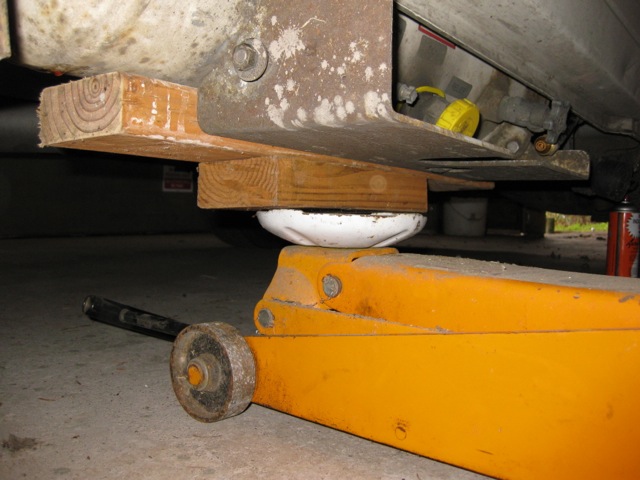
You will need to get your van up on ramps, or use your Lynx Levelers or something safe to give you some more working room.
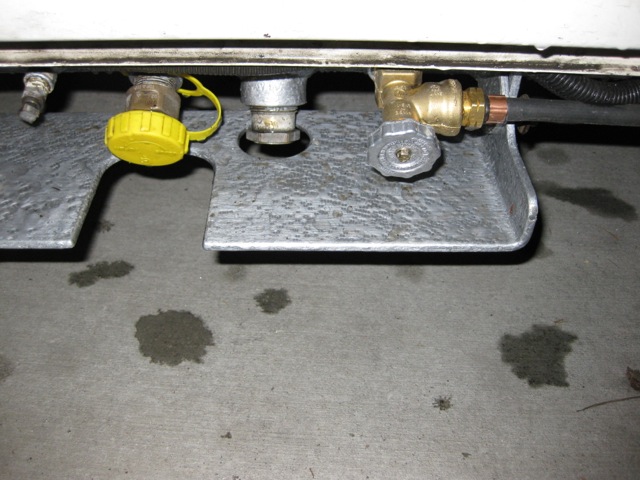
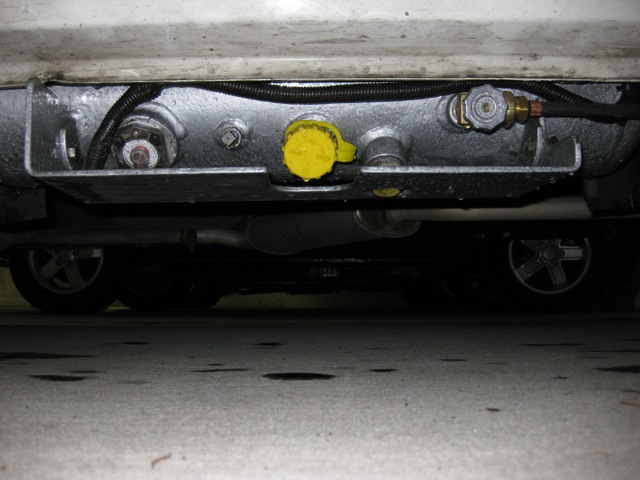
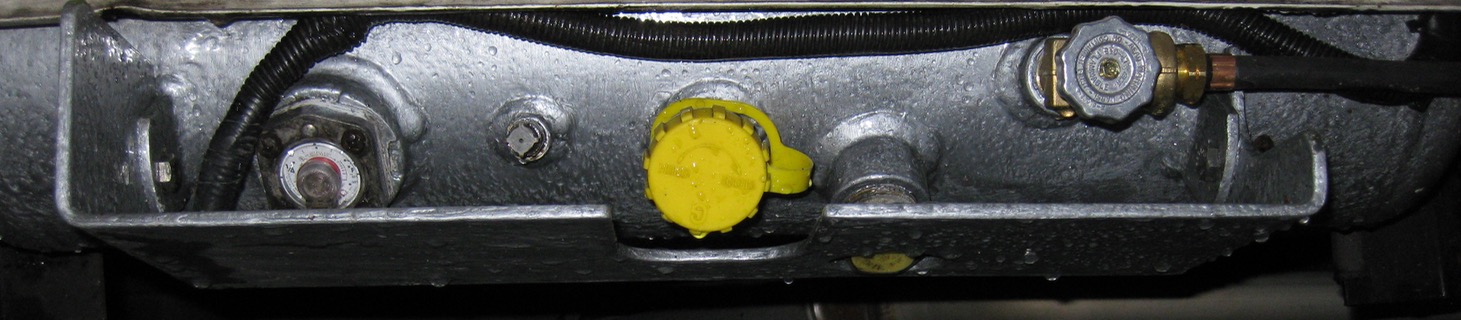
The propane tank is supported by 4 bolts, threaded “up” into 2 large metal brackets that have nuts welded on them, which, in turn, are held in place by very long bolts - one set in the cabinet just aft of the fridge, the other set under the fridge.
In order to lower the tank, you need to remove the rear tank mounting bracket, as well - this bracket holds the regulator, whose mounting bolts are not only impossible to get to with the tank in place, but some of which PREVENT you from lowering the tank - frustrating, to say the least (and it sure did not go back that way!).
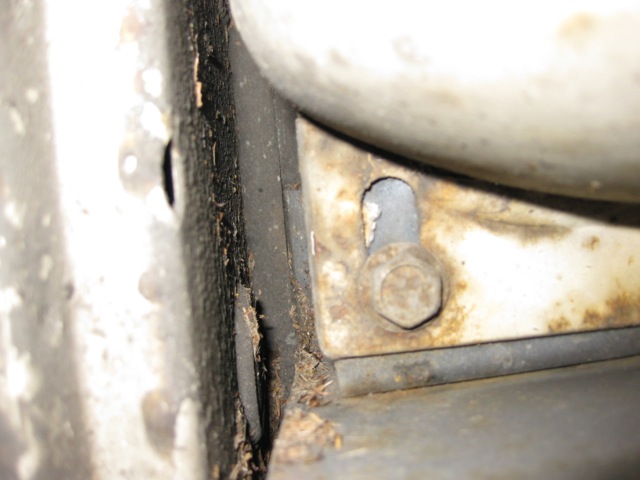
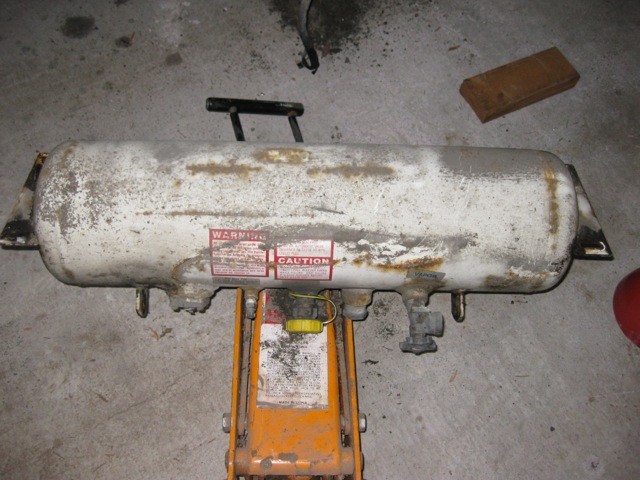
After spraying all the mounting bolts for the tank with Kroil, a 9/16 inch, six point socket on a 3/4 inch drive was able to break them all free. Then I supported the tank with a jack and few pieces of wood, removed the bolts, and lowered the tank.

To empty the tank, connect a weed burner to the service valve and go burn some weeds - or something like this blurry photo:
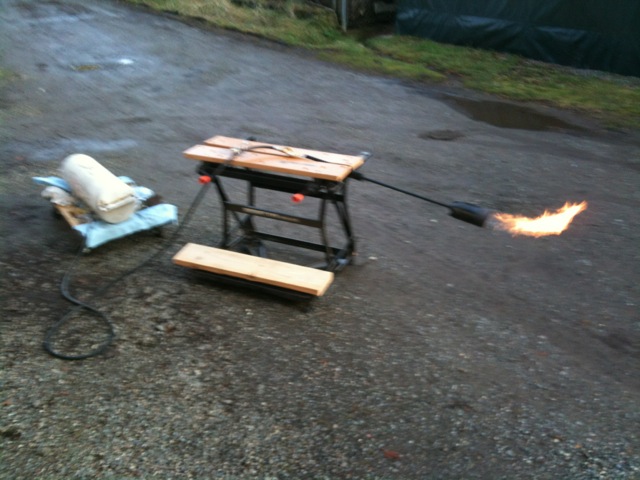 a few hours later, the tank should be empty!
An odd thing about parts for propane tanks - you can’t just go to the store and pick a new one up - you need to buy one from a propane service center or supplier. I was able to go to my local Suburban Propane place and have them order up a new valve. In my case, the valve that would work is a Rego 901C5 (if you don’t want the excess flow feature - which closes if there is a sudden rush of propane - you can get the Rego 901C1). It took them 2 days to get the part and install it for me - total cost was under $40.
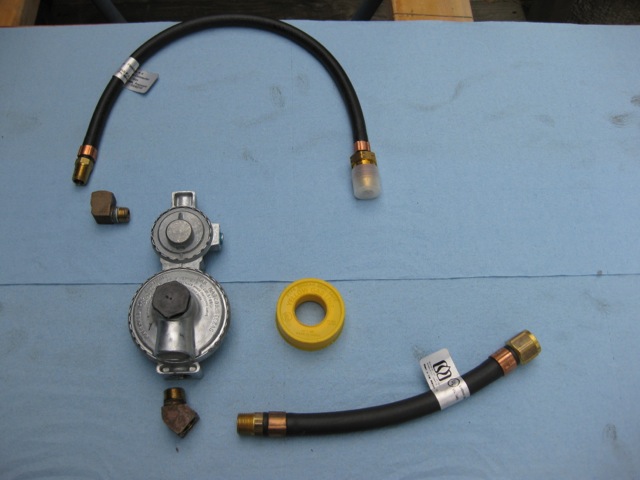
I ordered a new regulator and hoses from Eurocampers and replaced the old regulator and hoses.
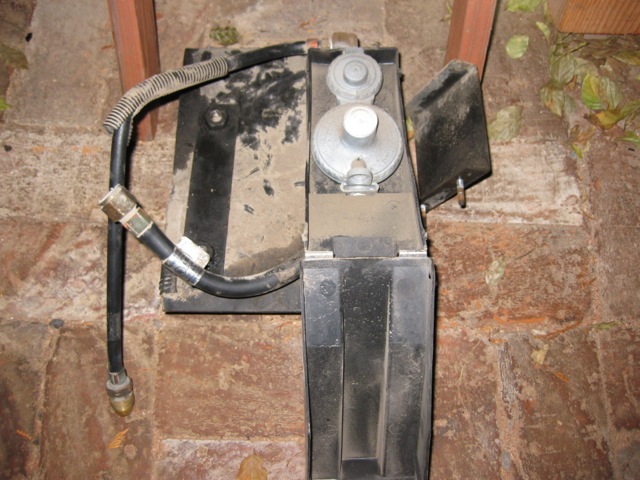
When I got the tank back, I cleaned it up, roughed it up with a green “scrubber”, and painted it with Hammerite - hammered finish, silver gray - looks nice, and is as smooth as glass. Let the paint cure, then mounted it up!