
One of the awning choices for a EuroVan is the Shady Boy. This awning is made in Canada, of US materials, and has a very compact case, and a not too difficult set up procedure. The installation and set up instructions leave something to be desired, though. Wolfgang at Shady Boy is VERY quick to answer any questions, which helped.
There is a YouTube video online showing how a Shady Boy is set up - not the best video, but it helped me figure out how to set it up.
Installation is pretty easy, once you understand some important considerations about locating the mounting brackets. You will need to feel comfortable drilling into the roof of your van, and you need some additional supplies.
The awning arrived well packed, with all recyclable cardboard packing materials (nice!) and very compact. Inside the awning case are the brackets, mounting hardware, and poles.
First step is to remove the brackets and poles from the case - keep the poles in a safe place for when you finally try out the awning.
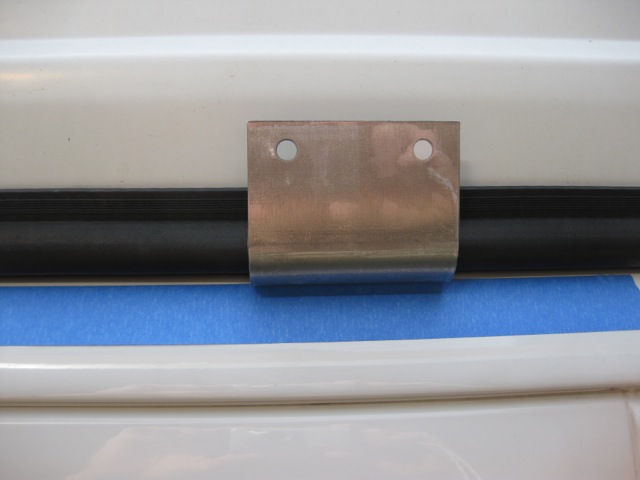
I used a 3M adhesive vinyl product on the back of the stainless steel mounting brackets, and on the van where the brackets mount. Whatever you do, put something on the back of the brackets while you check their location and alignment on the van to prevent scratching the van.
The idea is that the mounting brackets are attached under the pop top - so you need to make sure that you do not mount them too “high” on the van, or the pop top will not close. I slid each bracket under the pop top, leaving plenty of room for the pop top seal. I marked the bottom of each bracket with blue tape. Make sure you do this will each bracket, in approximately the location you plan to mount the awning - the EuroVan roof has a slight curve to it, but the pop top does not!
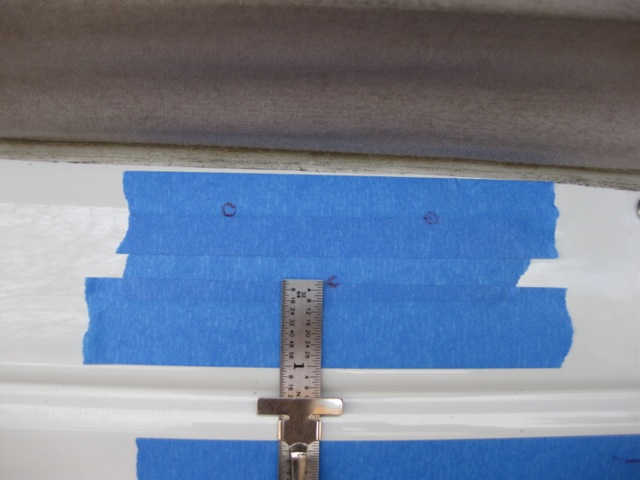
Next step is to pop the top of the van, mount the brackets to the awning case, and mark the location of the mounting holes on the roof. Make sure you have the brackets attached to the case - that way, the holes you drill will be perfectly lined up.
Use a measuring tool to make sure that the bracket is located the SAME distance from the seam on the roof:
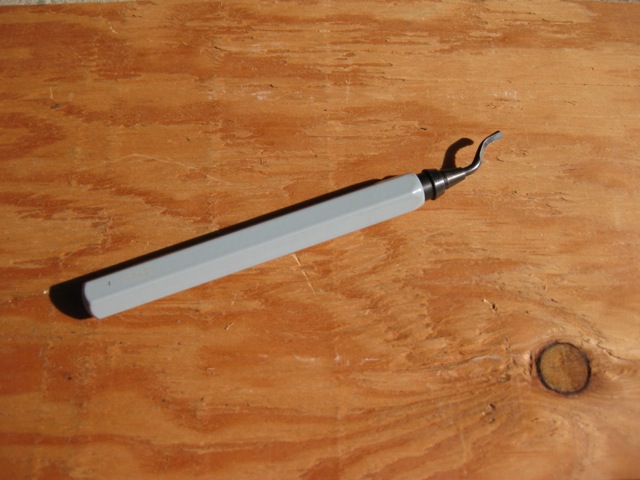
Center punch and drill 1/8 inch pilot holes first, then follow up with the drill size in the instructions (I found that a 5/32 bit worked easier that the 9/64 size in the instructions). Wolfgang has included a sheet metal screw to act as a “tap” for the stainless steel mounting screws - nice touch. I used a deburring tool to clean up the holes:
You may want to place some kind of material between the mounting brackets and the van - I used a clear vinyl product from 3M, but you could use whatever suits your fancy or nothing at all.
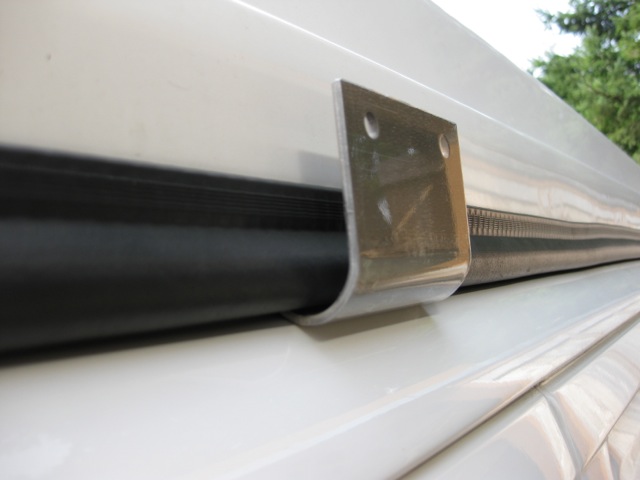
Use some silicone on the screws, and mount the brackets - I replaced the supplied screws with stainless steel round head phillips - made it more “sleek”:

Again, make sure you do not mount the brackets too “high” on the van - you need to leave room for the pop top.
Go watch the video on setting it up, and enjoy!
If you are wondering why this is mounted on the drivers side - the ShadyBoy is our “second” awning - the idea is to expand the shaded living area and create some shade on the fridge side of the van while traveling in hot climates.
