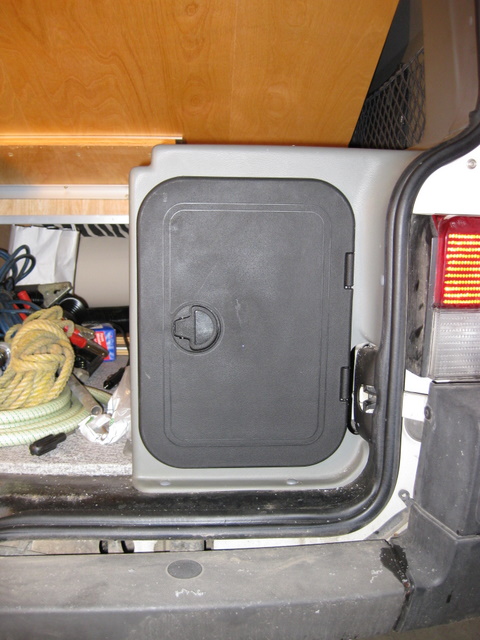
One of the things that Winnebago should have done is create a rear hatch for the coach battery compartment. Many others have done this (where do you think I found out the model of hatch to use?), but I wanted to show how really easy it is, as well as the specific approach I used.
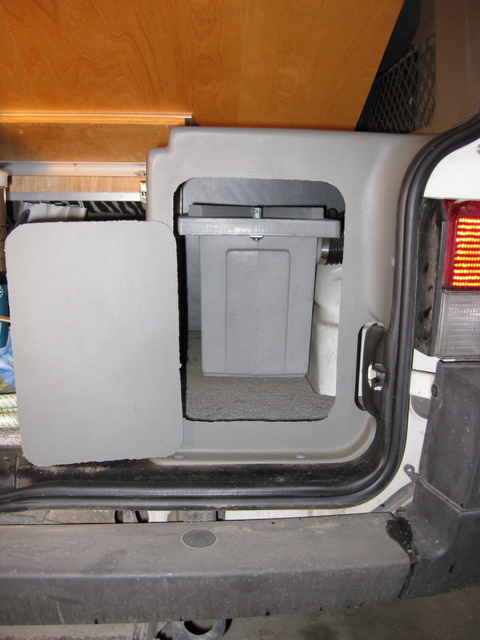
Here is where it will go:
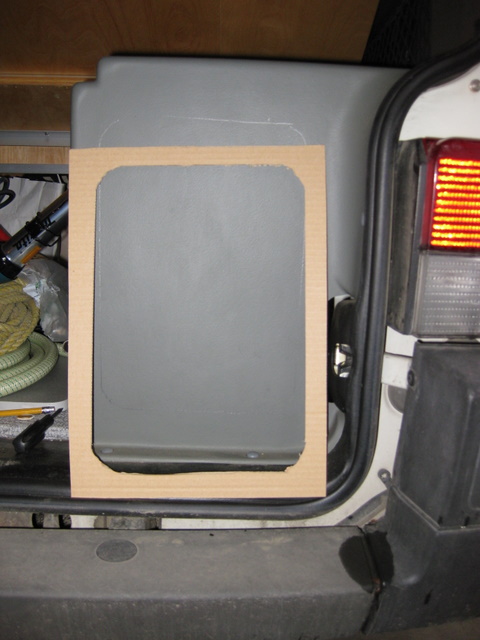
I created a cardboard template from the hatch I used - a BOMAR G7711-11 from Pompanette. I made sure that the hatch would fit in the space - the hatch has quite a large “lip” (flange), and takes up almost the entire space - which I wanted (for easy access). I traced out the area to cut.
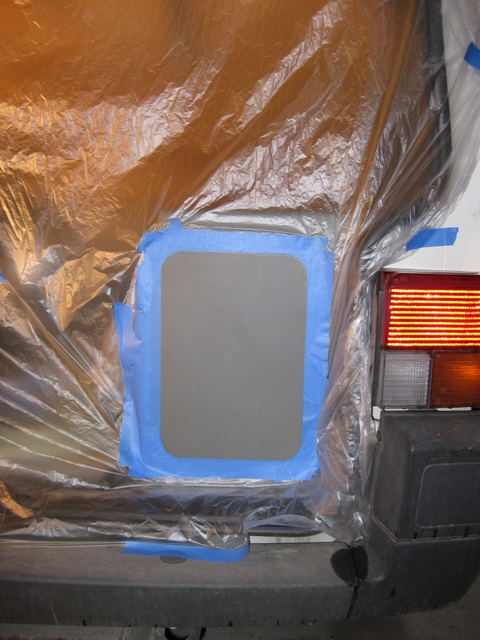
I then used blue masking tape to further outline the area, and provide a surface to tape the “painters plastic” to (to keep any plastic bits out of the van).
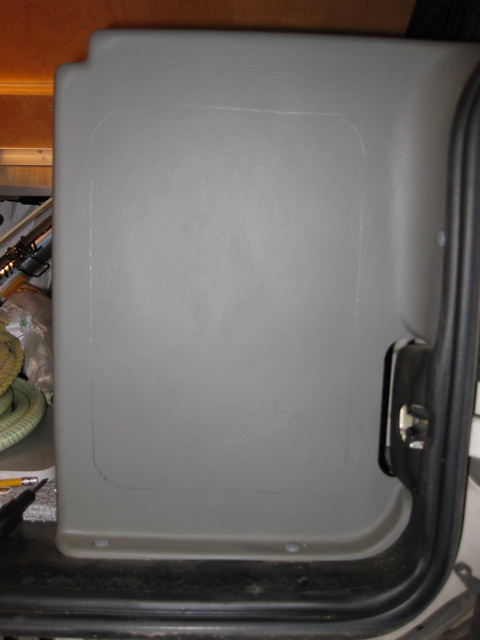
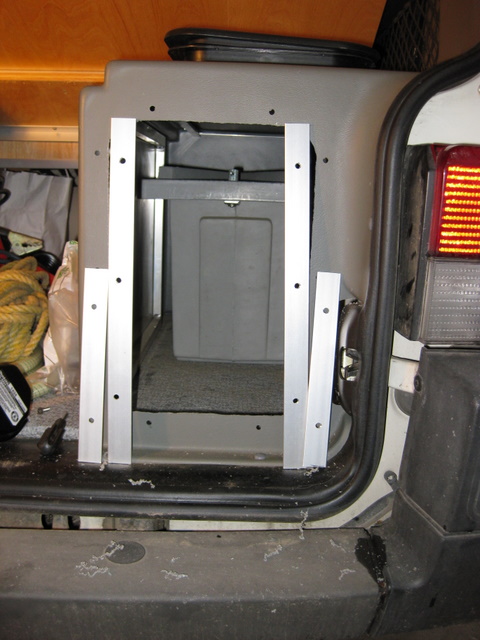
I used a Dremel tool with a plastic cutting attachment (on my drill this is a coarse spiral drill) to cut the plastic. You need to move the Dremel tool back and forth in the cut so that the hot plastic does not “stick”. You might be able to use a hand tool (like a small hacksaw), but the plastic get VERY thin near the bottom - and it is VERY flexible, so that may be a real pain to do - that is why I chose the Dremel. Here is what you get when you cut the hole out:
Now you need to add something to stiffen the opening, and provide a strong surface to screw the hatch down on. I used aluminum flat stock.
Then you just bolt up the hatch - I uses Stainless Steel bolts, as I am a sucker for spending $ at the hardware store….
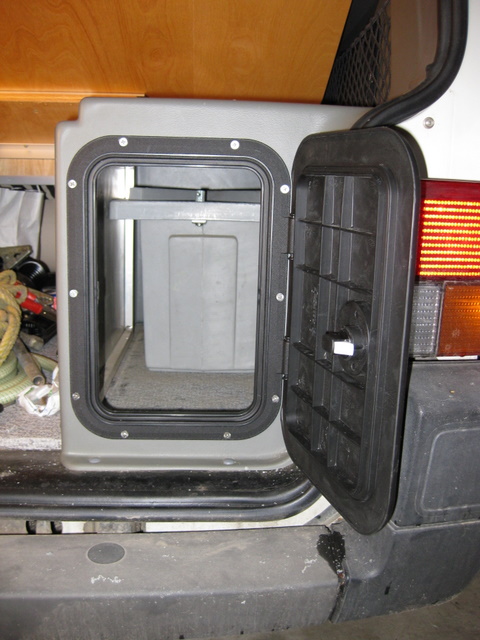
That really is all there is to it! Now I can easily get to my wheel chocks, hand tools, etc. Here is the hatch closed: