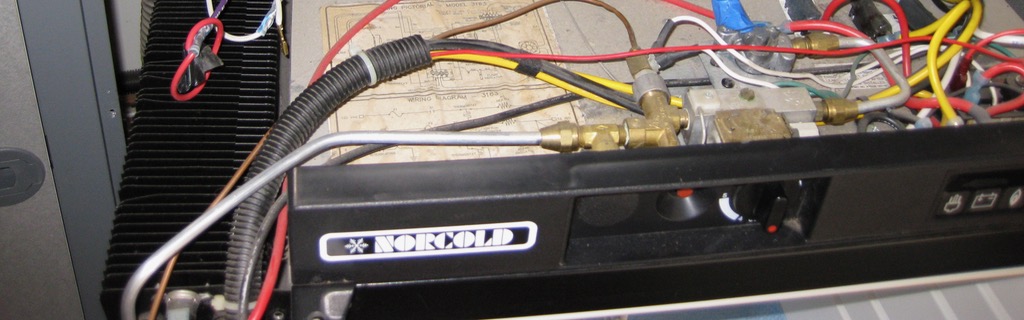
Decided to tackle the job of removing the Norcold fridge (one of our favorite parts of the van) to check just what IS the condition of the burner box (the part that can be sometimes hard to start, or hard to keep lit). If you own a Camper, you really owe it to yourself to pull this fridge out and see what makes it tick - it will take the mystery and fear out of the thing.
If you are comfortable working with a gas barbecue, you can do this! Before you work on your fridge, just make sure the propane is OFF, that you are not plugged into “shore” power (AC), that your “house” battery is disconnected, and put out any cigarettes or open flames. Make sure you have some ventilation, too (like the van door open and maybe working in a carport or garage with the door up).
This is not that difficult - just sorta fussy, and you do need to be able to lift and move the fridge. You need the following tools and supplies:
- 2 crescent wrenches (maybe 3, you’ll see why later) or a 13/16, 5/8 and probably a 9/16 (depending on what era your fridge is) open end wrench
- Good Philips screwdriver - make sure you have a good one - some of these screws are tight!
- Compressed air or a “can” of air
- Shop vac
- Round file to modify the mounting flanges in the van to ease reinstallation and later removal
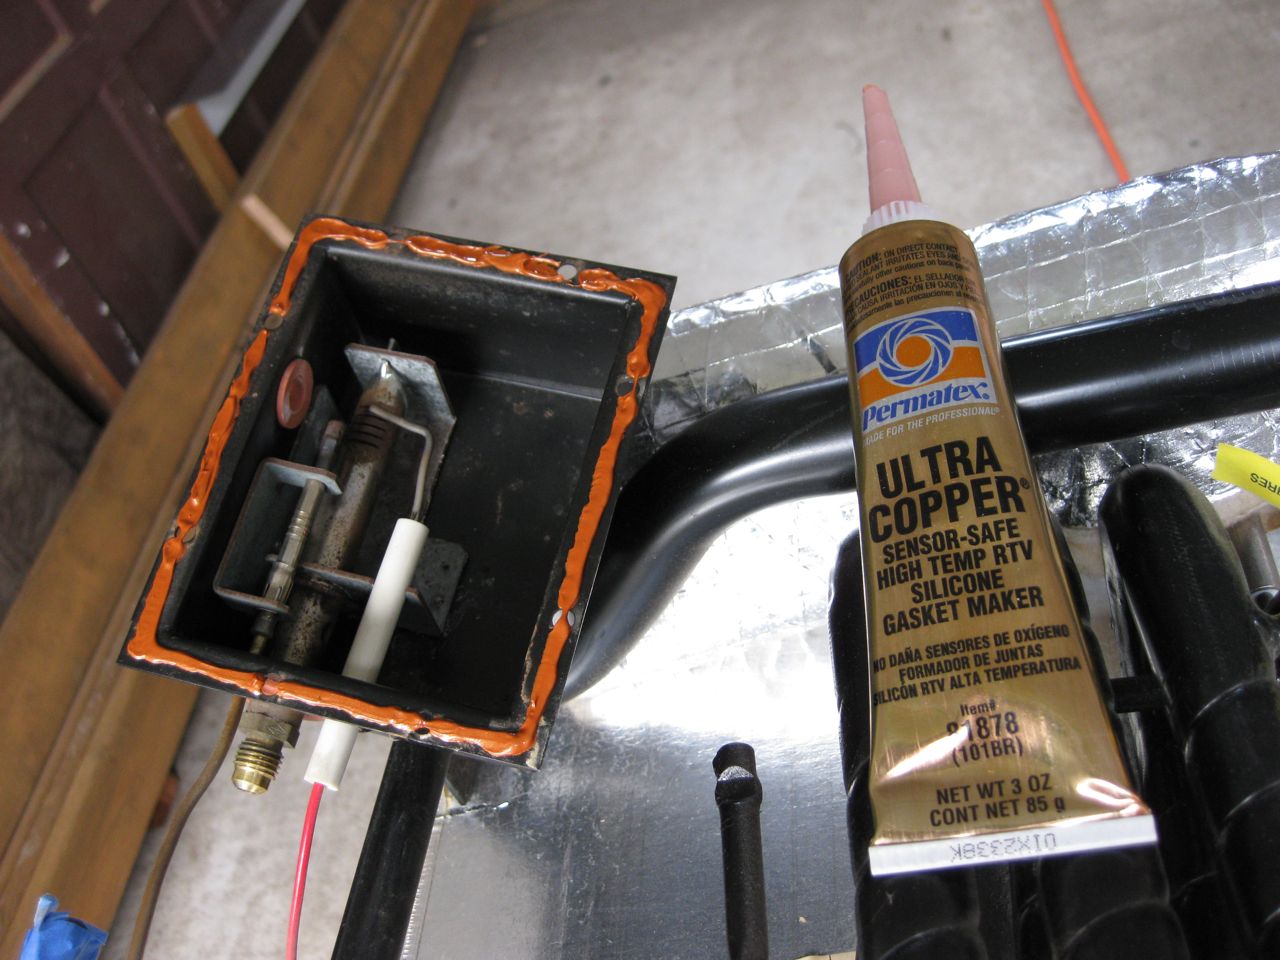
- Permatex 81878 “Ultra Copper” silicone - for resealing the burner box - the existing gasket will fall apart when you remove it - or a new gasket - Norcold part #617977
- If you have never done this, you will likely need a NEW burner - Norcold part #621951
- Soapy water or “gas leak detecting fluid” from a hardware store
- Piece of thin plywood, masonite, cardboard, or similar to protect the van floor
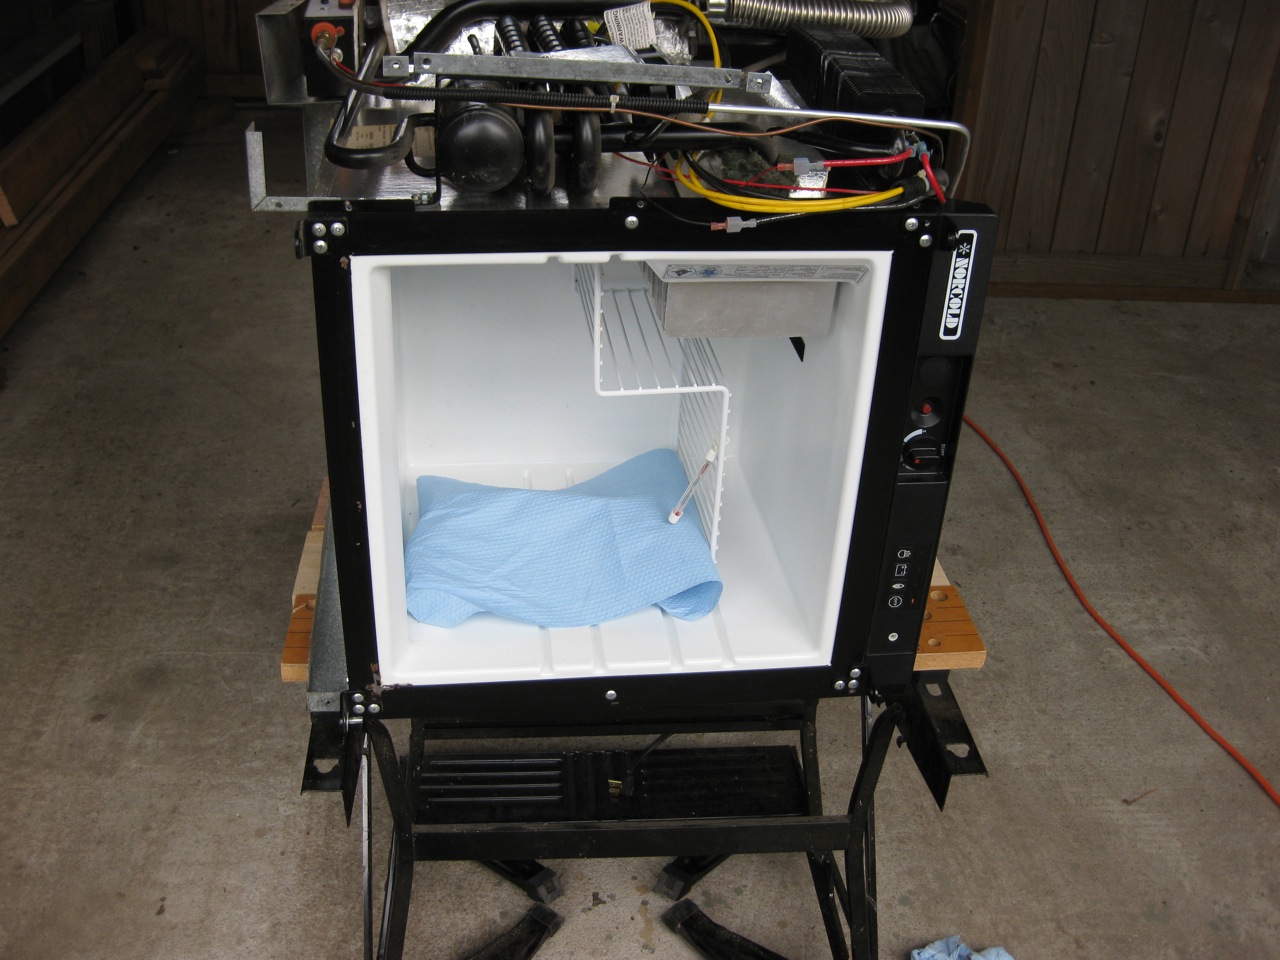
It really helps to set up a “test bench” to test out the fridge before you struggle to put it back. You need a 12 volt source (alarm system battery, motorcycle battery, well filtered power supply, etc) and propane source with a regulator set to 11 inches “water column” pressure, and the correct hose fittings. Just use in a well ventilated area
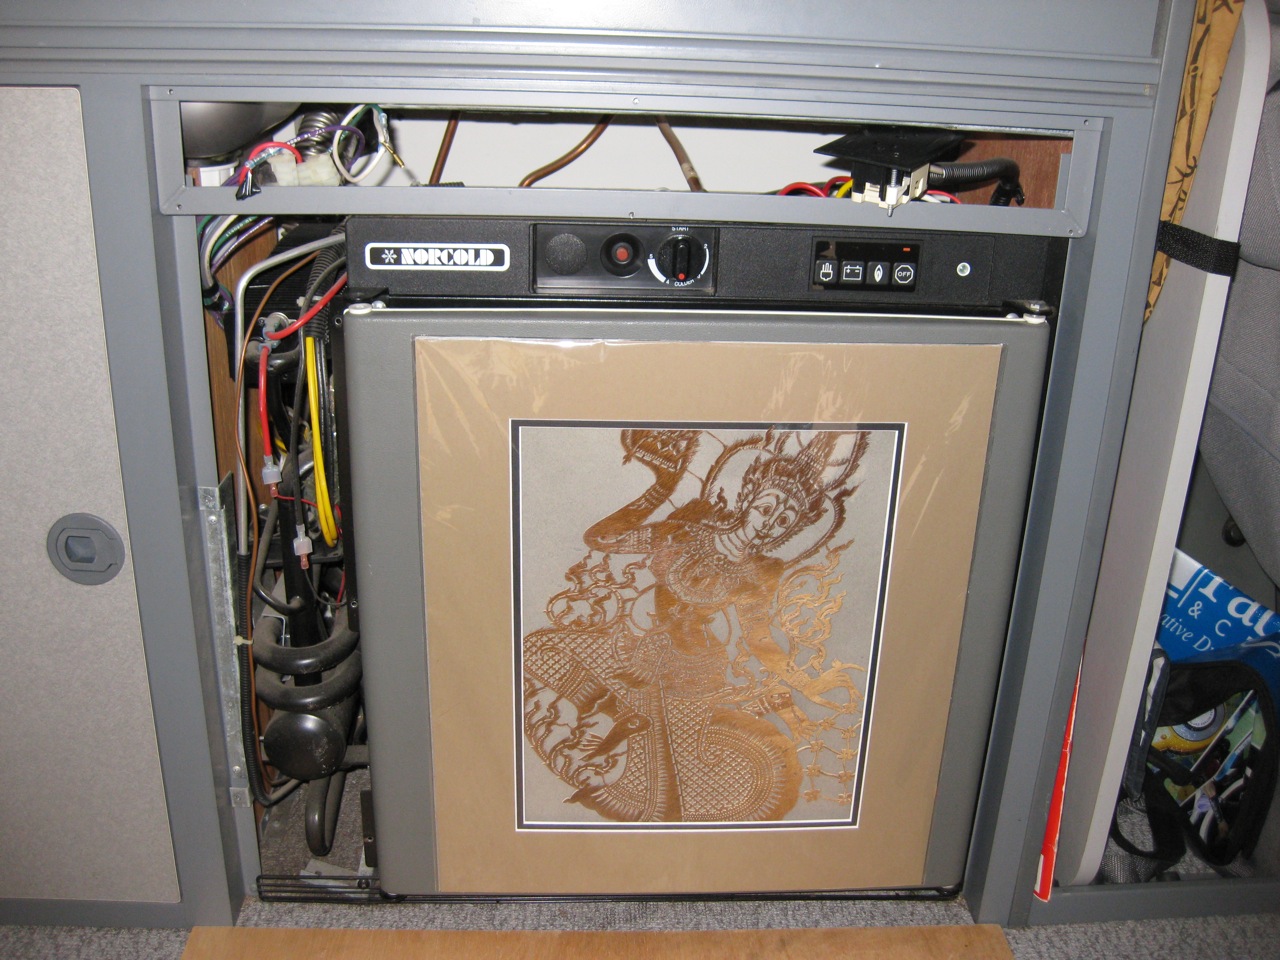
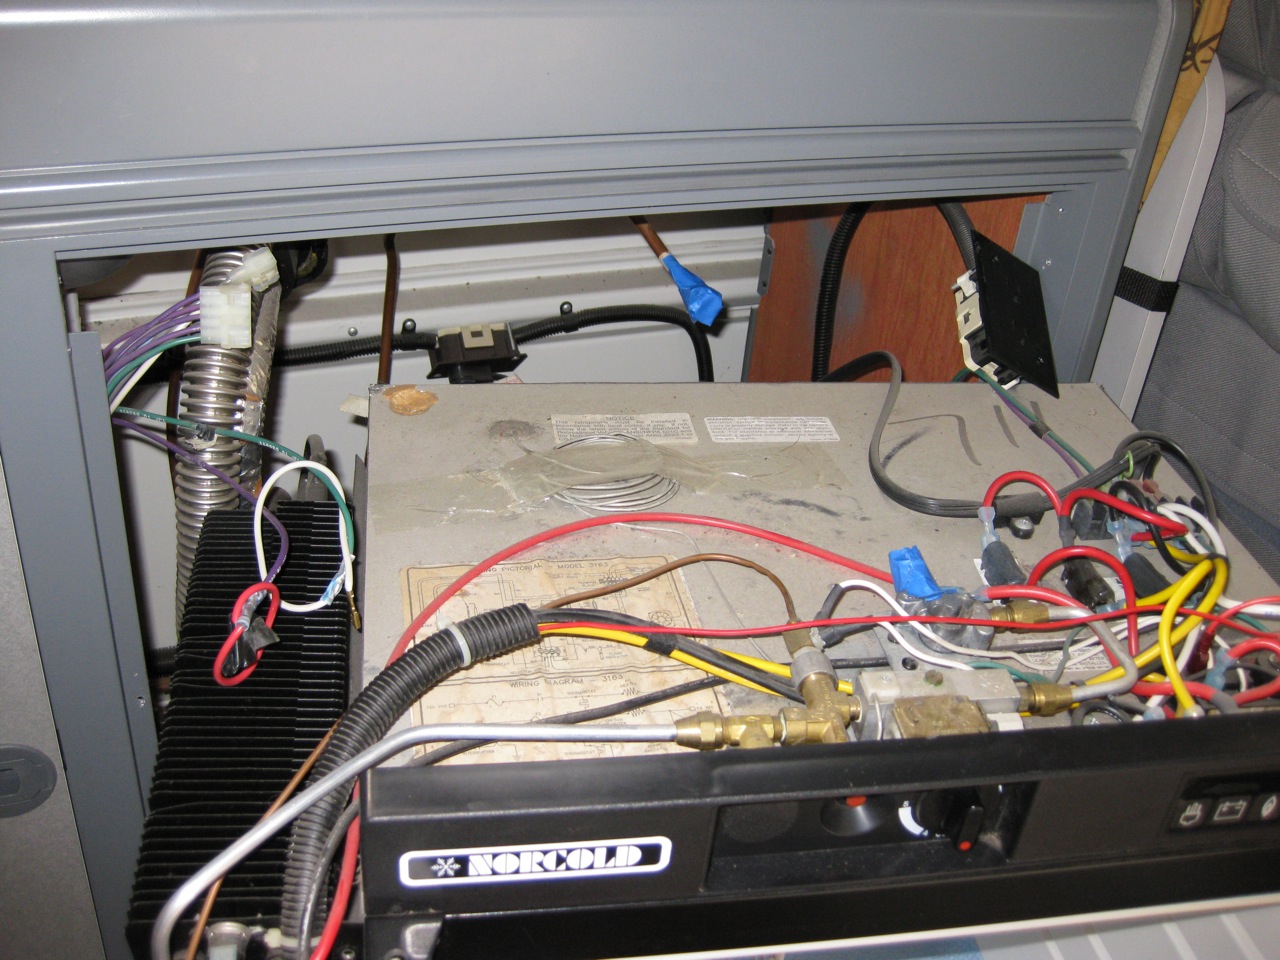
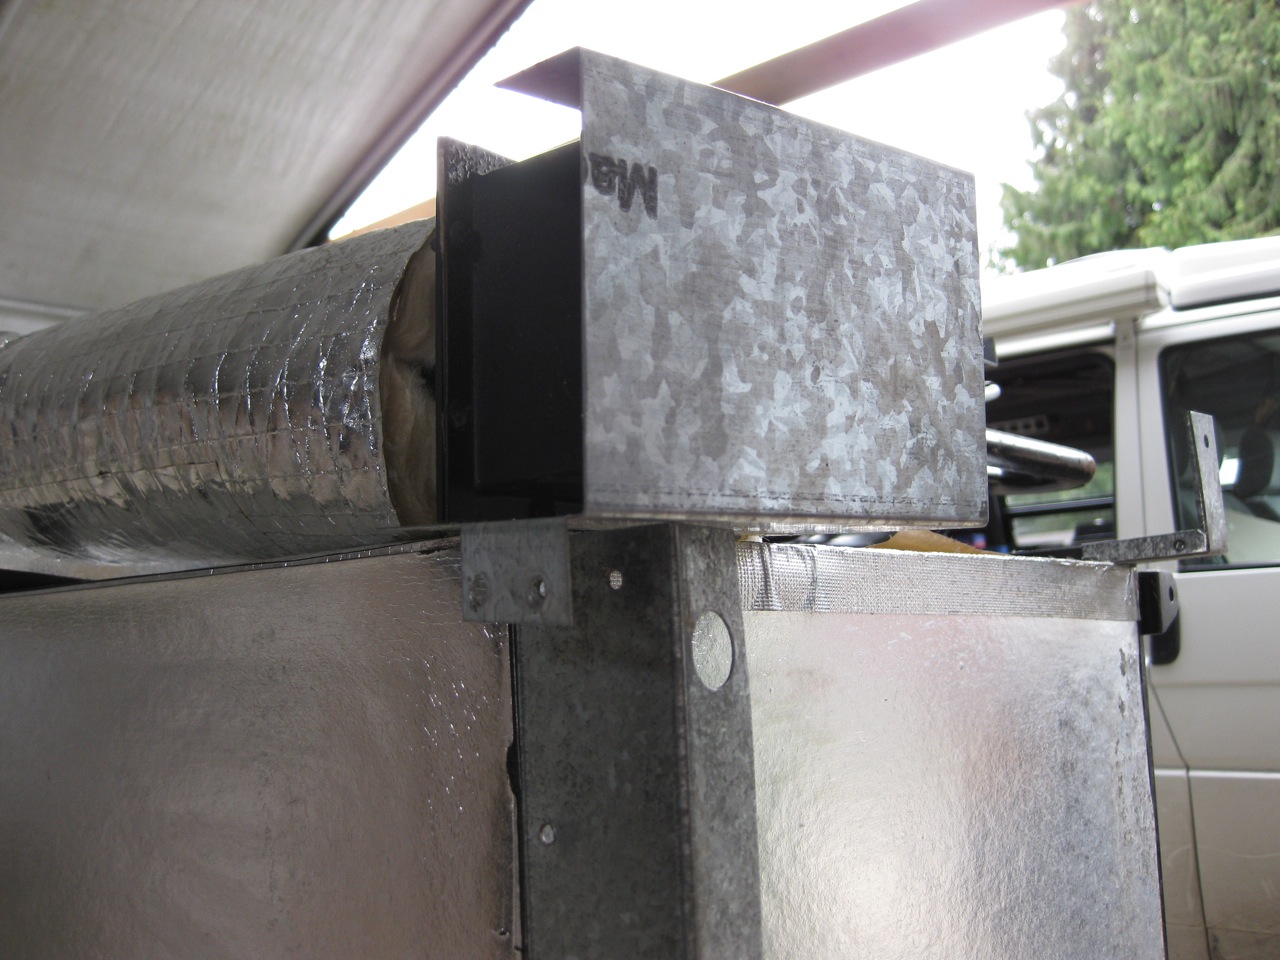
Here the fridge is ready for removal - almost! Still need to remove the metal above and below the fridge, as well as the door:
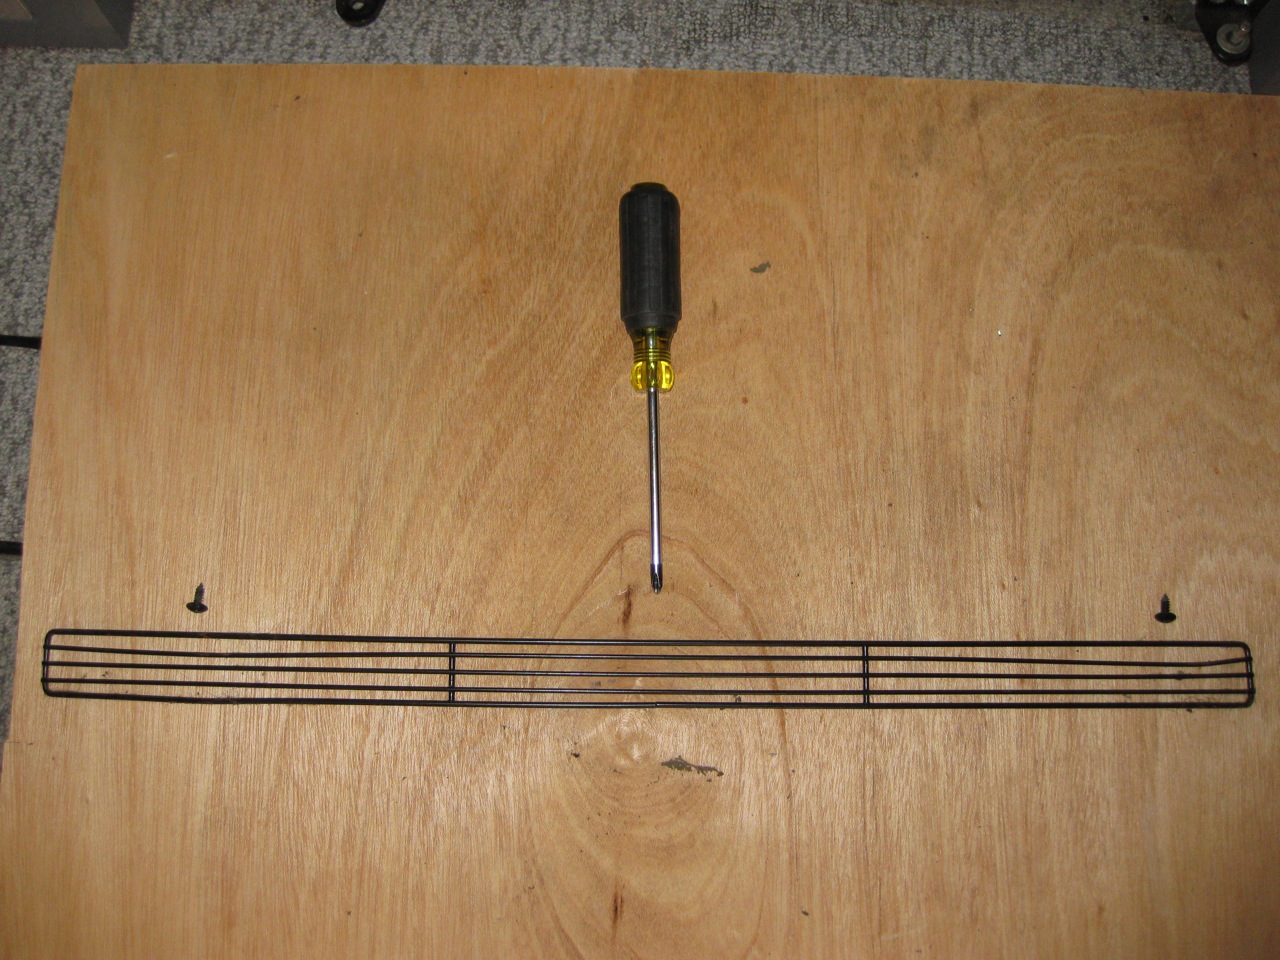
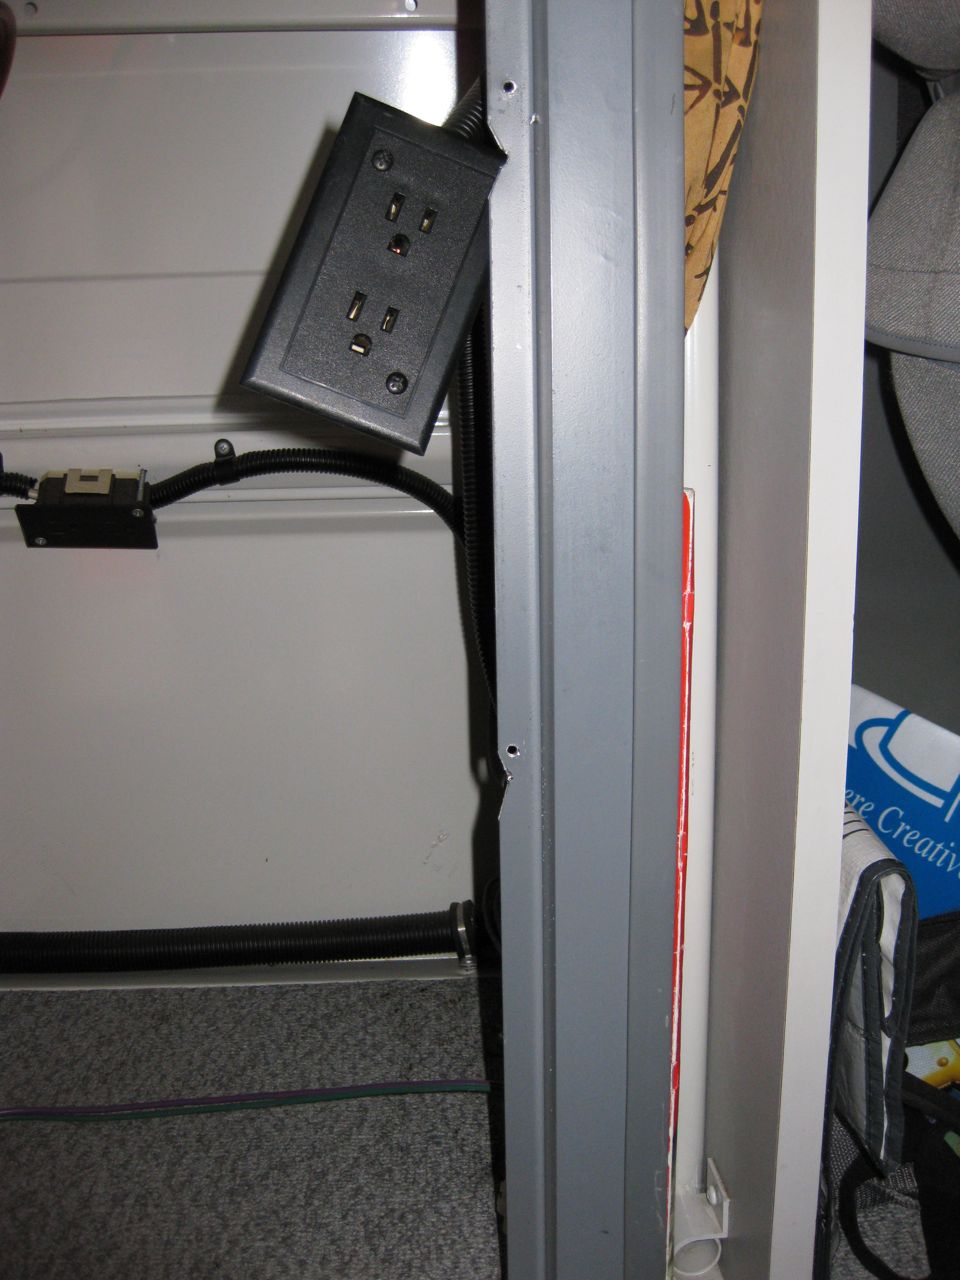
I don’t have any pictures of removing the top and side panel, but it is pretty easy: the side panel is held on with 5 screws - remove it and place it on top of your stove cover to hold all the parts. The “instrument” panel is held in with 6 screws - remove those and carefully ease out the panel just a bit - the trickiest bit is removing the AC receptacle. The AC receptacle is held in place similar to a plastic remodel box - unscrew the two screws on the face of the receptacle and 2 “ears” will slowly back off, eventually moving out of the way. You can then slightly tighten the screws back up to hold the “ears” out of the way. Now you can carefully feed the outlet through the panel. NOTE: the 12 volt receptacle positive lead threads onto the 12 volt receptacle.
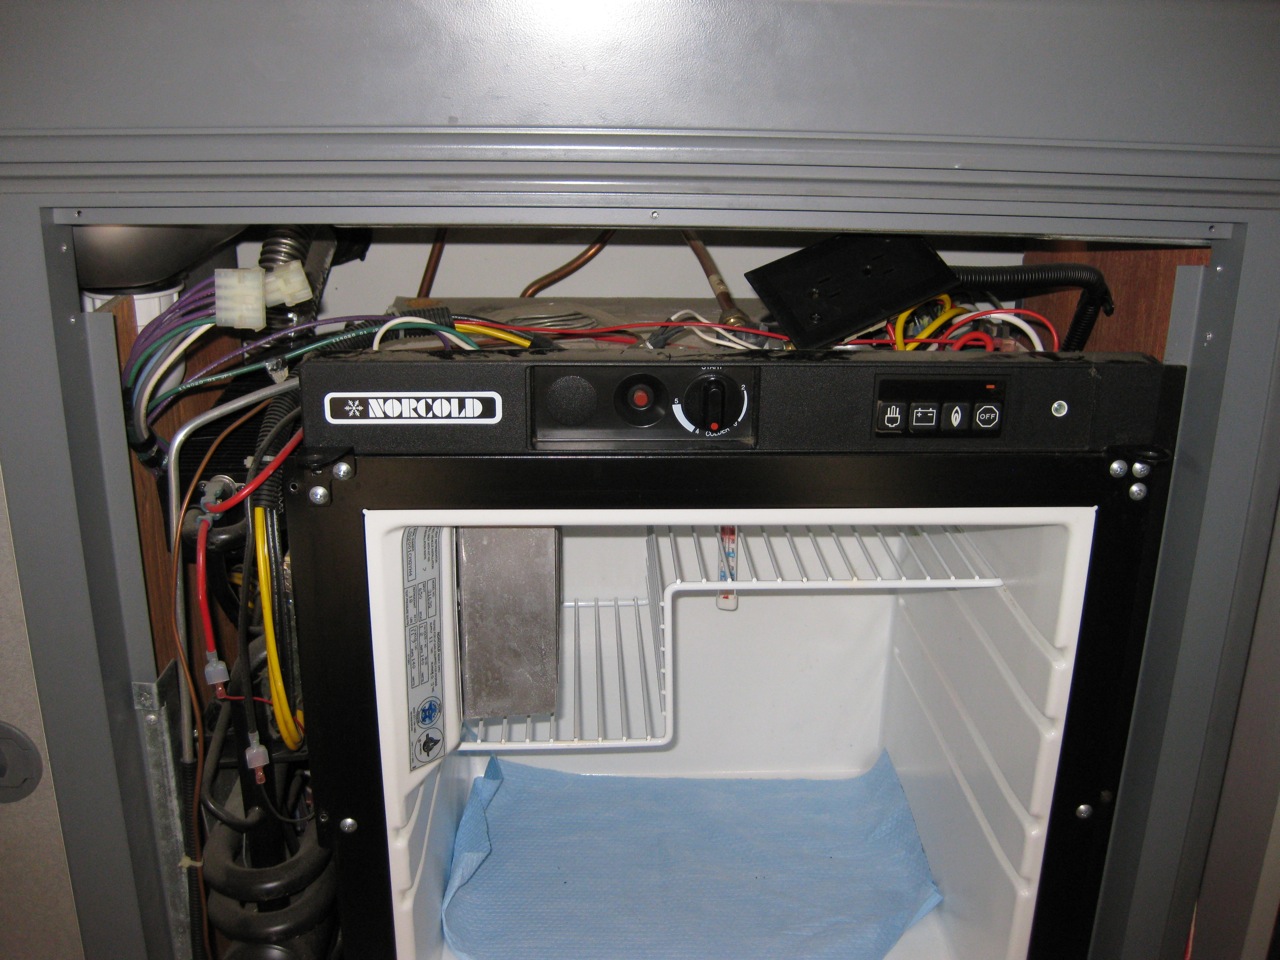
Here is the top panel, door, and bottom grill removed:
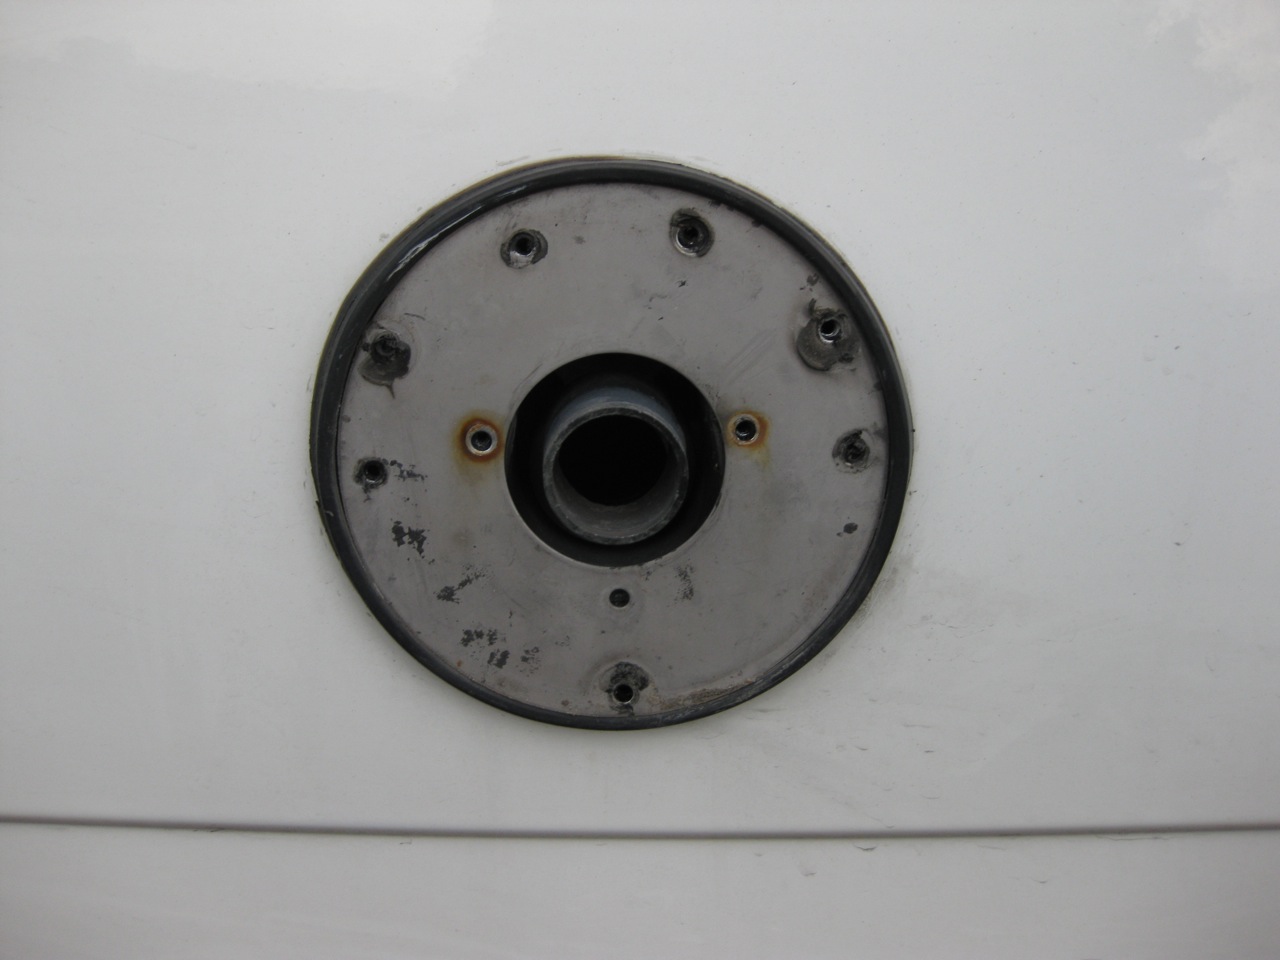
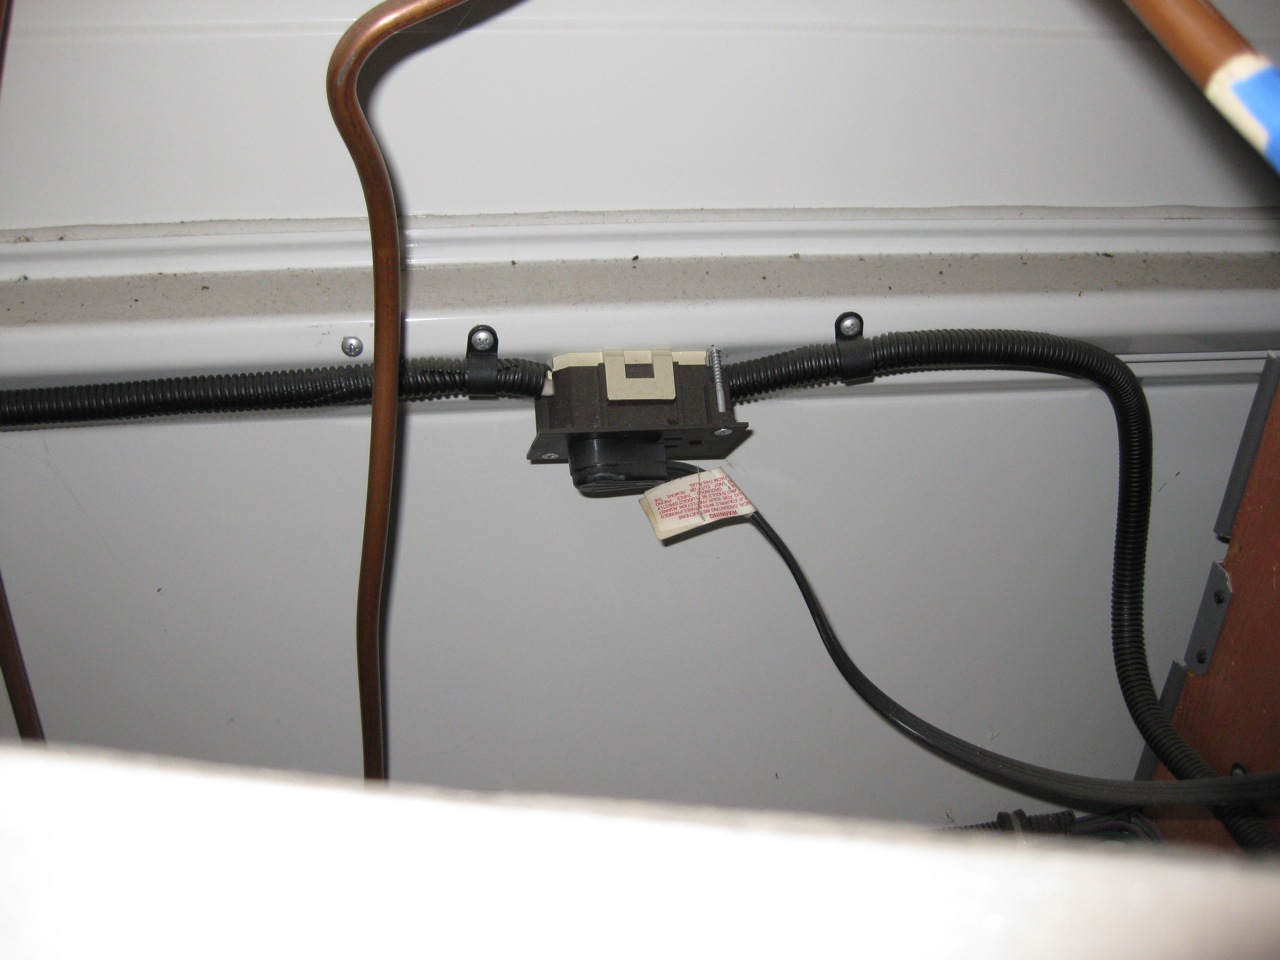
Now you need to go outside and remove the exhaust vent - remove the exhaust vent cover (3 screws), then the 2 screws next to the exhaust vent:
You SHOULD be able to slide the fridge out a bit, and THEN disconnect the gas - depends on just how the gas pipe is supported along the back wall in your van.
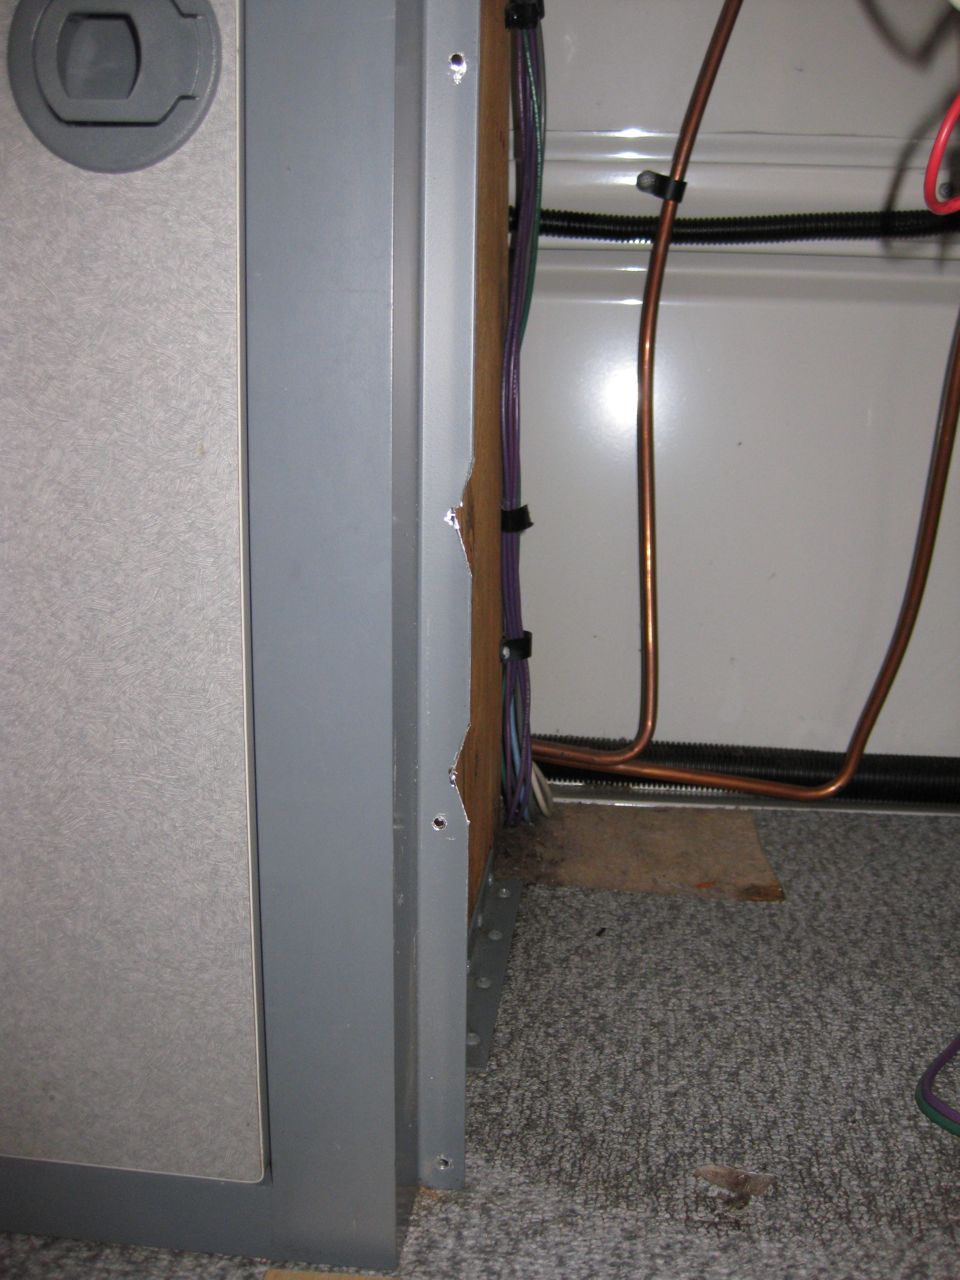
Make sure you have some Masonite (tempered hardboard) or cardboard in front of the fridge - the lower pieces of the fridge are sharp, and will mess up your floor. To slide the fridge out, remove the screws on each side of the fridge, and slide it out a few inches. The first inch or so will be difficult, as Winnebago did not leave any room for the screw heads that hold the fridge mounting flanges to the side of the fridge (we will deal with that later).
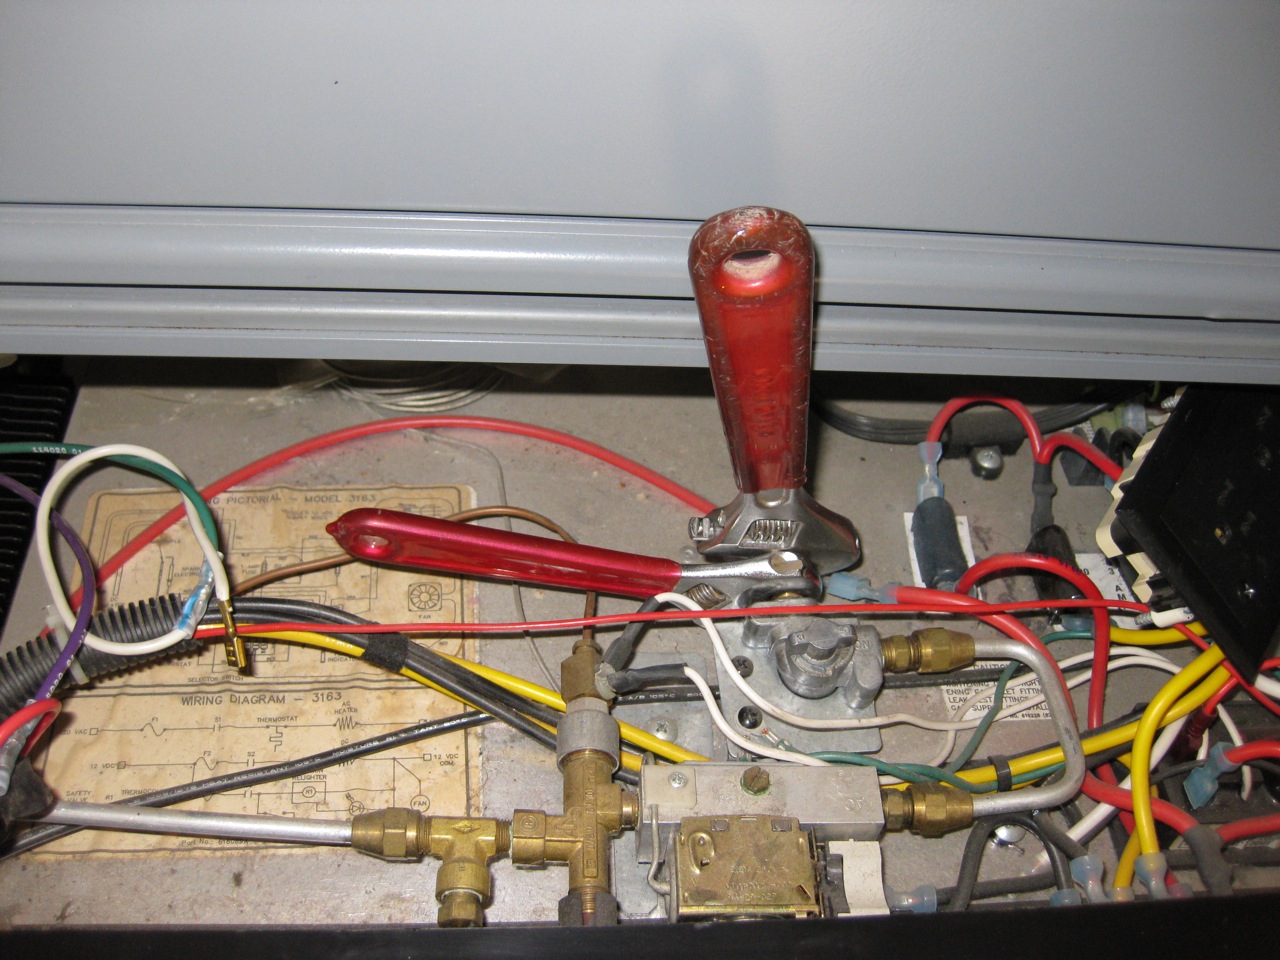
Now to tackle the gas connection, you need 2 crescent wrenches, like so:
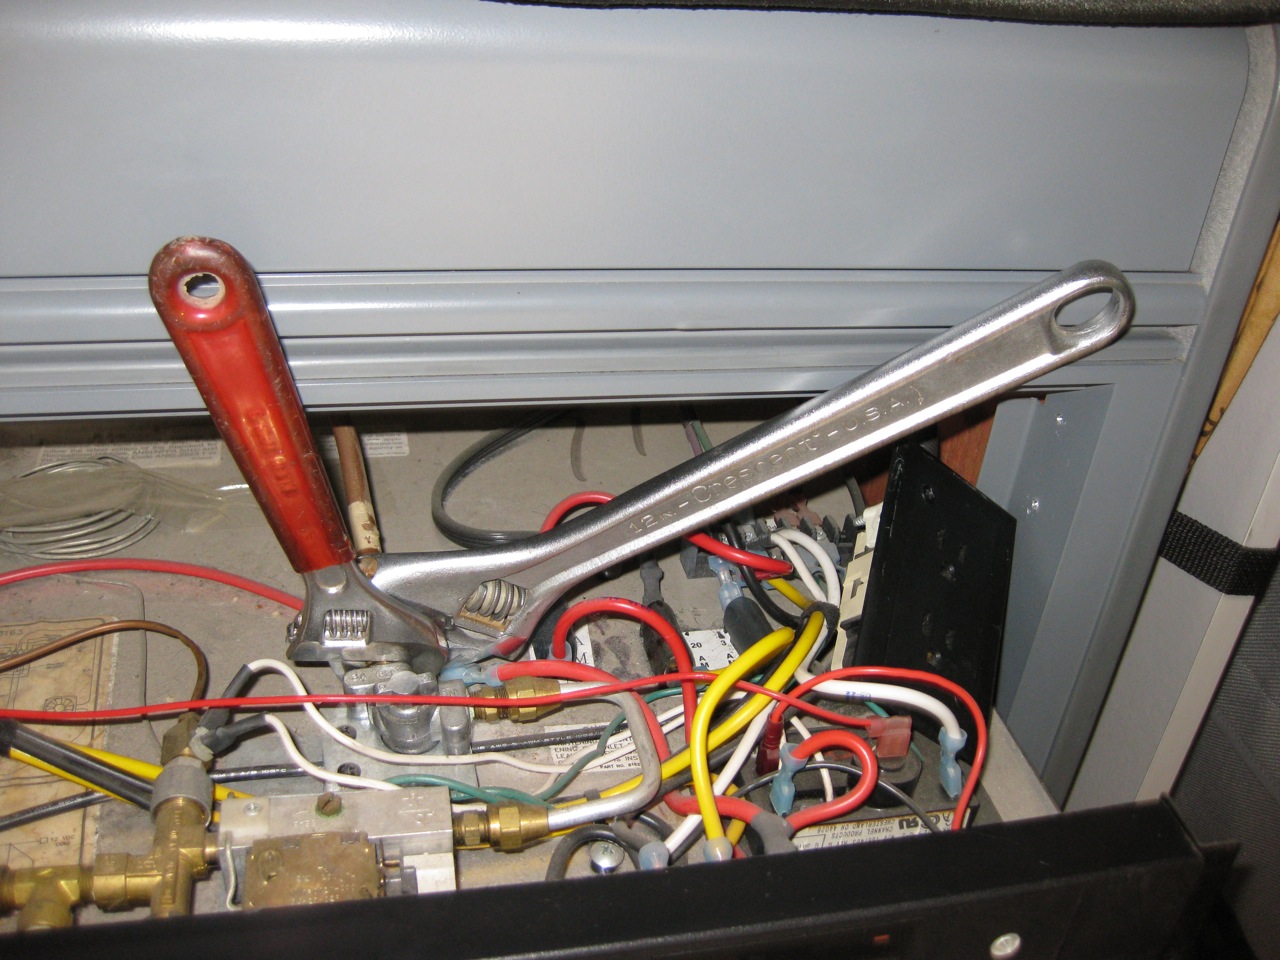
This did not work for me, so I needed another size wrench:
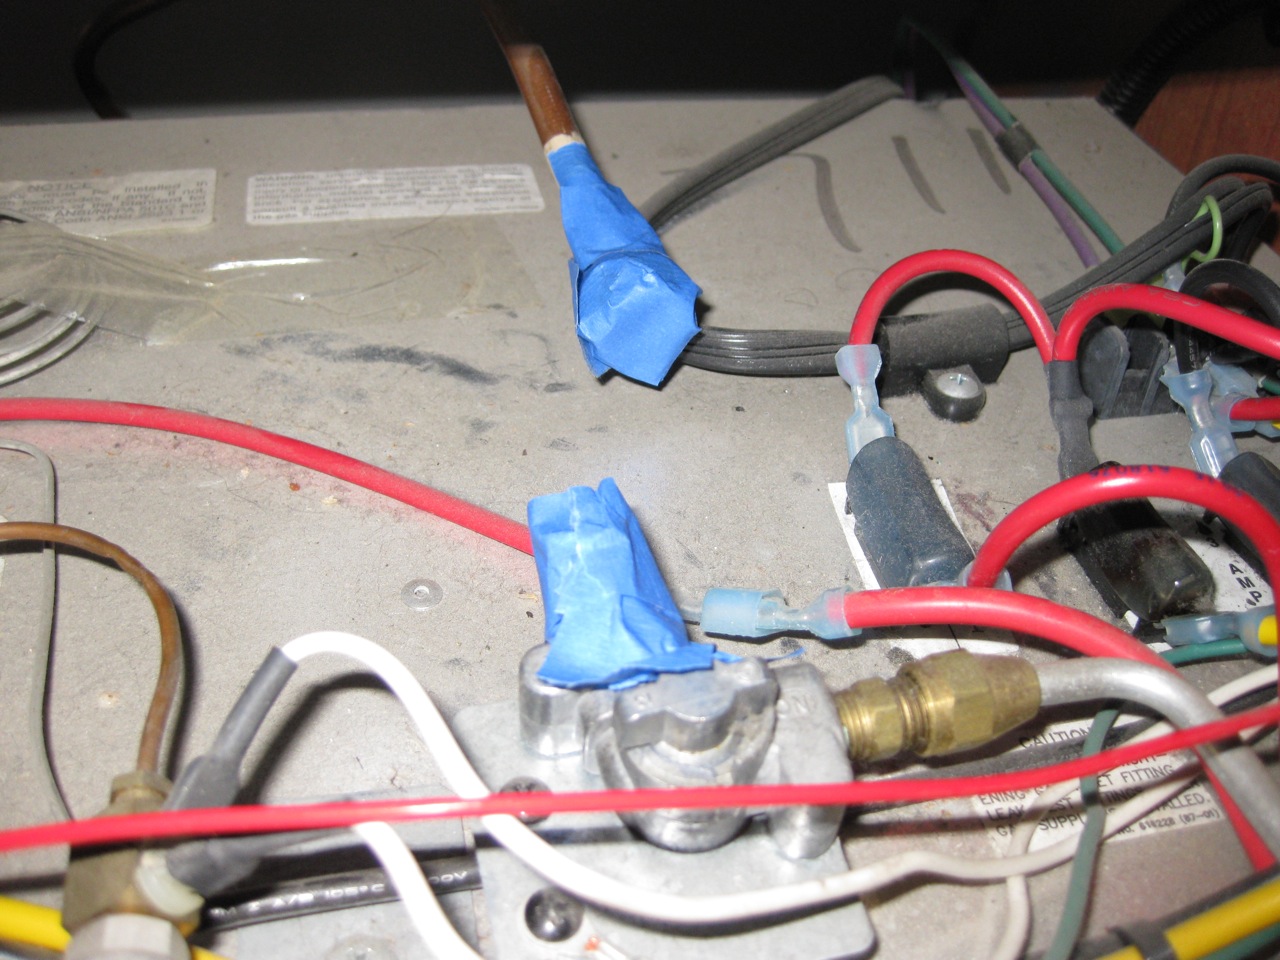
Success! After the excess gas in the lines escapes, tape the end of the gas line and the fitting on the fridge with blue masking tape to keep out any crud. NOTE: IF gas keeps escaping from the disconnected line, you likely have a stuck valve on your propane tank - you will want to take care of that BEFORE proceeding!
Now you can pull the fridge out a bit more.
Unplug the AC:
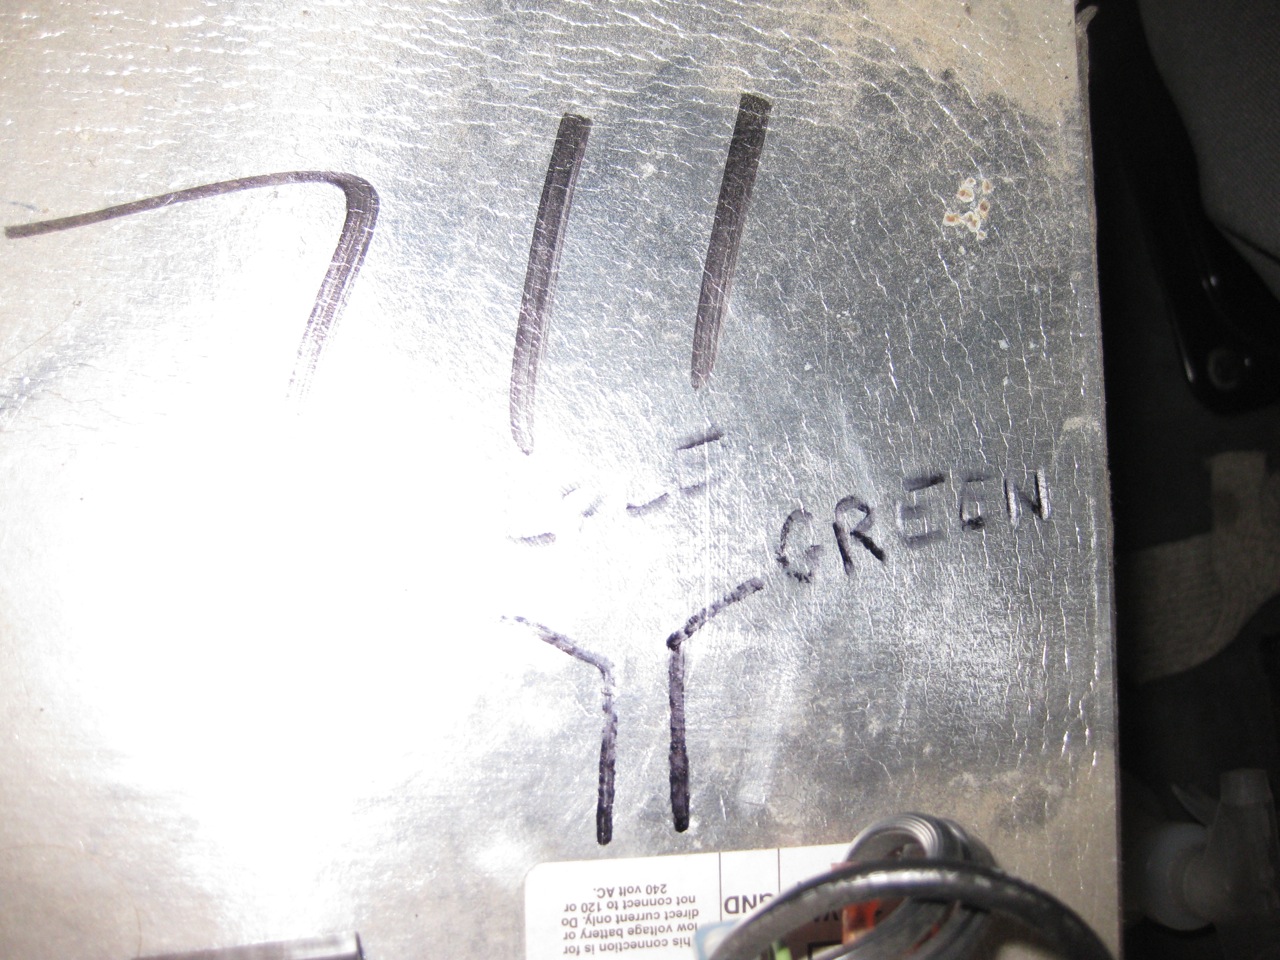
Disconnect the DC - I marked the colors on the top of the fridge (lousy photo, I know):
Now you can remove it completely - you will need to angle the fridge slightly to get it out - check the photo above to see what I mean. Here the fridge is out of the van:
You need to turn the fridge on its side to get to the burner box. The burner box has a metal shield that needs to be removed first:
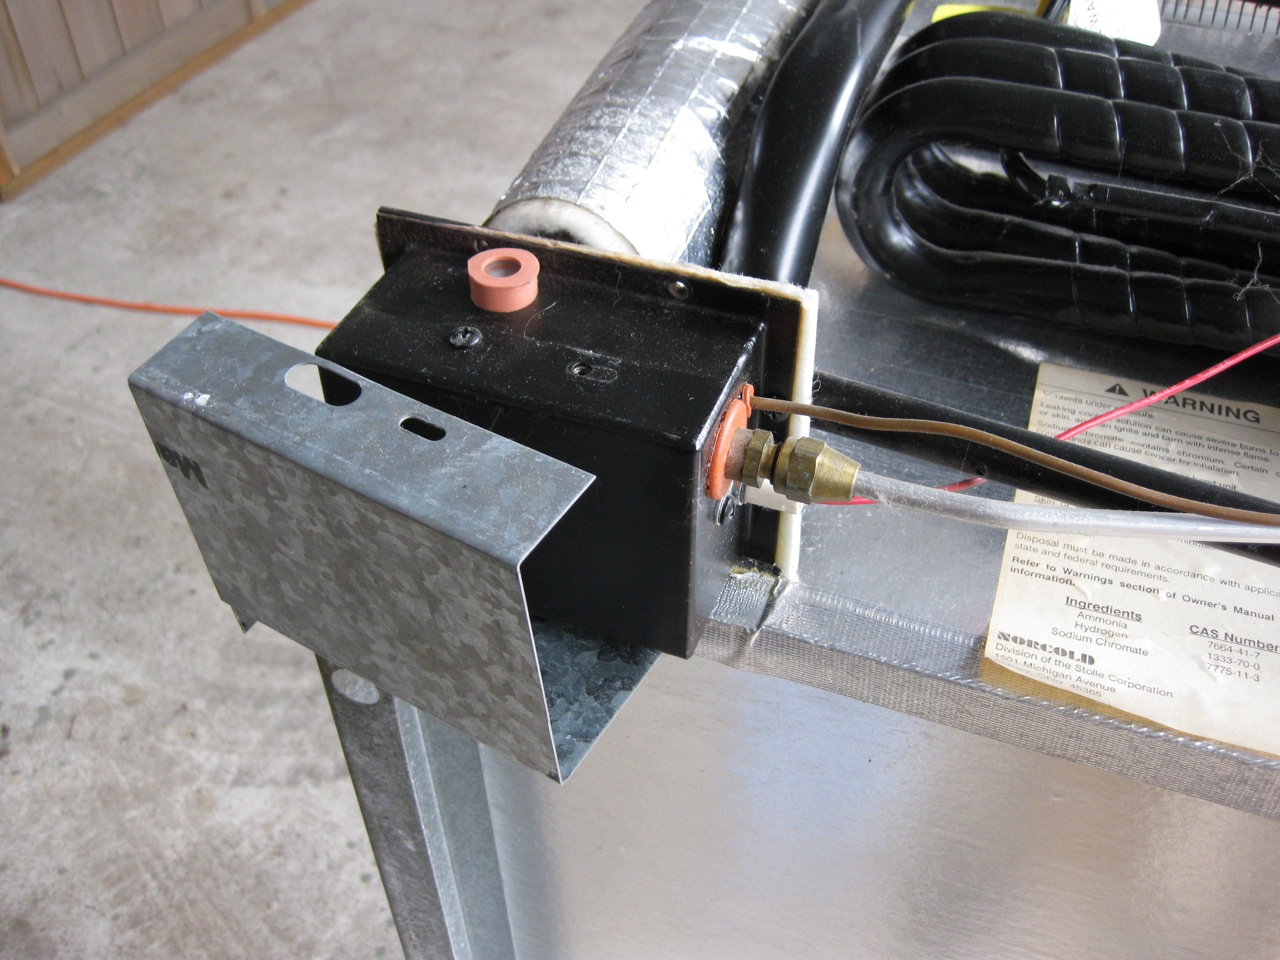
Here is the burner box disintegrating gasket:
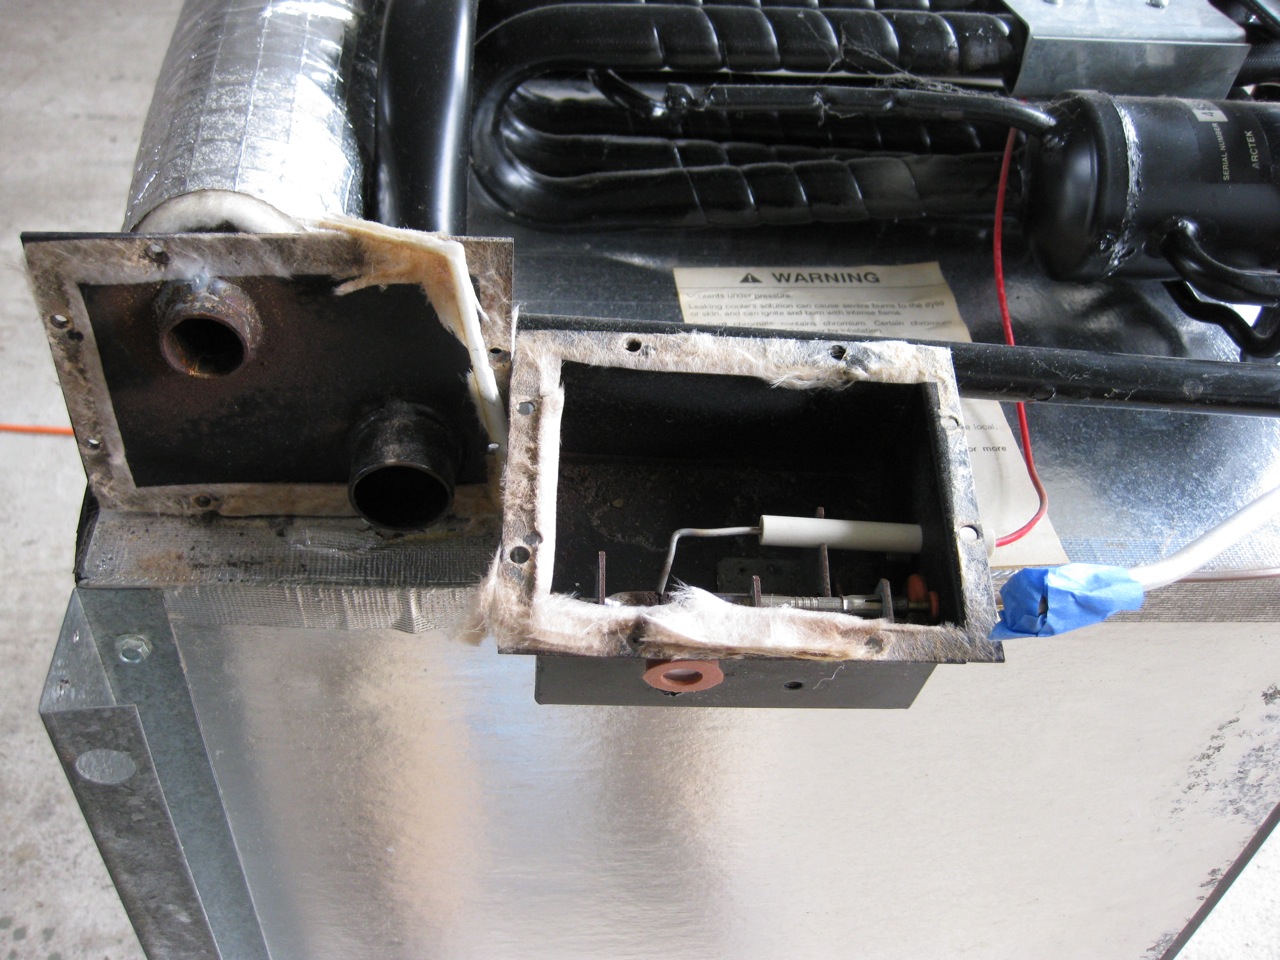
Remove the gas line to the burner box, again using 2 wrenches and tape the gas line - NOT the fitting to the burner box.
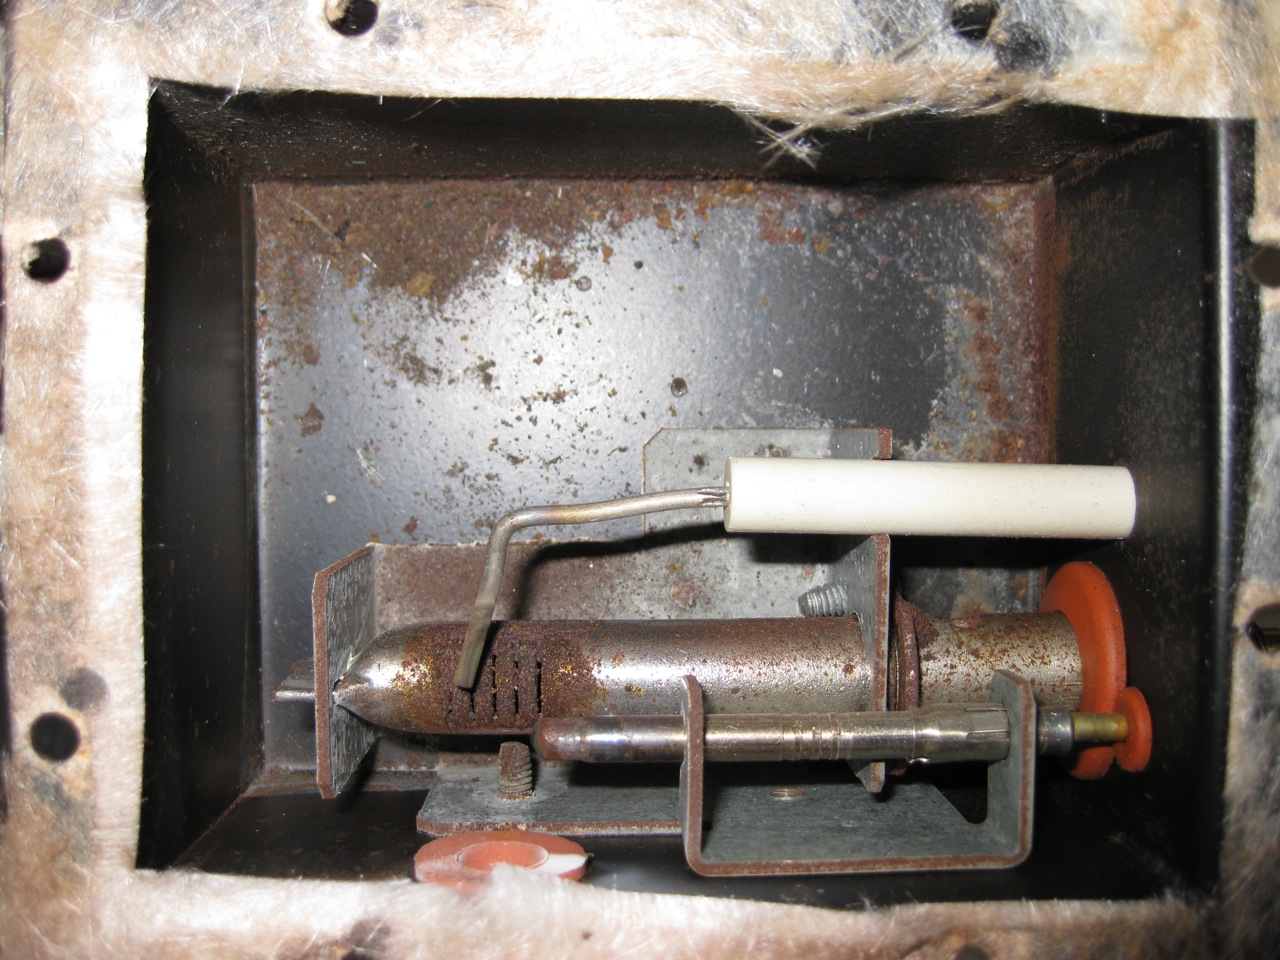
Here is the inside of my burner box - the “corrosion” at the top is really loose particles - you can see how the orifices are blocked on the gas jet.
UPDATE - I strongly suggest REPLACING the existing burner with a new one - the new design is better and if you don’t replace the burner, it will corrode again in a very short time. Norcold part # 621951 - from PDX RV LLC.
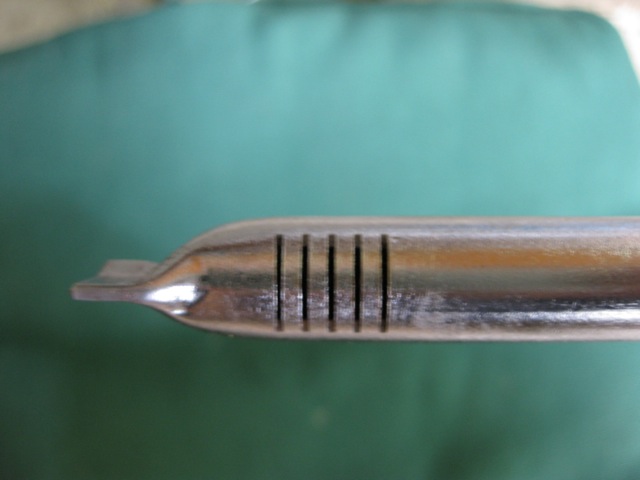
Here is how the “stock” burner looks:
Here is the “new” burner:
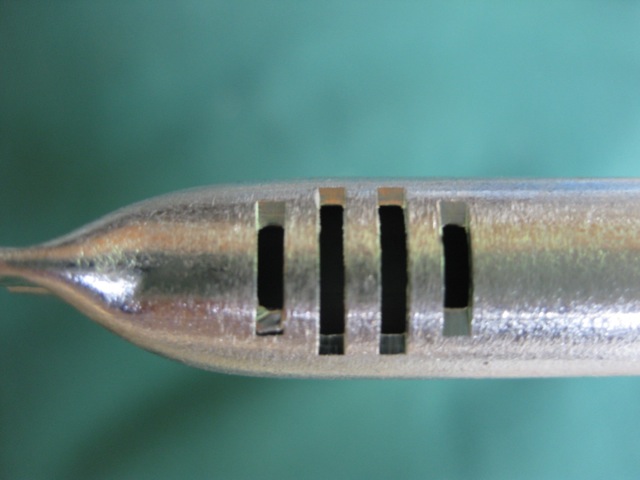
The “new” burner creates a more “rounded” flame, and the larger orifices are much less likely to clog.
Then I attacked the whole fridge with an air hose, giving special attention to the exhaust vent.
If you don’t replace the gasket with a new one - Norcold part # 617977 PDX RV LLC, you can make one from high-temperature silicone:
Now just put it all back - but before you do, “relieve” the mounting flanges on the van with a round file where the screw heads on the side of the fridge are (I used a sloppier method cause it was getting late). Also, to reconnect the gas fittings, slide back the “nut” and make sure the 2 surfaces “mate” - then slide the nut forward and tighten the connection. Do NOT rely on just tightening the nut to make a good gas connection - it is very easy to cross thread or pinch the soft copper gas line, resulting in a leak (and/or damaged fitting).
Turn on your propane - test the connection using soapy water or “gas leak detecting fluid” (sort of like soap bubbles - you can get it at Home Depot) at the 2 gas fittings and look for bubbles. You will need to leave off the side panel and the instrumentation panel to do this. Turn on your stove to get all the air out of the lines, and to confirm that you have gas flowing. Replace the instrument panel, reconnect the house battery, check the operation of the instrument panel and then test the fridge!
As always, your mileage may vary, these instructions may result in your injury or death, your van may be different, having a high altitude kit (the second vent on the outside of the van) may make this harder, you may bust something on the fridge taking it in or out, etc, etc, etc. No guarantees expressed or implied. That said, I found this much easier than I thought it would be to do!